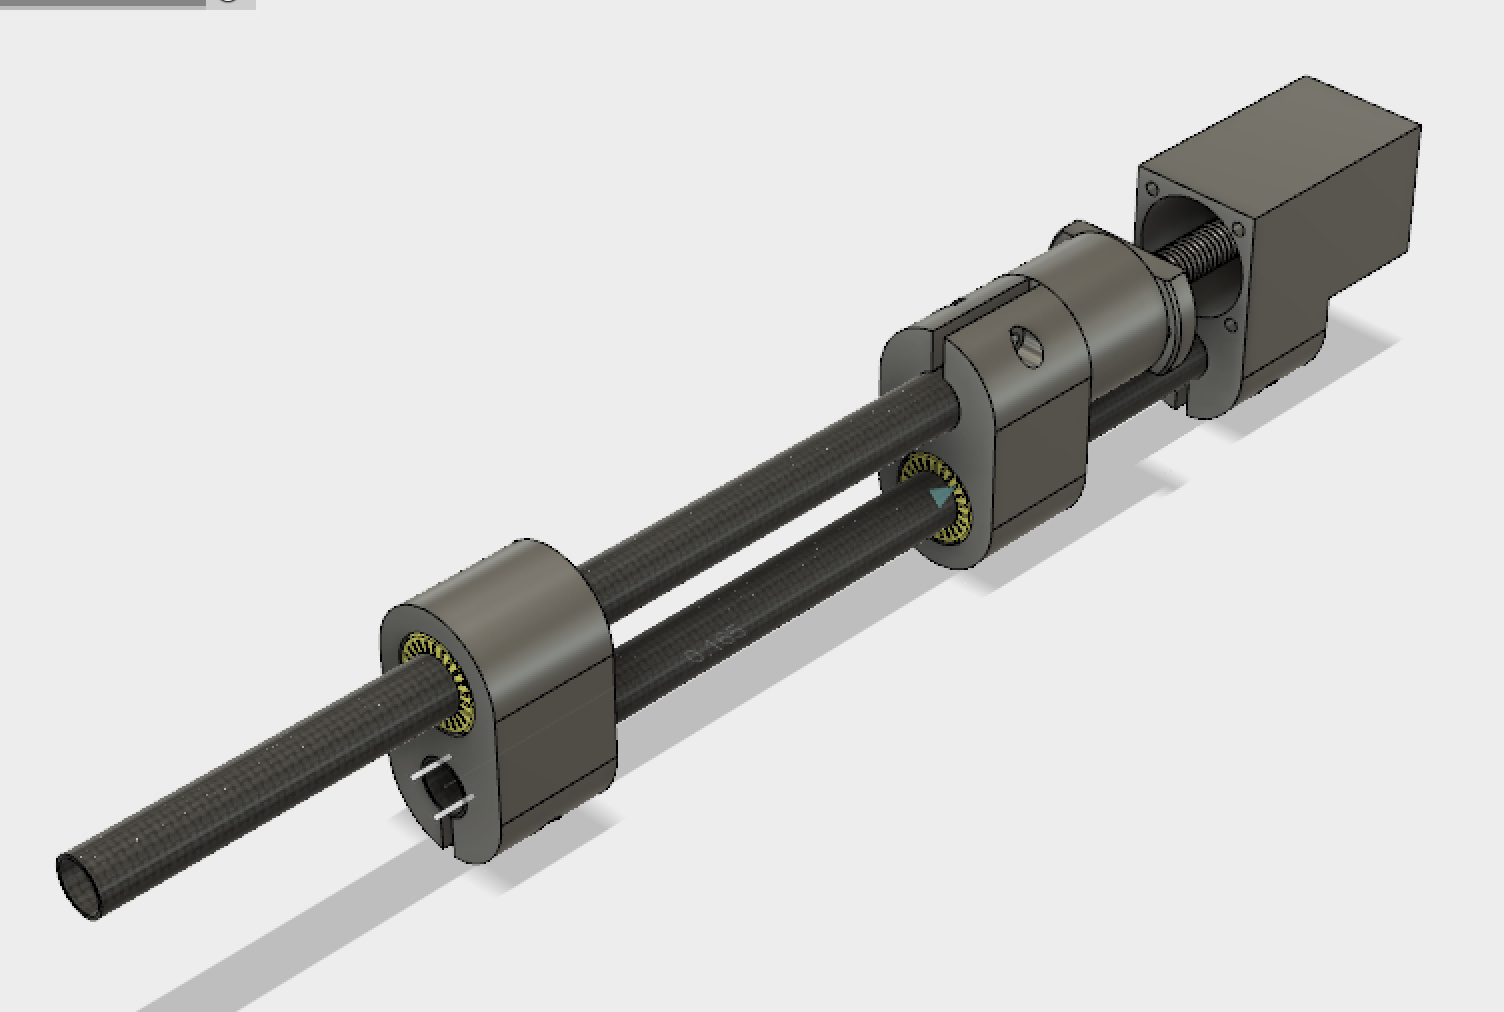
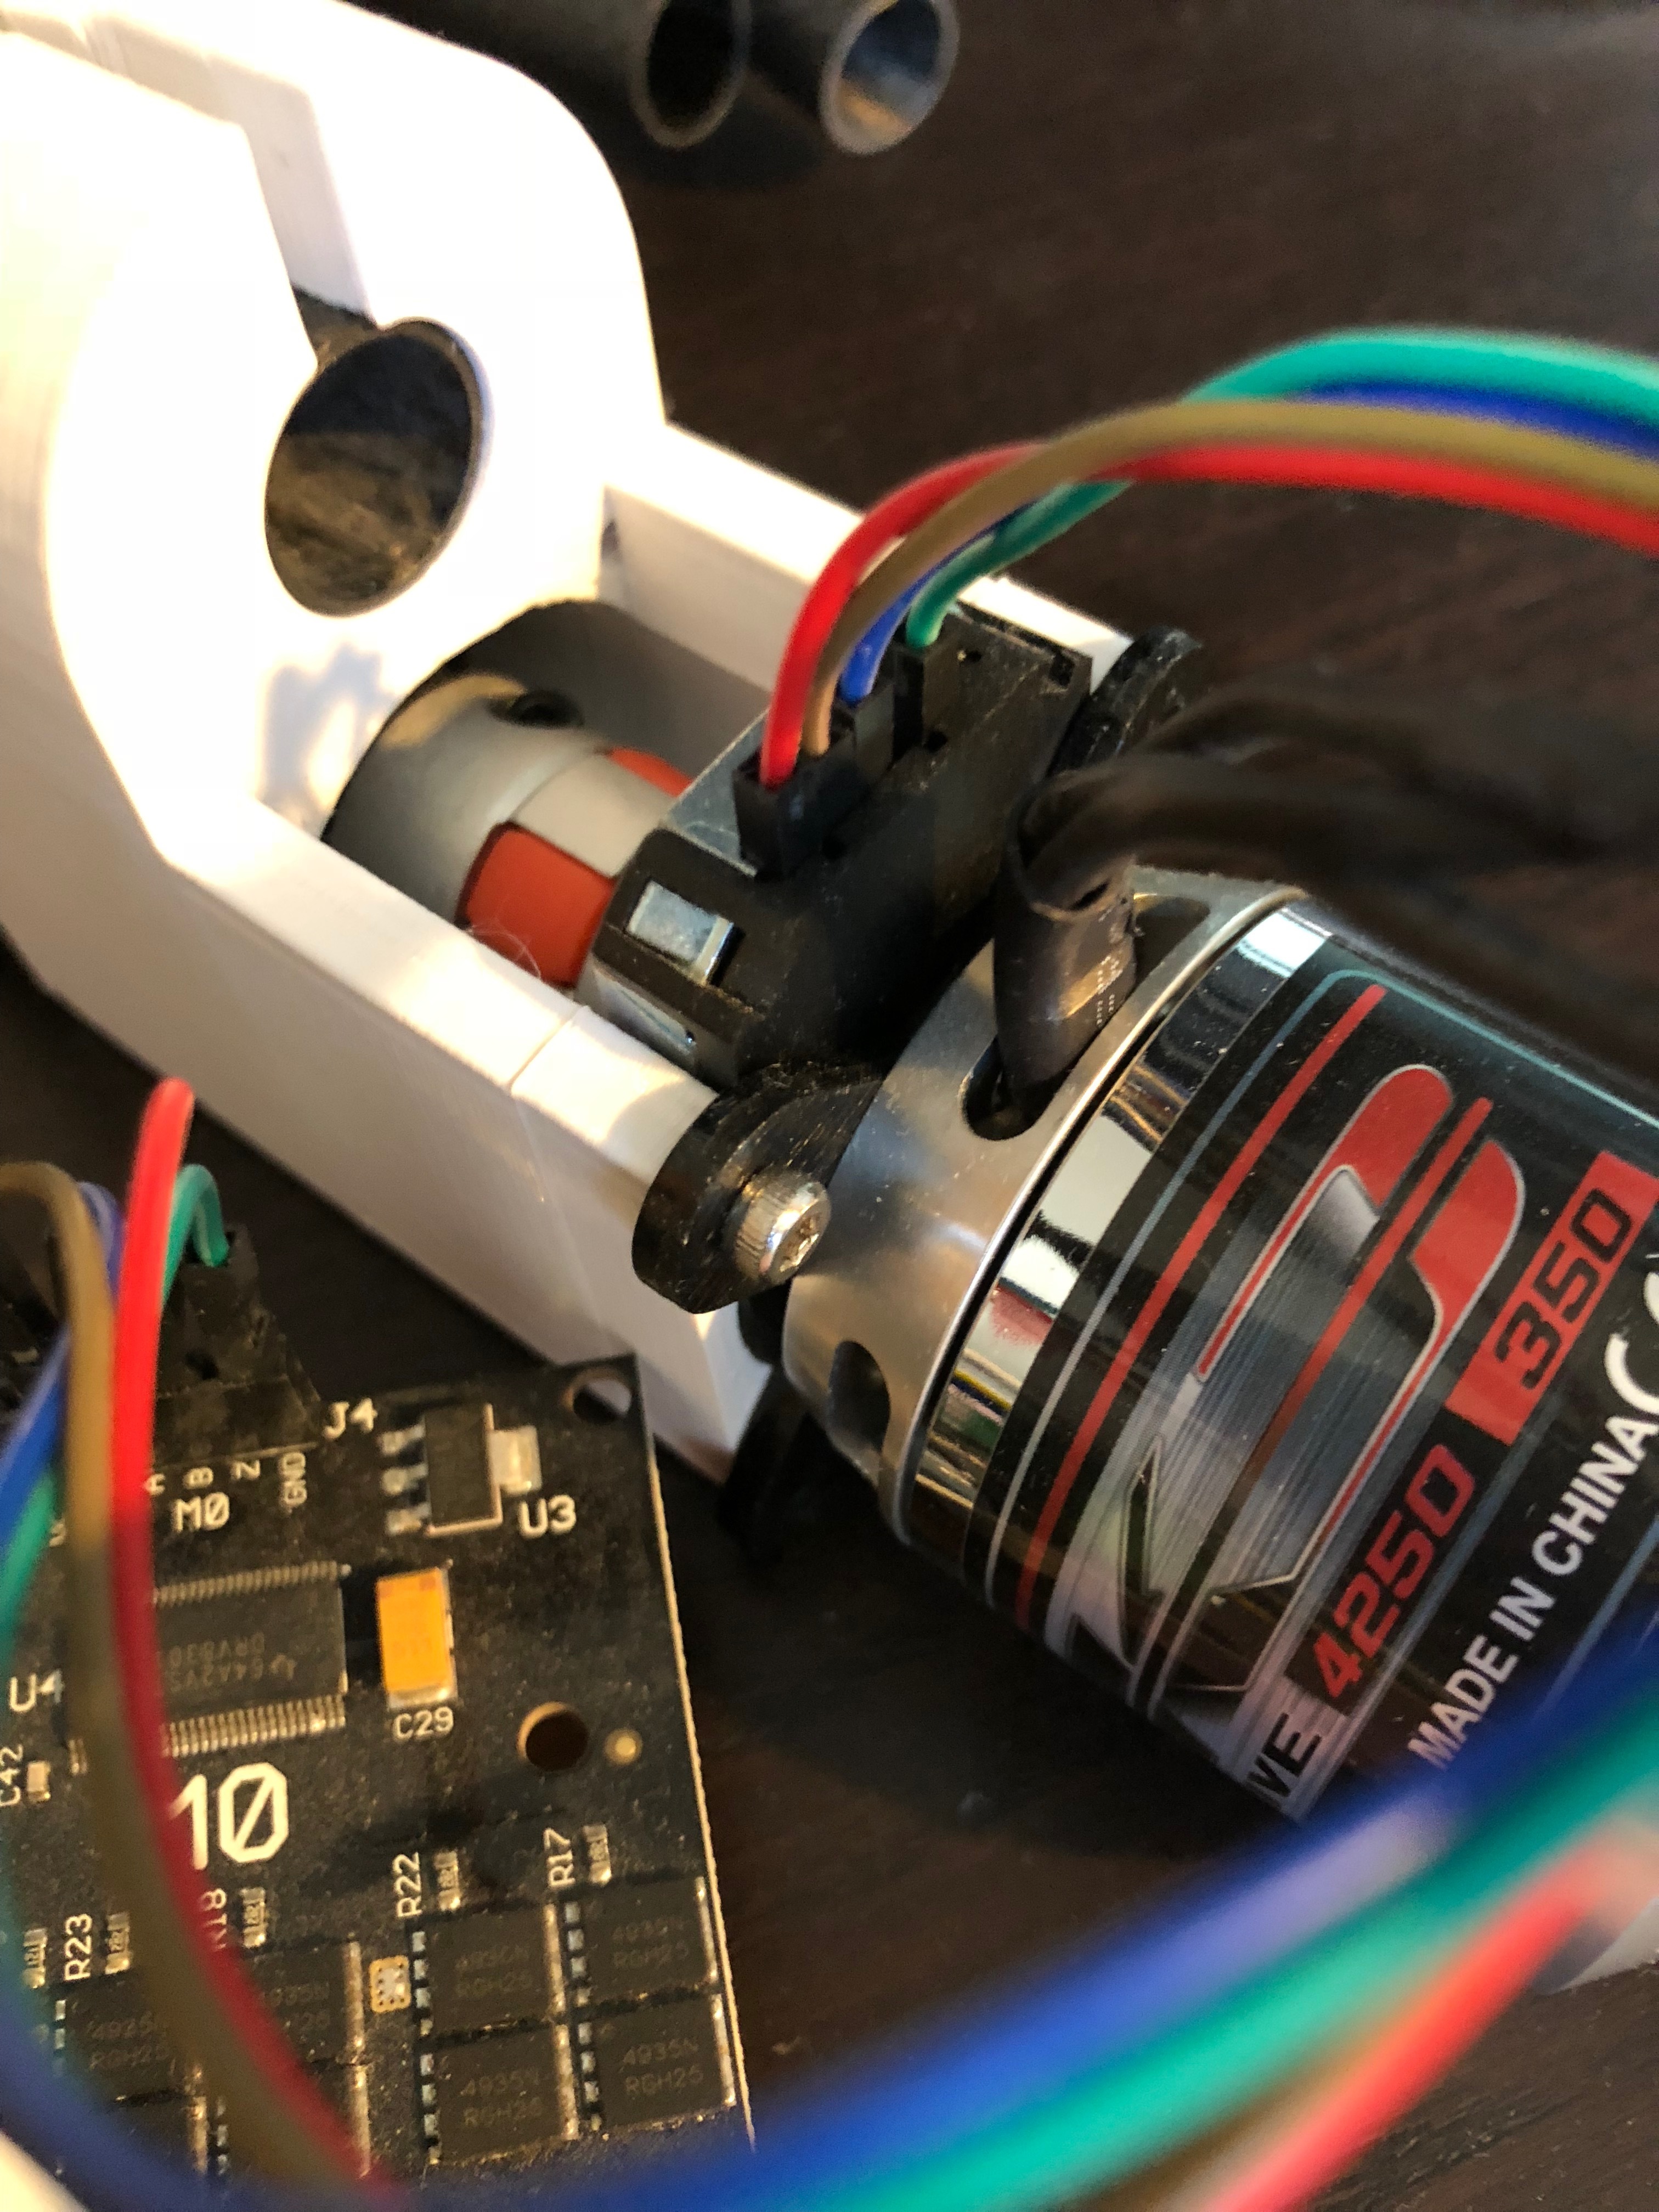
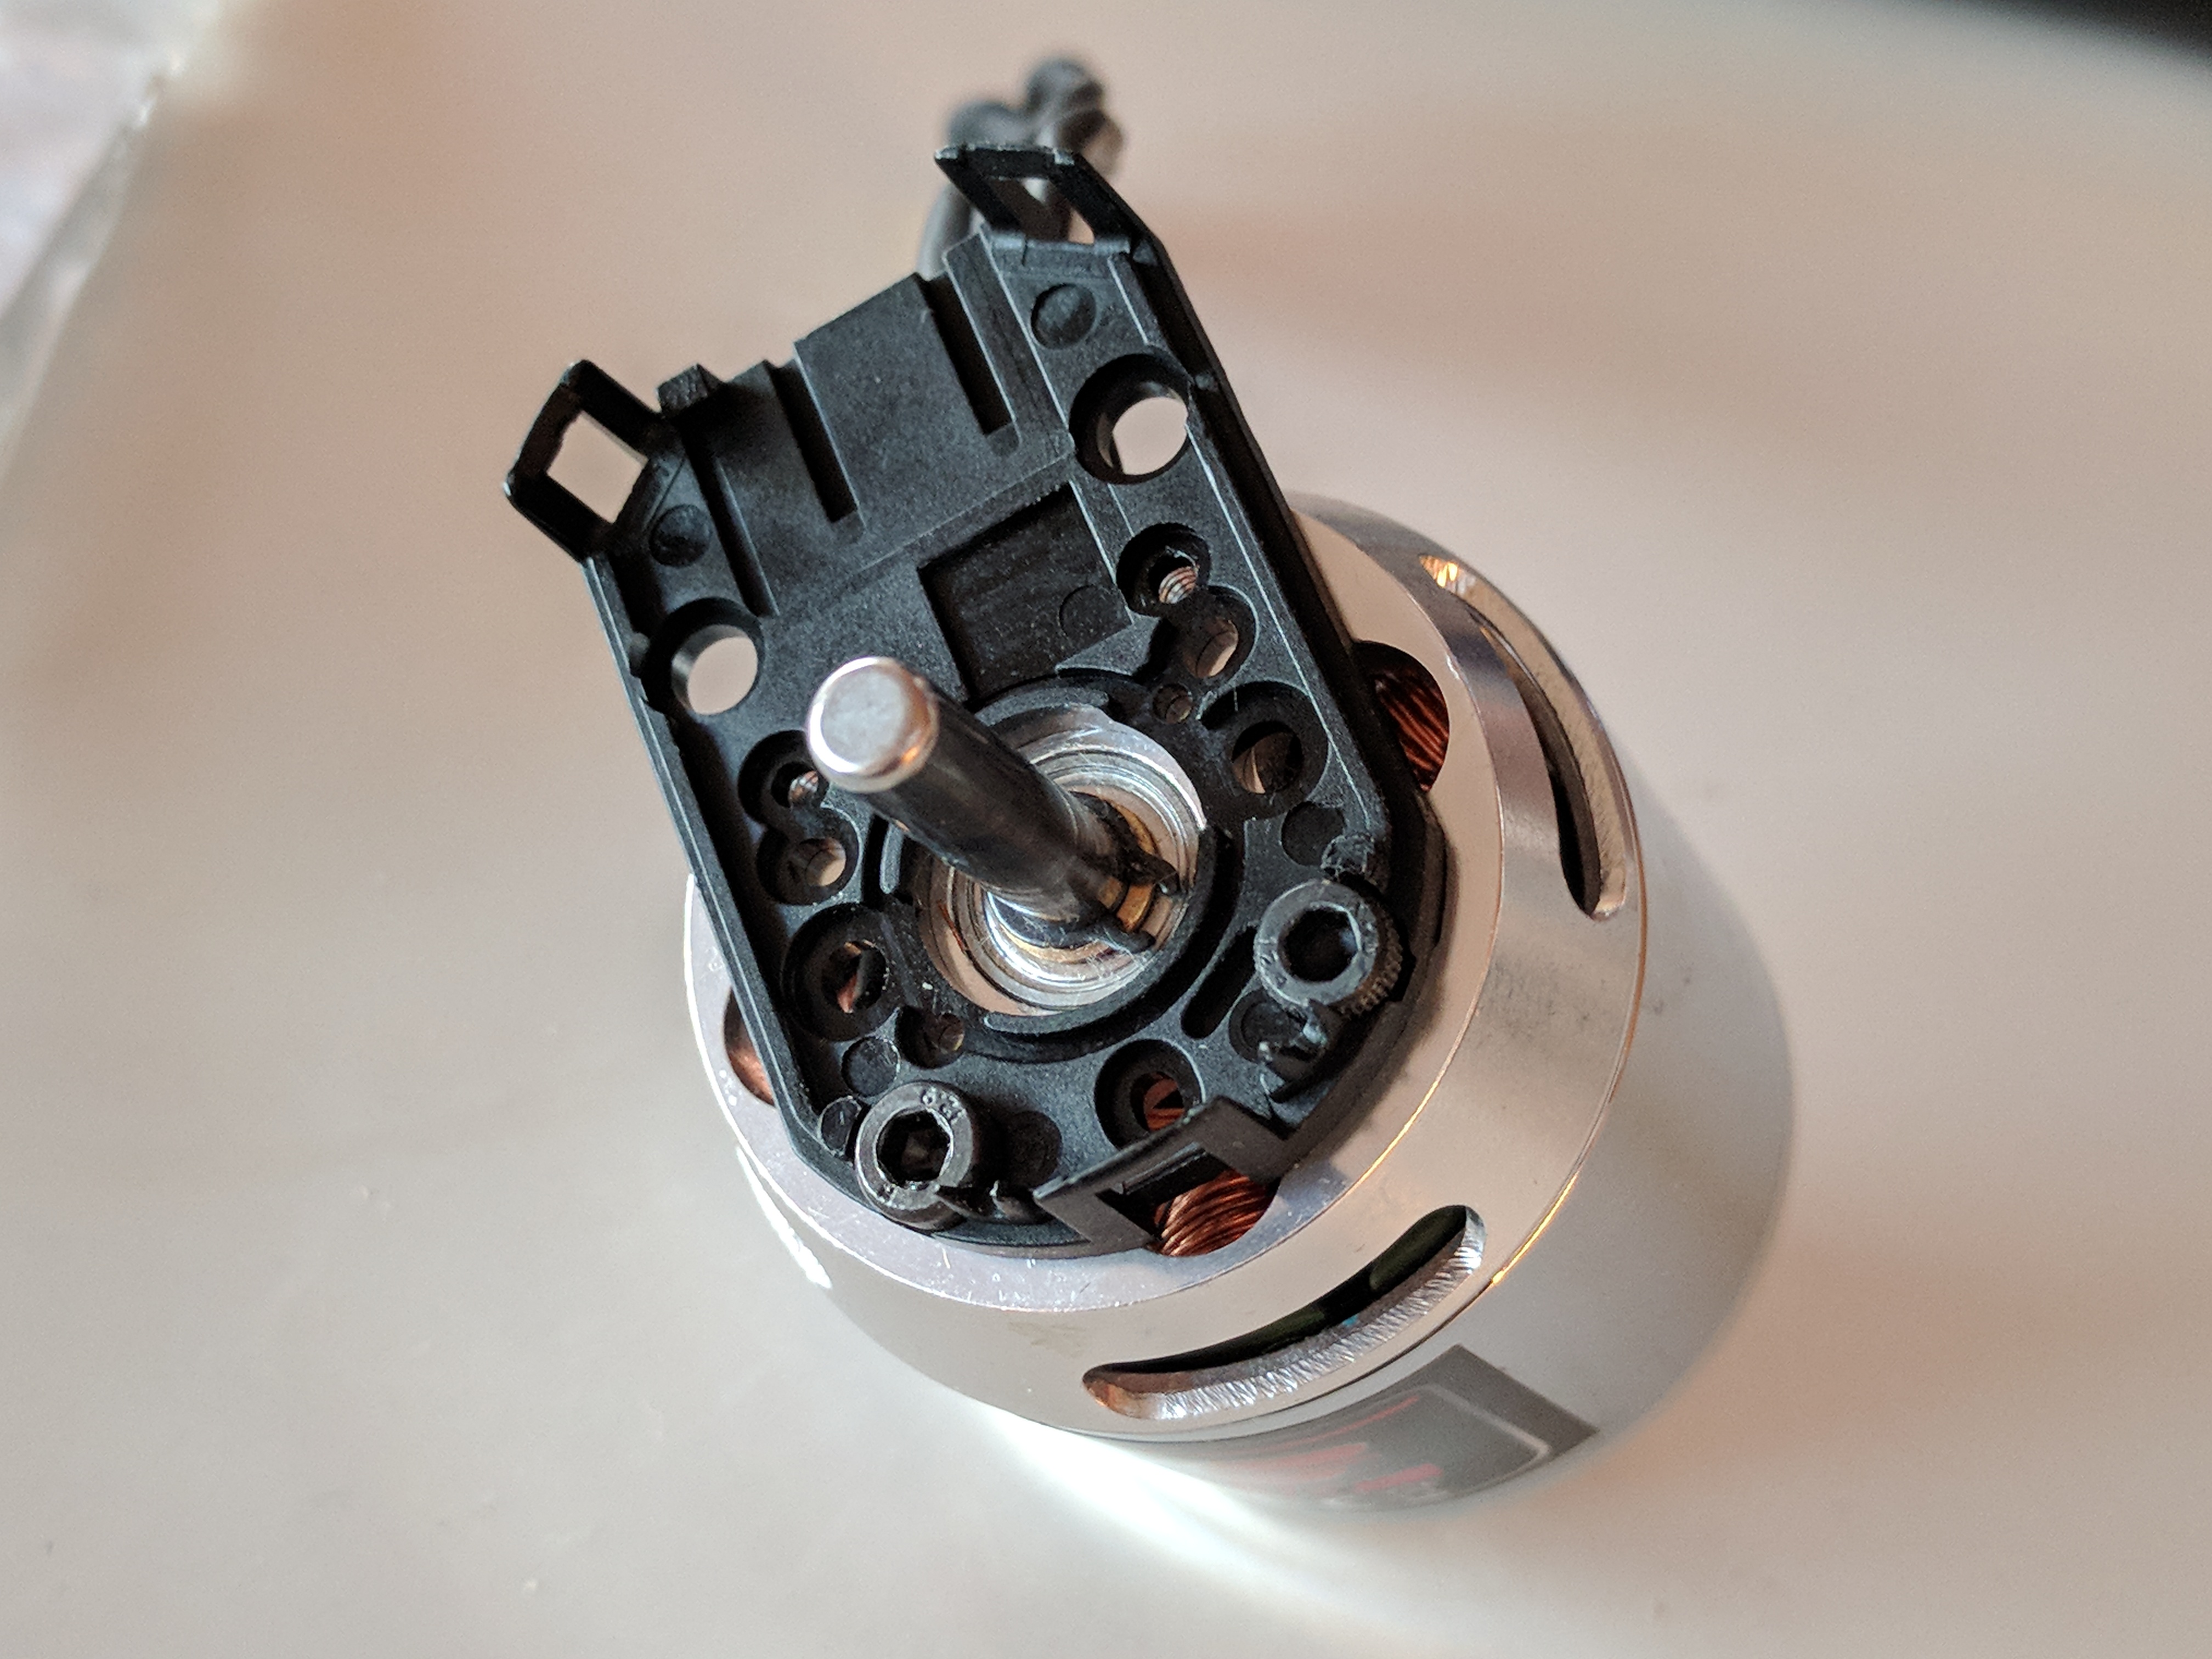
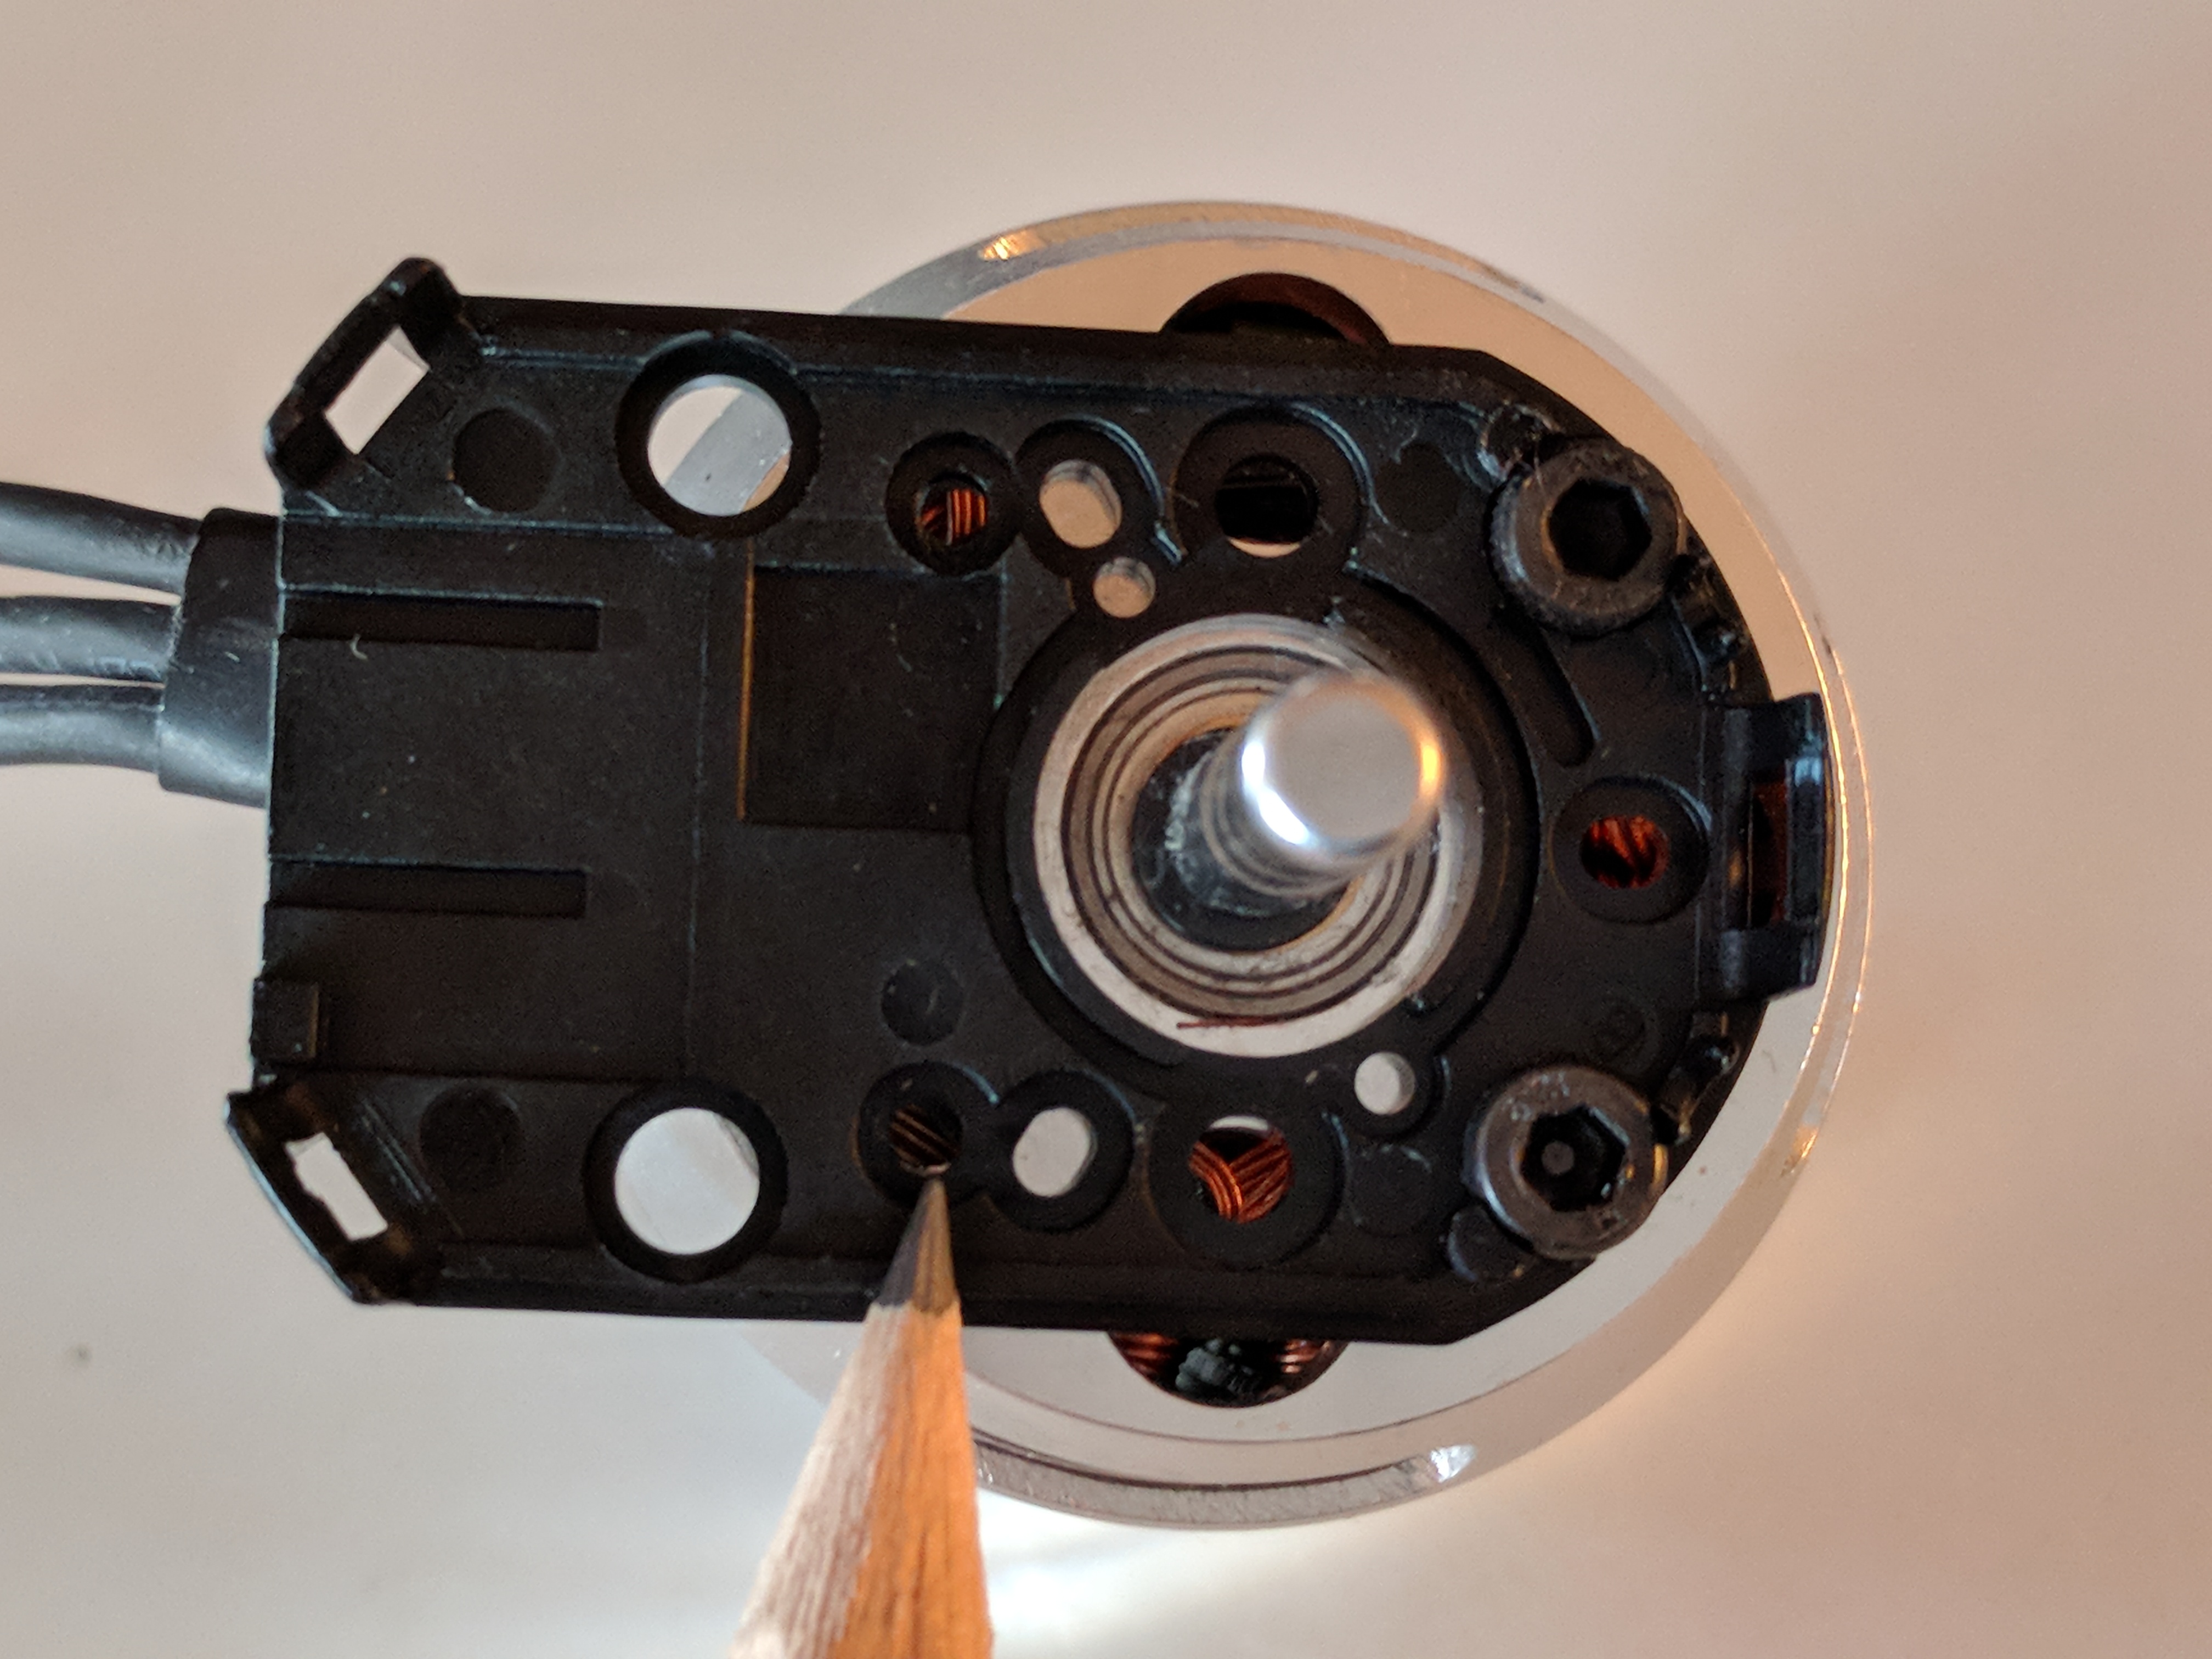
I figured I’d share my project here. It’s a high-speed (~200mm/s) linear actuator for a robot I’m building. It’s built with an SK3-4250 and a 1204 ball screw.
Looks great! I like the design, nice use of Igus bushings, and I really like how the screw fits in the tube.
The CUI encoders have an index pulse, and we have some firmware that is done but just needs to be reviewed and tested before being completely ready. You can subscribe to the relevant issue on github. With this feature you should be able to retrieve the calibration once you have let the drive “limp” over to the index pulse. You will still get some movement on startup, but it should not be sensitive to any load you may have that may interfere with calibration.
We do also have plans for supporting absolute encoders, but that is a while before we will get up and running.
Very neat! I love the bearings. Drylin bearings on a carbon fibre rod?
Have you played with the tuning at all? You can actually see the cogging torque right at the end of the moves - you may benefit from higher gains, and from running the anti-cogging algorithm.
I guess you could drill it out though, especially since the encoder sits pretty well with just the 2 screws anyway. Interested to know how you did it @g-levine.
Looks fantastic! I like your design as its relatively simple while still being light and robust. I did some testing with ball screws a while back and was very happy with the results as well.
What kind of robot do you have in mind for this actuator? Maybe consider stopping by the odrive discord channel some time as there are quite a few people on their building their own o-drive powered robots and so its a great place to share ideas.
I plan on using it for a bipedal walking robot. This actuator is just a proof of concept, I’m working on a new version that’s fully enclosed in a 3d printed frame and uses an IGUS linear rail for anti-rotation.