nice to hear that you like my work!
Yes, all the parts I machined by myself. I have a small workshop and a old lathe. So it is possible to make it with medium quality machinery, but there are some things that can be done better from an professional manufacturer. Especially the drilles and threads around the turned parts are difficult to make precise with my equipment.
When my prototype is finished (needs some more weeks due to lack of time) I will make the list of materials and name all suppliers.
My aim is to share all my work in the future, but due to lack of time things continue only when I have enough spare time.
I also plan to make a bulk order of some Materials/ Parts that I can share with people who are interrested in my work and dont have the possibility to do everything themselve.
If you are seriously interrested in making the same actuator I propose you start with an Odrive test stand and try to get a working drive.
If you need further help - you are wellcome!
Thanks! I am waiting on the odrives as they are on back order. I am excited to play with all this stuff. Do you mind quickly sharing your dimensions on the pipes? Stainless steel? Inner diameter and outer diameter? I am trying to get a projected cost before I delve in. Also, what kind of plastic are you using?
Hi Boardy!
Sorry for the late reply!
Today I made a parts list with the prices I have or estimate.
So one actuator will cost aproximately 475,- € including Odrives, encoders, universal joints.
That means that 6 actuators will cost 2850,-€. The power supply I estimate to 250,-€
The Platform I estimate to 200,-€
So the complete 6DOF platform will cost about 3300,-€
This seems to be a lot of money, but keep in mind that your actuators will be connected directly to the PC and nothing else will be needed!
Here is the parts list (no guaranty being complete)
1
motor
30
€
1
coupling
8
€
1
Spindle 1605, 600mm long
77
€
1
inner ring
2
€
1
encoder
44
€
2
angular ball bearing
9
€
0,5
Odrive (costs for 1 Motor)
90
€
1
shaft seal
10
€
5
O-rings
5
€
1
Alu-pipe 84mm
20
€
1
Steel pipe 2 inch
20
€
Material
30
€
screws
10
€
4
distance bolts
7
€
20
magnets
5
€
2
Reed-switches
10
€
1
Valve
8
€
Grease
10
€
miscellaneus and delivery
30
€
universal jonits
50
€
475
€
Regarding your questions:
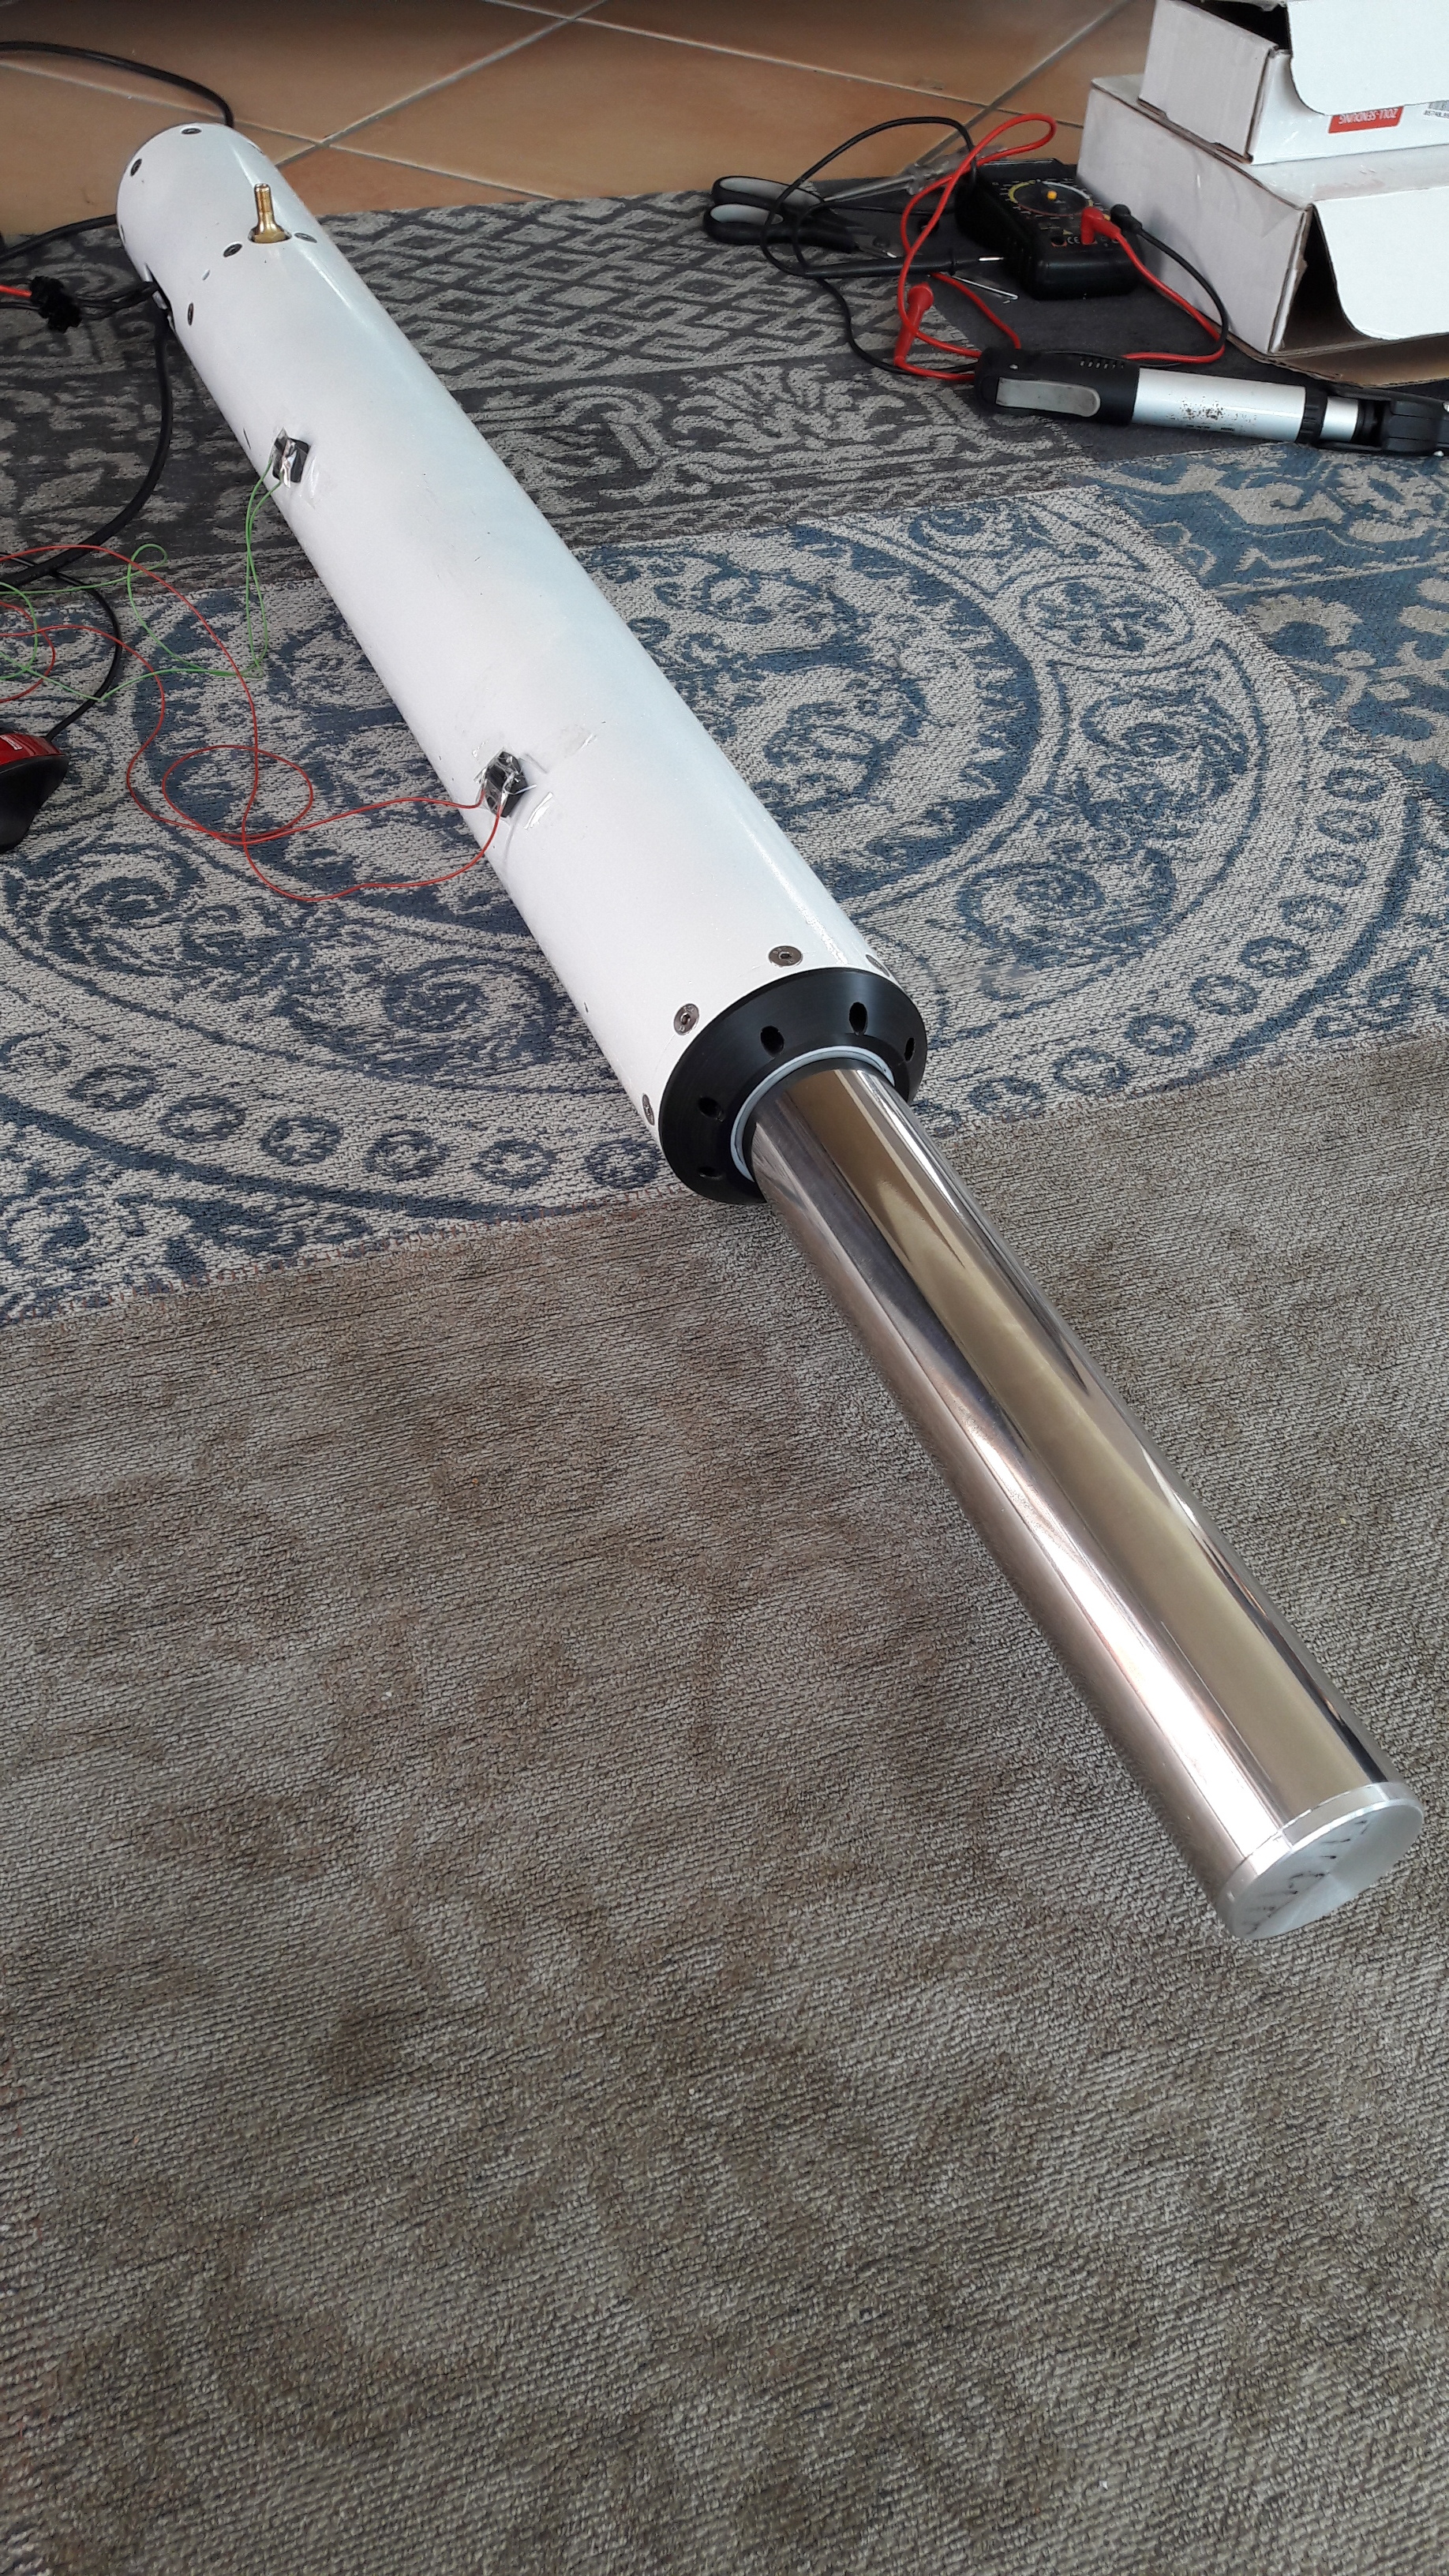
The thick tube of the prototype is Aluminium 84mm inner diameter x 3mm, 728mm long. But after the prototype I will change to a much better but more expensive Aluminium hard coated pneumatic tube with little smaller diameter (80mm inner diameter x 2,5mm).
the thin tube was Aluminium, but I just changed it to stainless polished steel 2inch outer diameter and 555mm long. It looks much cooler now
The plastic parts are all made from POM that is easy to work with.
In the last few weeks, I’ve made a few minor changes to my prototype. First, I made a new piston rod from polished stainless steel instead of Aluminium and painted the cylinder white. My son told me that the aluminium rod doesnt look cool. The new piston rod is a little thinner, so I had to change some parts a little bit.
The the third thing was to make the endswitches working. I can tell you… it was a pain and took many hours. I got also help from a professional (from my work) to find the “missing part”. I had three main problems: 1) flashing the firmware wasnt working anymore with the DfuSe tool - I dont know why. So I had to learn how to flash the firmware with the ST-Link.
2) The pin-connection of the ST-Link shown in the Odrive tutorial was different to my ST-Link. It took some time to find it out that I connected it wrong.
3) Finding the correct command-syntax for the endstop configuration.
…So, but finally things are working more or less.
When I switch on the odrive, calibation, homing and endstops are working.
Problems that are still remain:
I changed the motor direction during the startup process, but I wasnt able to avoid hitting the hardware-entdstop. I dont know how to influence what the motor is doing.
I tried to change the …encoder.config.offset = XXXX. But after a reboot the setting is gone (bug?). I am not shure this would be the right path to avoid?
Some Gpio´s are still not working with the endswitches. When I remember correctly, No. 5 should work - but doesnt !? Currently I am using Gpio No. 6 and 8.
I strongly hope that Odrive will finish the Endstop-firmware branch soon, because I will not continue my project, until everything is working perfect with the protoype. The project will be too expensive to fail.
I was not able to get GPIO less than 6 running. So I had only three GPIOs. What I did was, to use two GPIOs for the bottom end switches and one for both up end switches. If one actuator hits the upper switch both axis get stopped.
But try to disable the UART interface you don’t need it. May be the GPIOs below 6 are available after that.
Greetings / Zennix
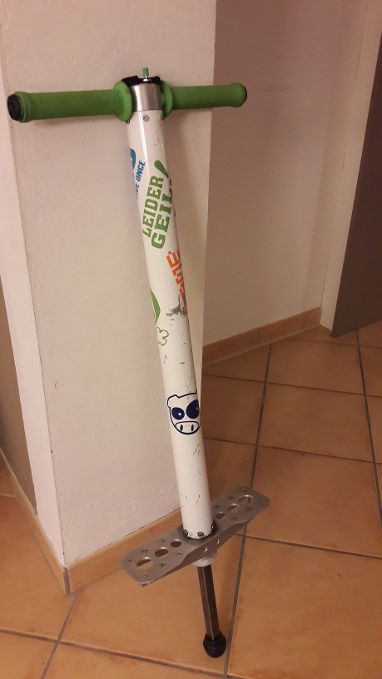
The reason for building it was that the professional
air-spring-pogo-sticks were verry expensive and more for adults than for
children.
For children there were only some kind of toys - but my son wanted to
jump higher
The pogo stick is nothing more than an simple air-cylinder with a
piston. The secret to have success ist to minimize the friction between
the the piston and the cylinder. This can be done by a simple O-Ring,
but only with a special O-ring groove. It has to be wider and (!) deeper
than the O-rings diameter is! Additionally the O-ring outer diameter
hast to be little larger than the inner diameter of the zylinder. That
all sounds against the technical rules, but with this design the o-ring
will have the lowest possible friction and good tightness - thats the
secret
One question: has your odrive already arrived?
Regards Wickie
Looks like a lot of fun! Thanks for the tip with the o-rings.
I haven’t received the odrives, the website says they will be back in stock may 10th so, until then we wait.
Couple of questions:
The four threaded rods run through the smaller piston section right? What is the purpose of these? To hold on the end caps? Why not just screw in the end caps from the side like you did with the larger cylinder? Aesthetics? Worried about air pressure?
Your power supply will just be three car batteries in series right? Will you be charging them with one tender one at a time or will you charge them in parallel all at once? I was hoping there would be a wall power supply that would have enough amperage but it doesn’t appear there is one that’s less than $400.
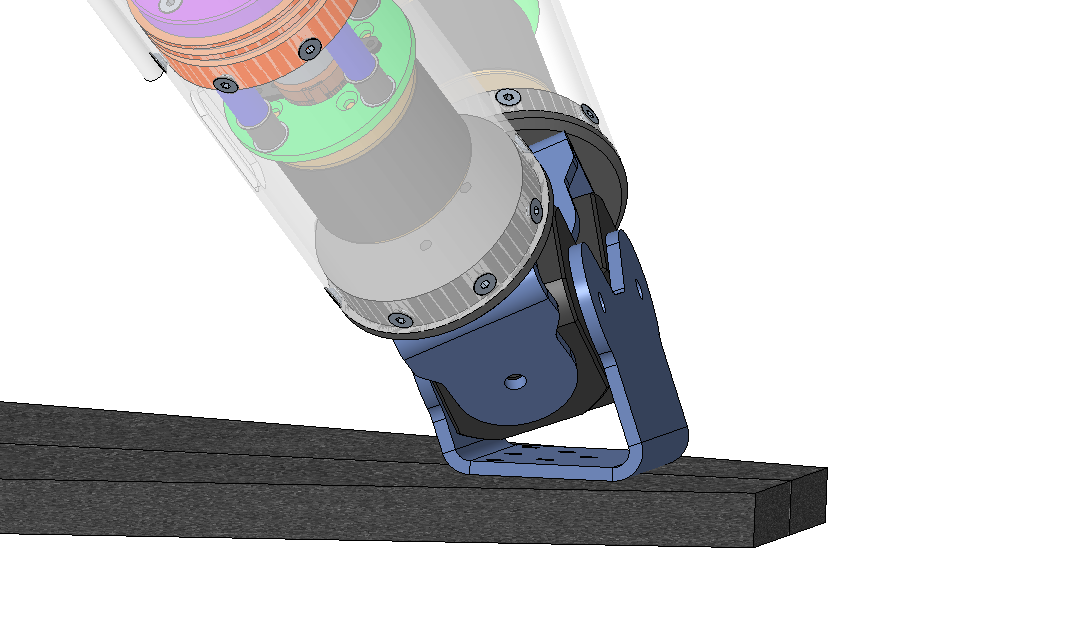
Regarding your question 1:
The aim of the four threaded rods is to make an extreme stiff and easy to manufacture connection between the piston, the piston rod and the endcaps.
I found out, that with my workshop-equipment it is verry difficult to make precise connections with radial threads. Also I think radial screws in this heavily loaded areas tend do wear out.
Thats the reasons.
Regarding you question 2:
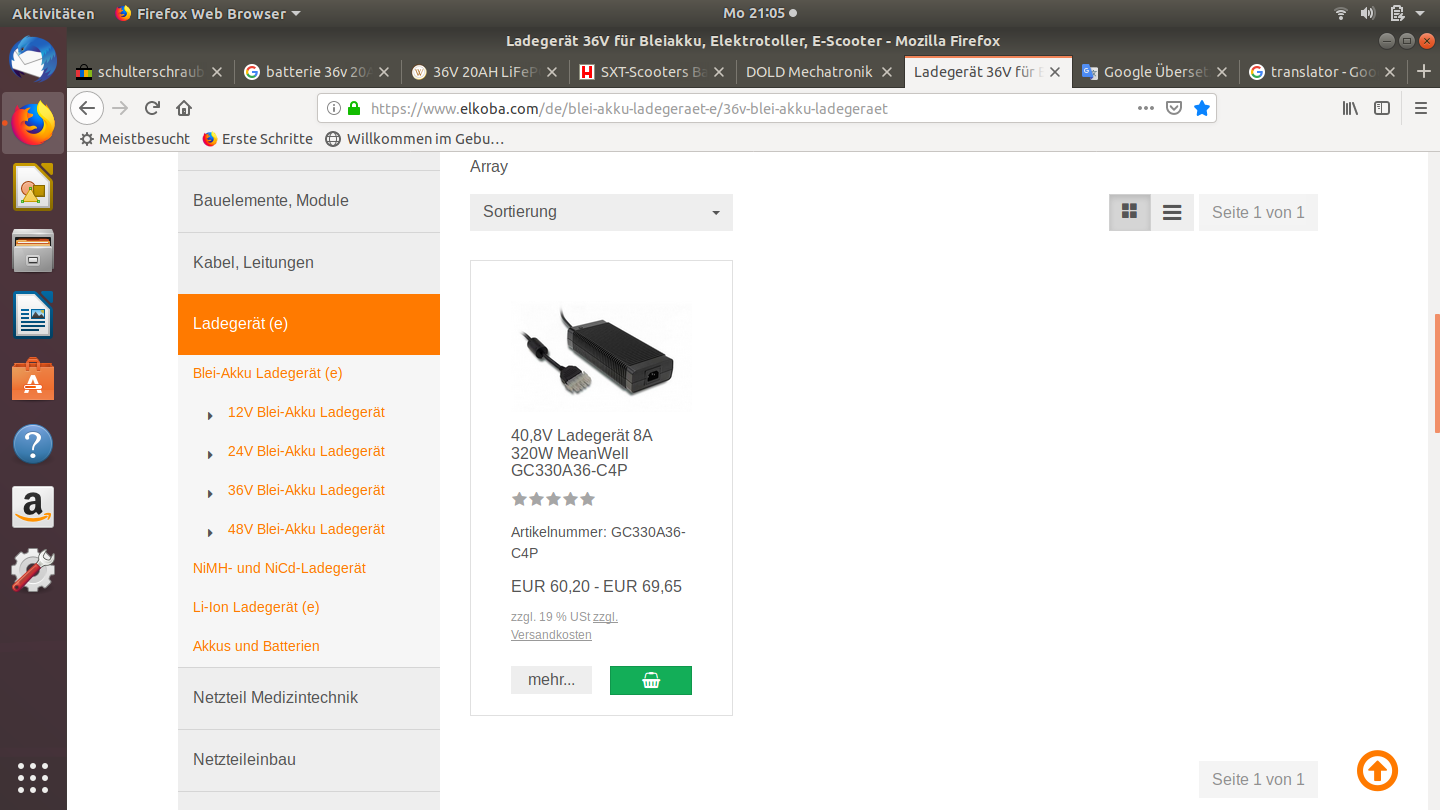
I want to charge all three batteries in series with a suitable charger. There are cheap charger and batteries that are used in electro scooters. Like this:
Maybe you read that I made some tests with a small battery - it showed me, that the power-consumption was exremely low and I believe (not sure !) a 36V 20 Ah battery-pack could be enough for medium usage of the platform. The charger has for example 8 A and gives over 300W continous.
Later, when my protoype is ready I will make some tests regarding the power-consumption…
Today I opimized my CAD-modell in oder to check whether the design of the universal joints are ok for ordering. As a side result I made a small film of a simple movement of the Platform:
I think the universal joints will work and ordered the lasercut-parts at a great online-store: www.laserteile4you.de
I will get the parts in 4 weeks
Thank you for the flowers !
It will be a long way to go until the simulator will come true.I hope that money, fun and all the communitie support will last until reaching the summit.
warm regards
Wickie
Hi Riewert,
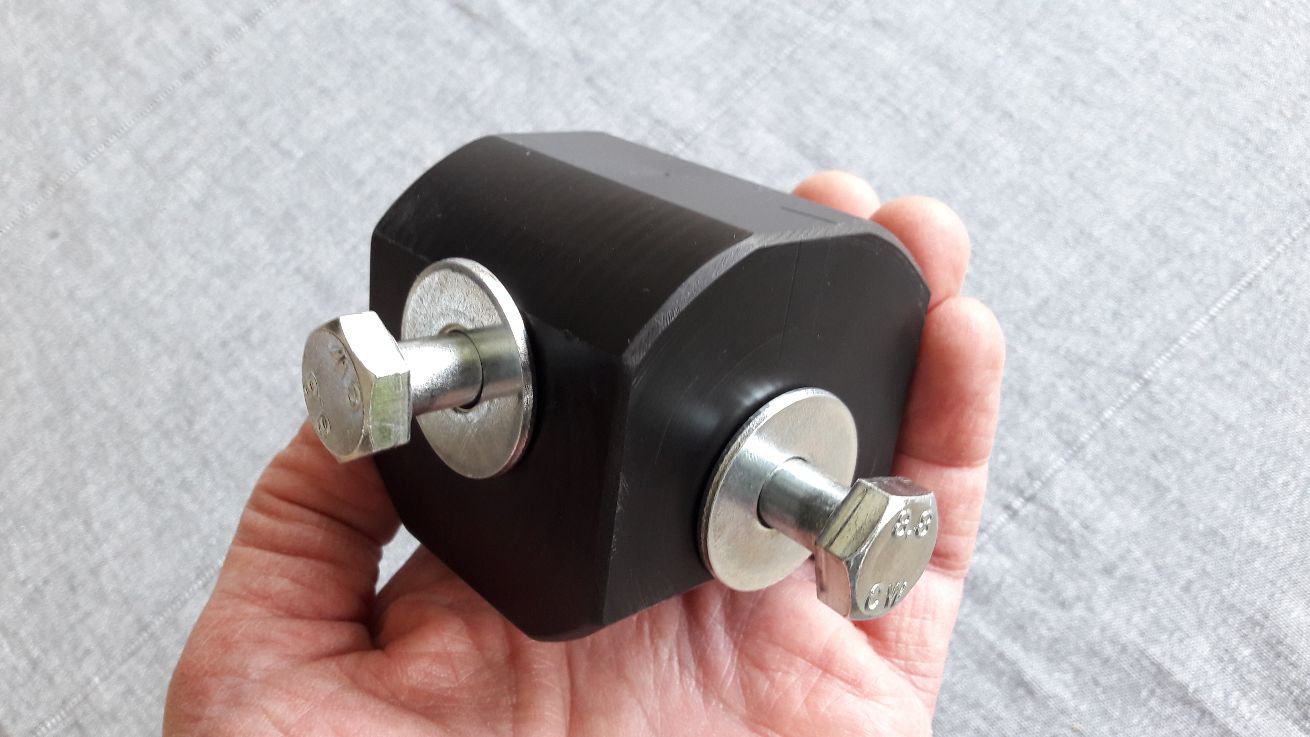
I decided to build the universal joints by myself from scratch, but one time I was also thinking about your proposed joints.
Here you can see two closeup of the my joints:
The U-braces are made from 5mm stainless steel. I ordered them from the named company. All U-braces cost about 230,- €. Ready bent.
The center part of the universal joint is made from POM material and is easy to manufacture with help of my lathe. The material costs will be around 35,- € total.
Here is the prototype:
The spacer sleeves and screws will cost also around 35,- €. So the total cost of all universal joints will be 300,- €. That means one universal joint will cost me 25,- € (without painting).
I am so sorry, but I need to inform you that I stop working with the Odrive control.
Although I spend so much time understanding the system and studying the commands, I am not able to get a stable running system. I’m so tired of running from one problem to another!
(I think I am not allone)
But dont worry, I will continue the development of my actuator and motion-platform-development with a great joy and like planned, but will look for another controller solution or wait until Odrive will release a stable and user-friendly software version. In my opinion this includes a modern user interface based on windows and a more simple and working flash tool.
If anybody will read this thread in the future and wants to take over the development of the motor control for my 6 DOF motion platform , he will always be welcome to join a great project.
But for now the Thread is closed from my side.
regards
Peter
Damn. I totally understand how you feel. I am in the same boat, wanting to use odrive for a simtools project. I have been watching the 3 simtools threads in this forum with the hope that you guys would get it resolved so I can follow. Thank you for documenting all you have so far! I was pretty excited to see Zennix get his project working but watching you and Carelsbergh struggle has been a bummer.
Back in Feb I too set off to imitate Zennix’s progress and ran into several problems that I couldn’t figure out. I am getting to the point where my hardware is ready to get installed in the rig, so I will give it another go soon enough.
Really sucks to see you go, but I get it. I’m posting here now in the hopes that the developers will take notice.


 )”
)”


 !
!