The shop where I bought the ballscrews is called Tuli ( [[https://www.tuli-shop.com/linear-mo...d-nuts/precision-ball-nuts/ball-nuts-sfh.html]
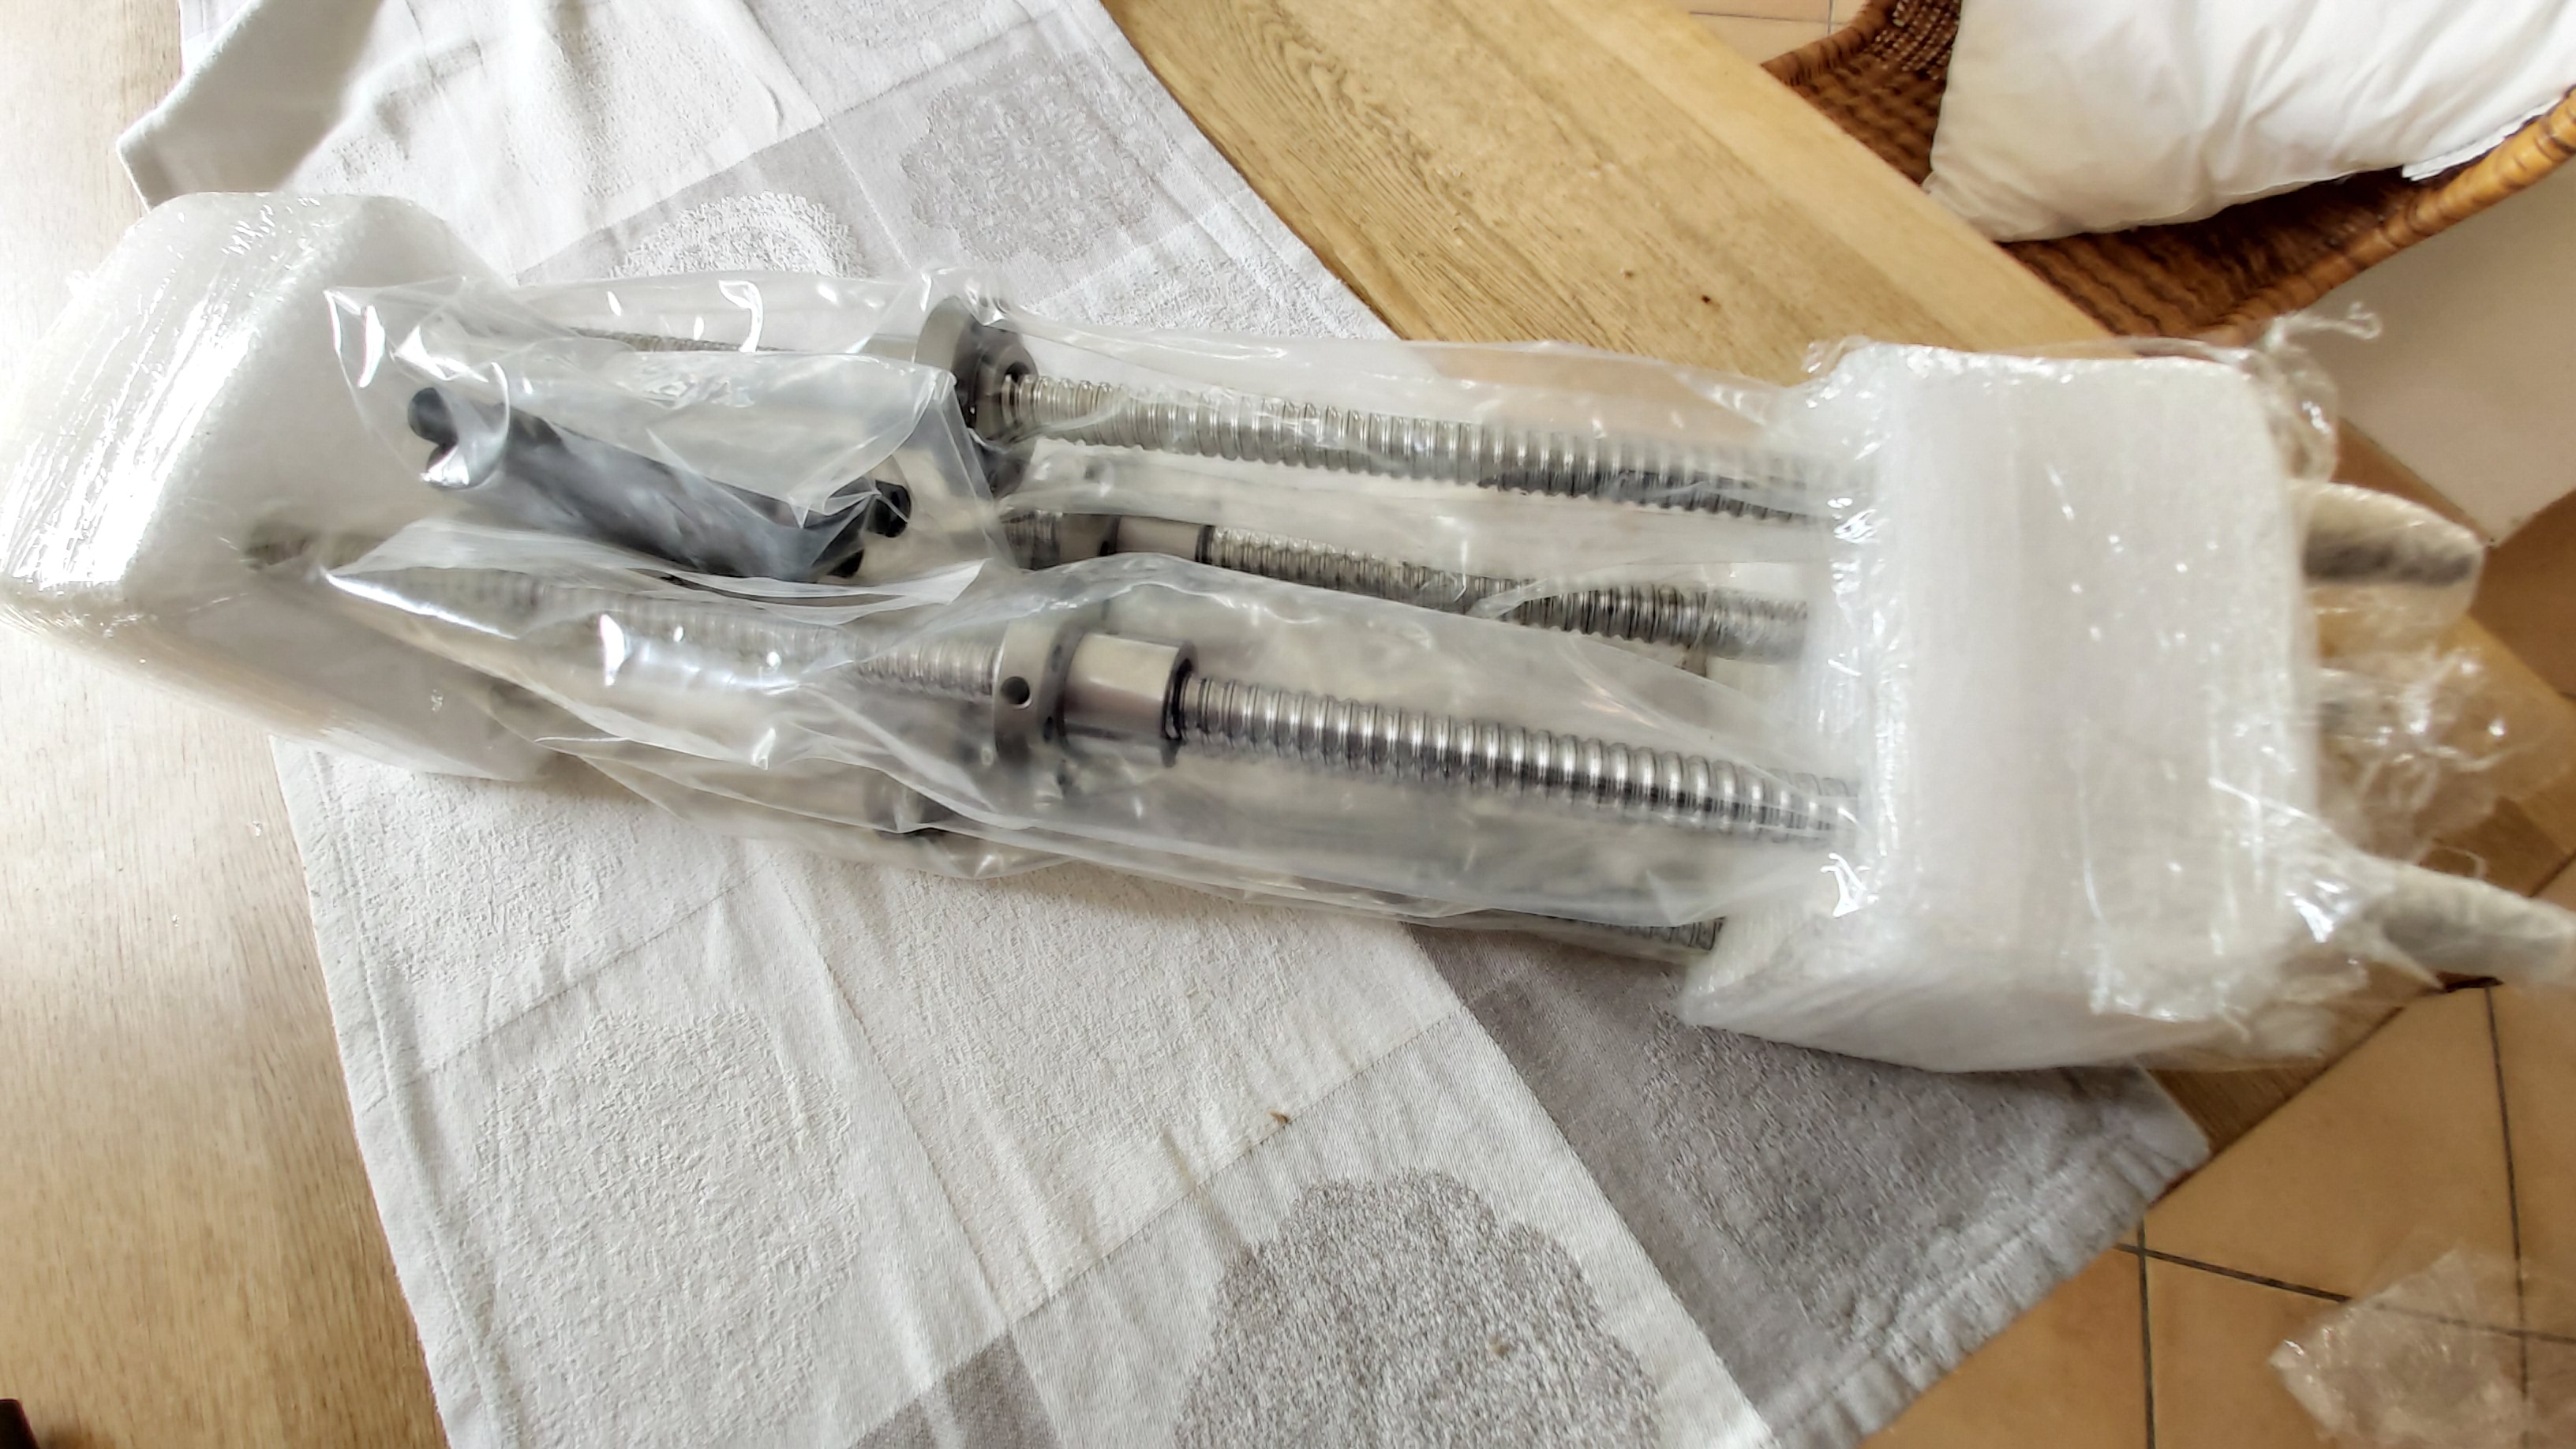
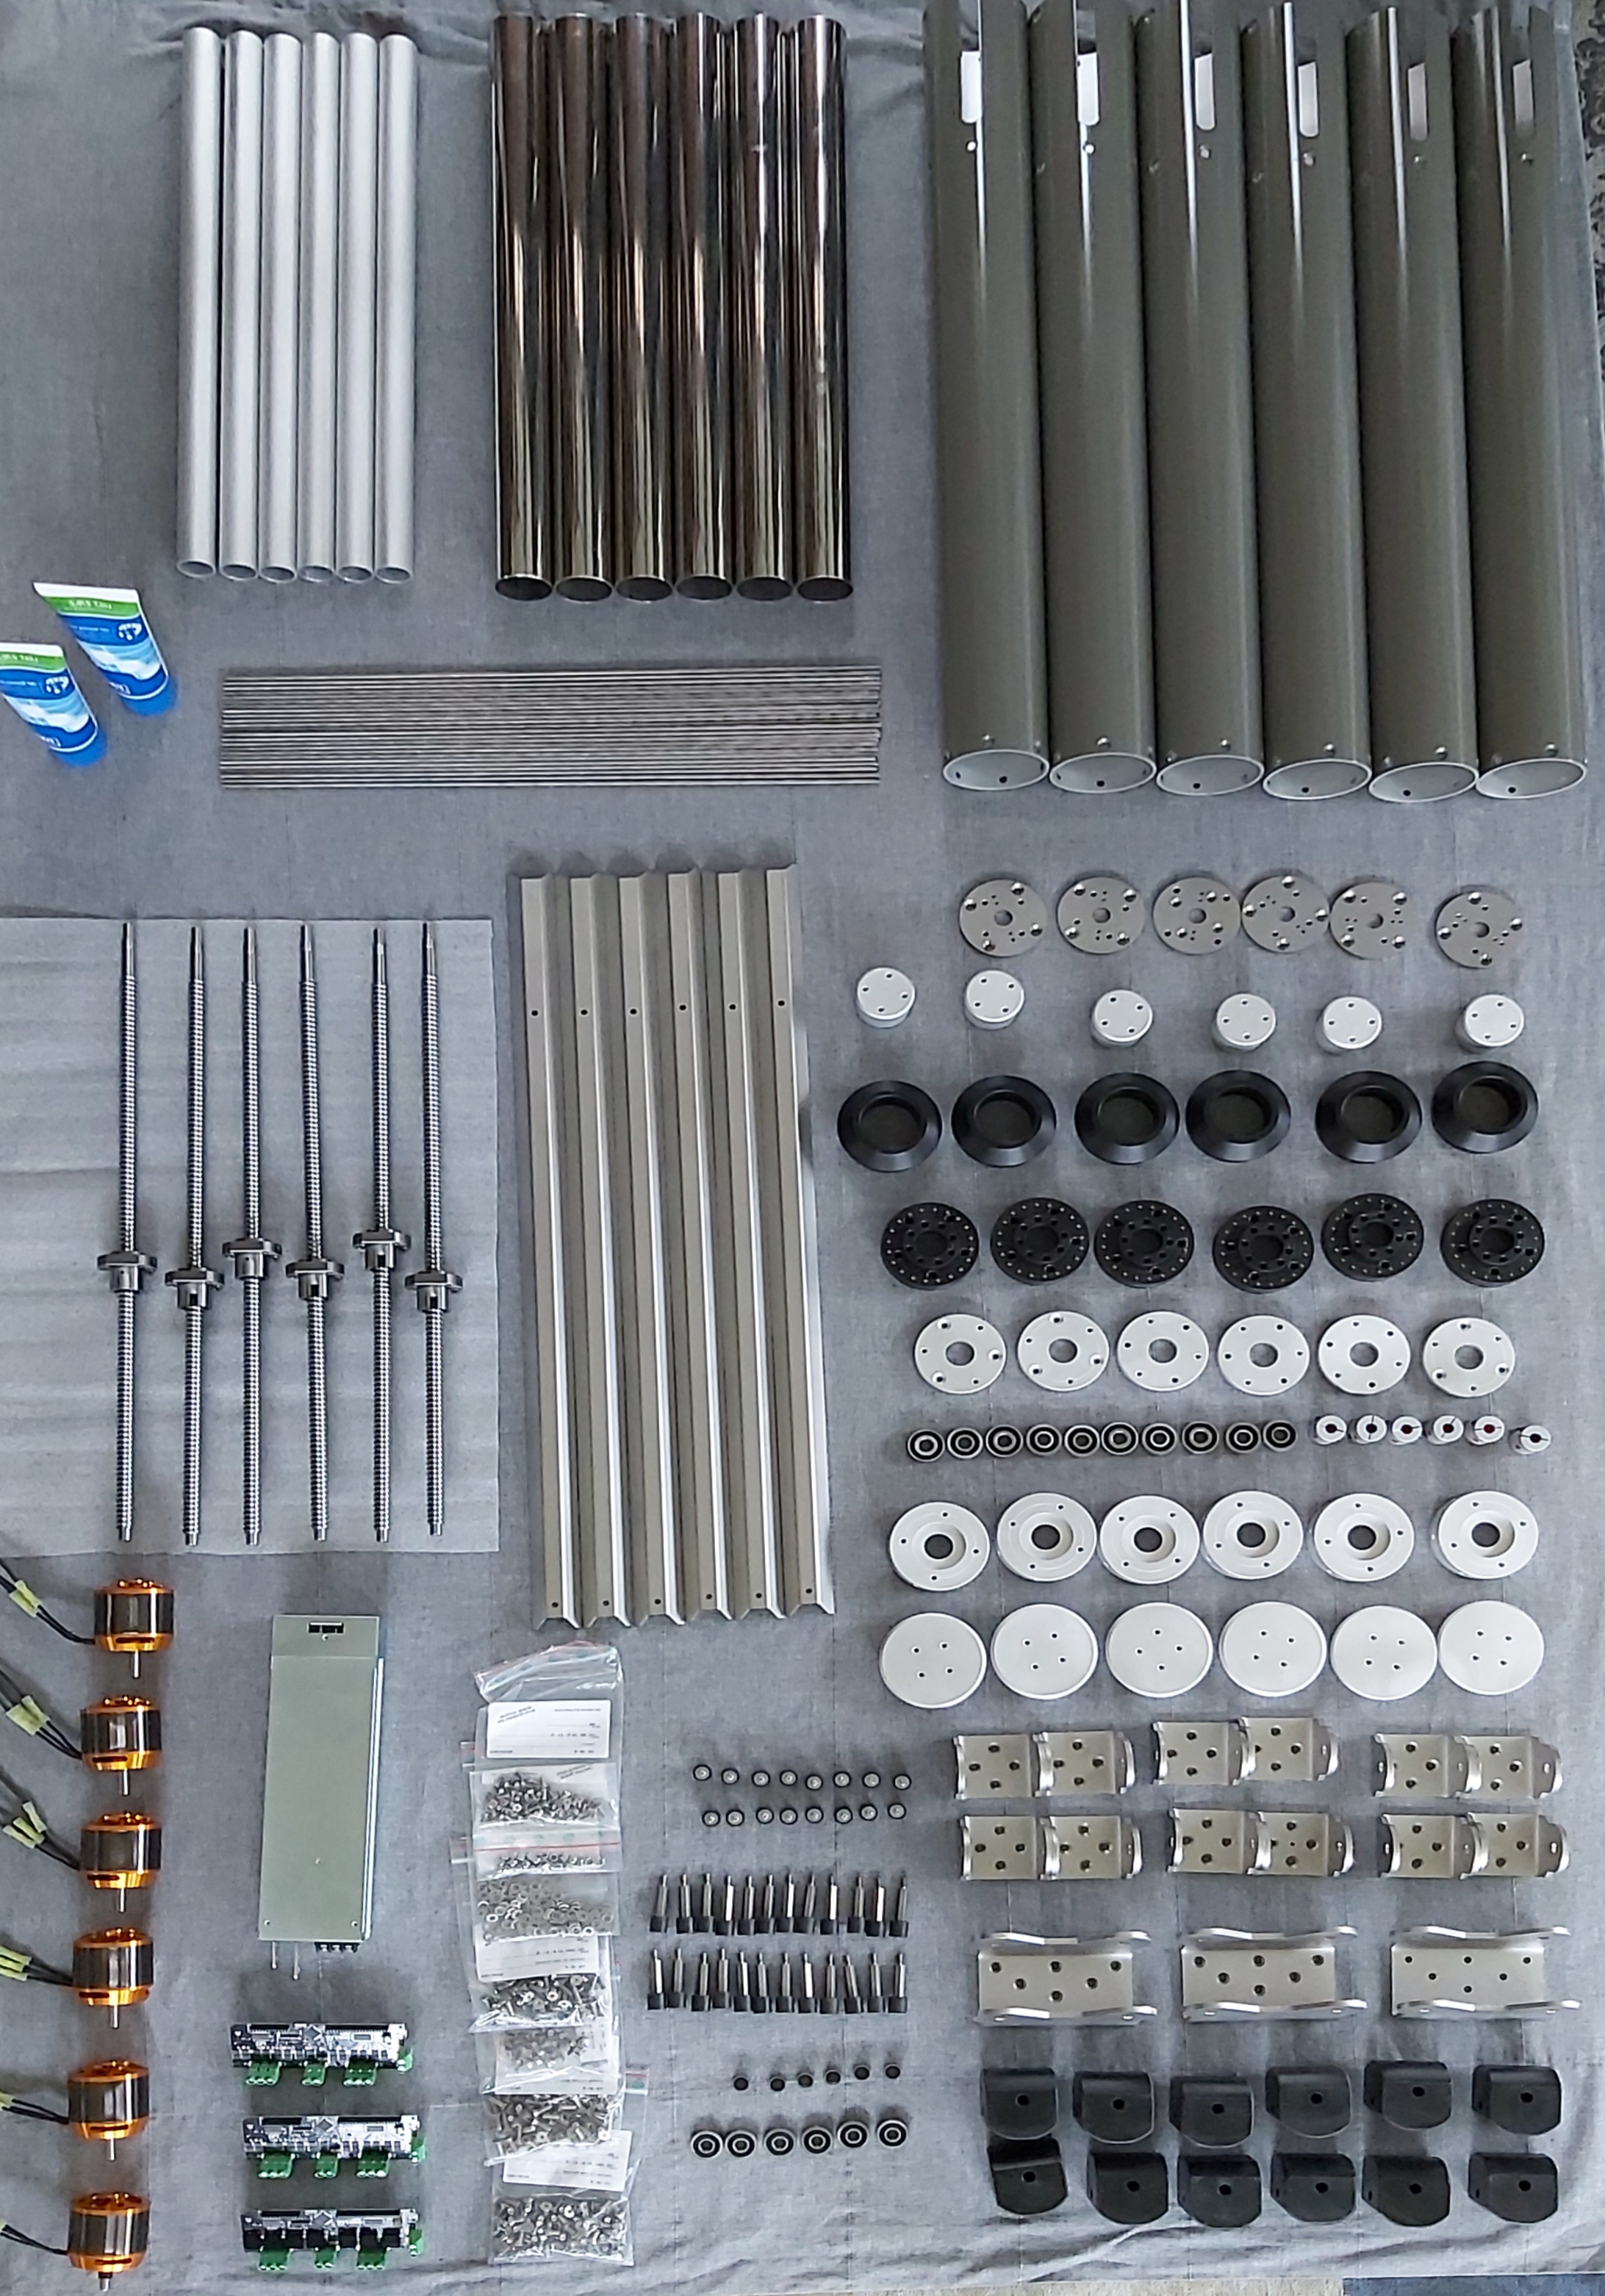
After the first attempt with cheap China ballscrews (which I had exchanged again because of the running noise), I finally decided for the 10 times (!!) more expensive quality ballscrews - hope they are worth their money and run quietly.
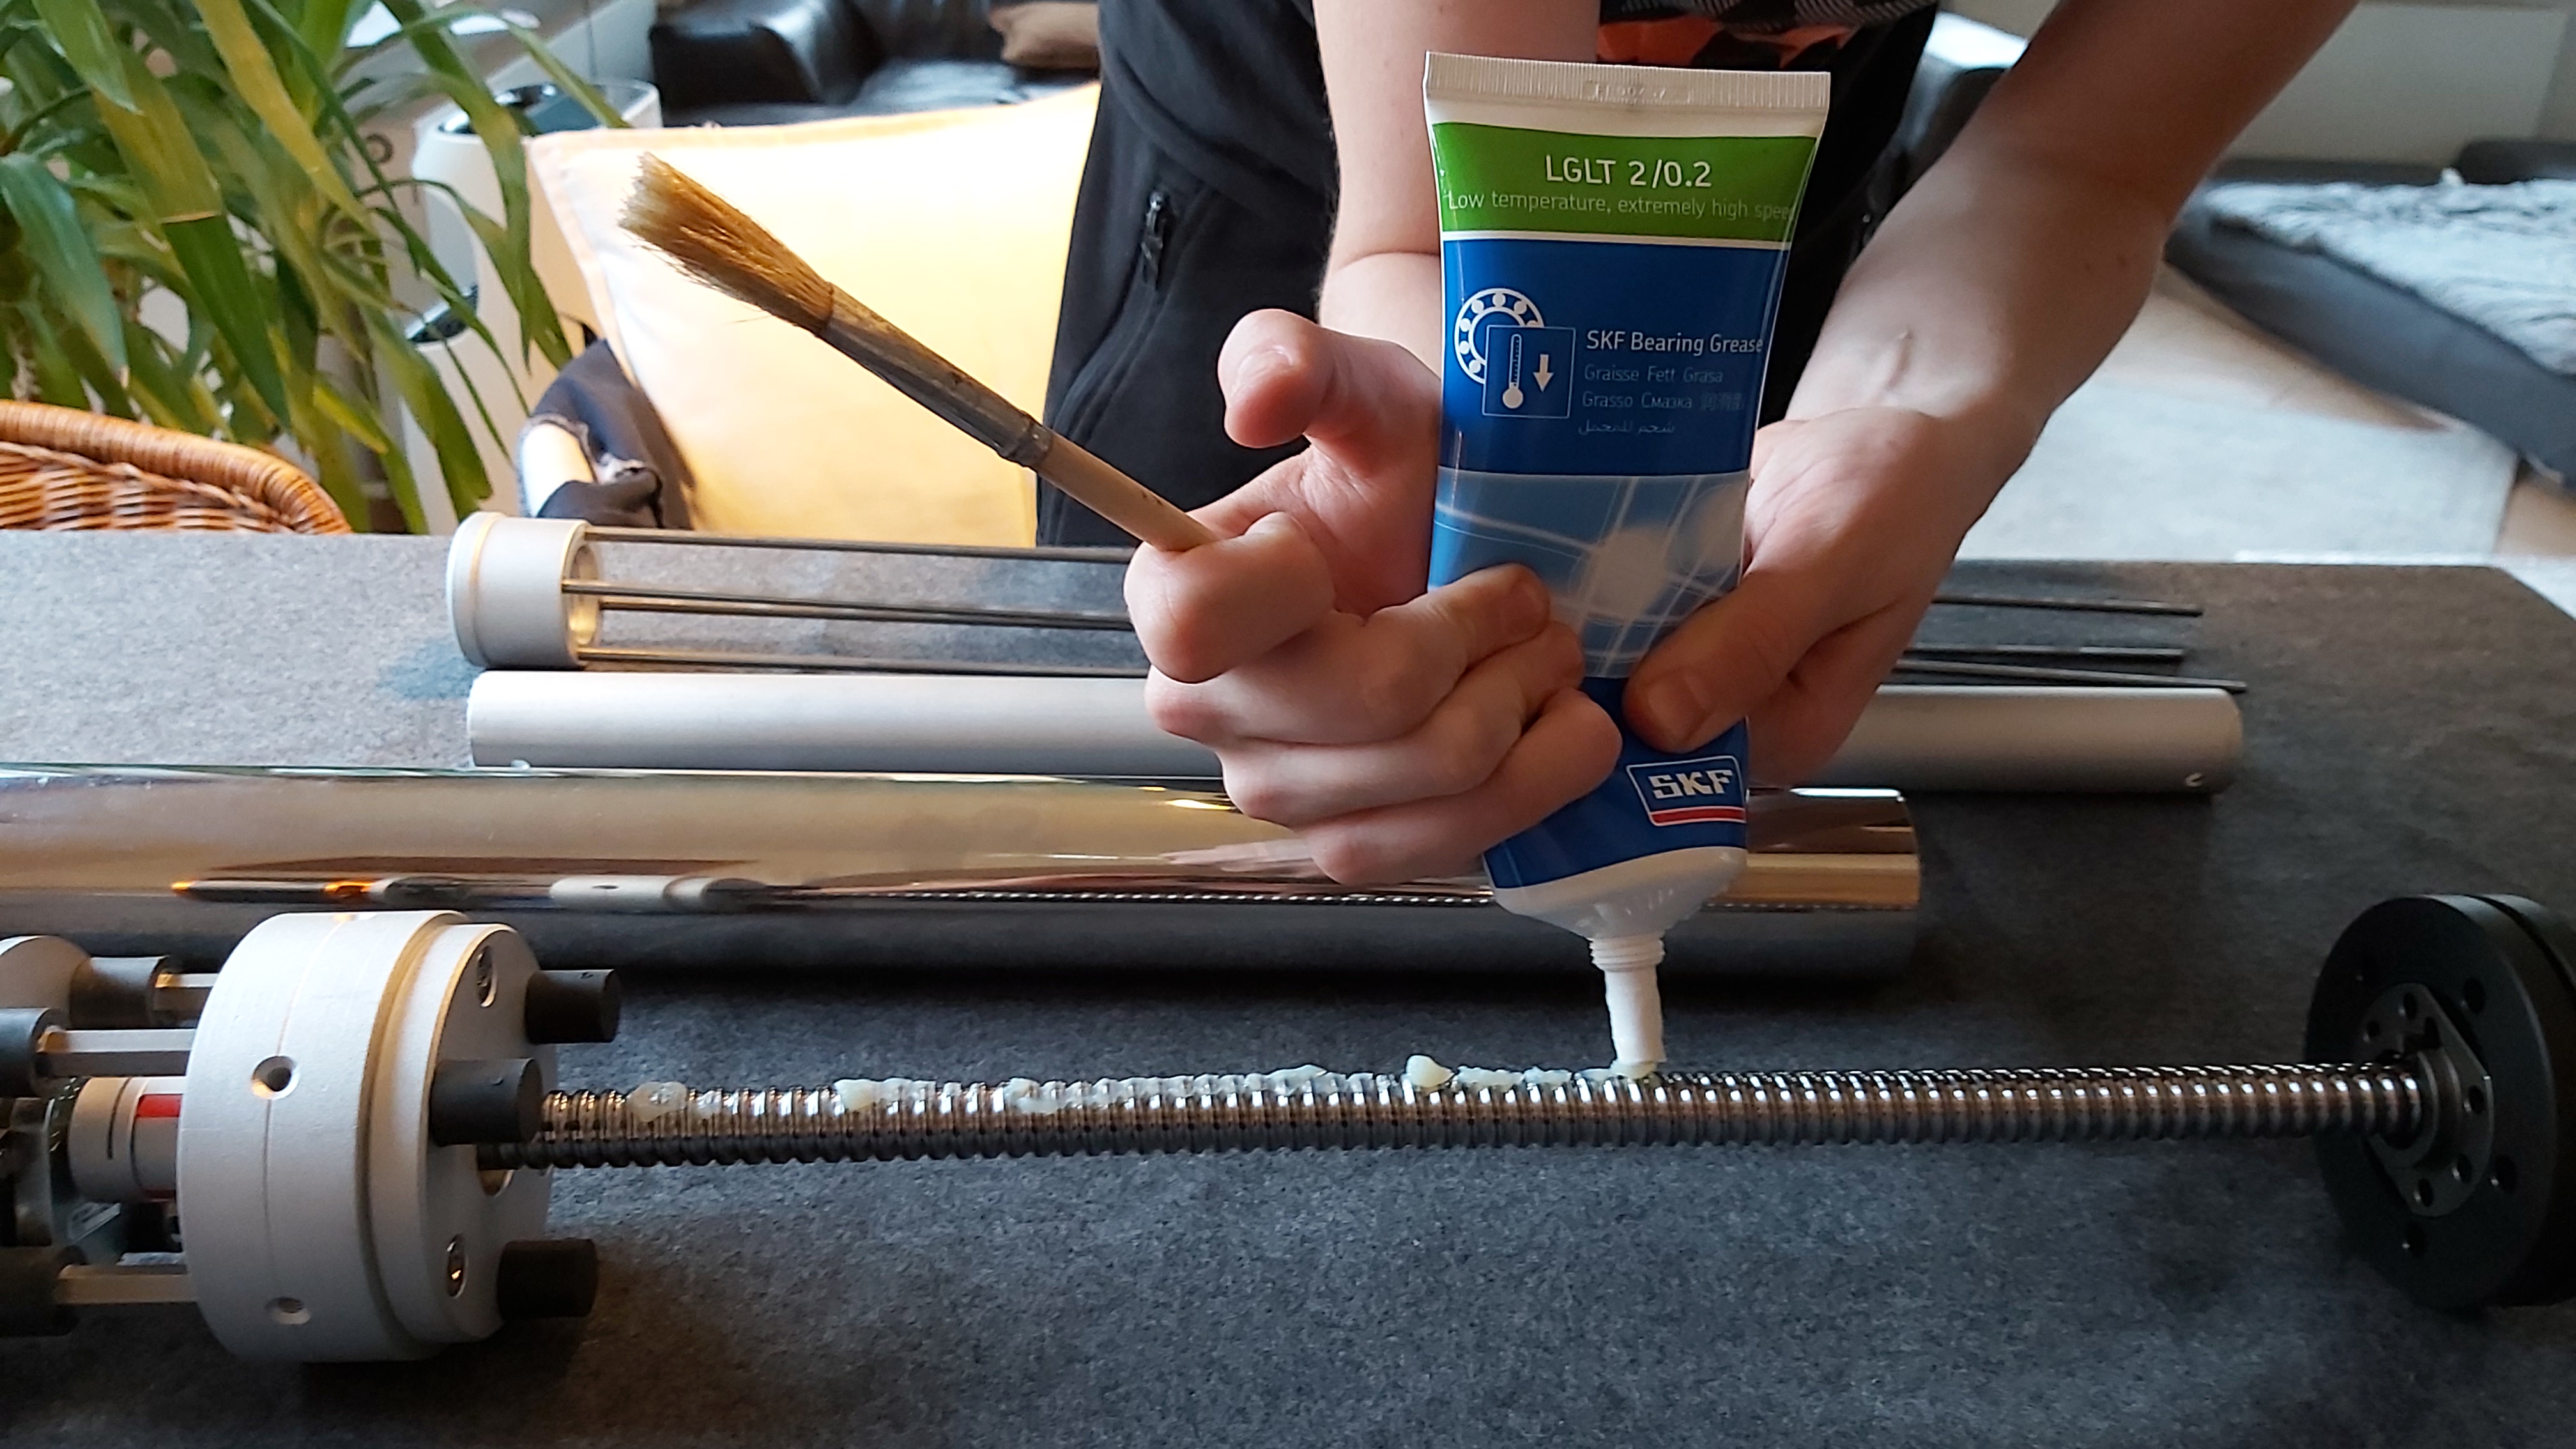
Since all parts of my actuators are almost finished, I think the final assembly of the actuators can be done in the next weeks! I am sooooo corious.
Hi guys
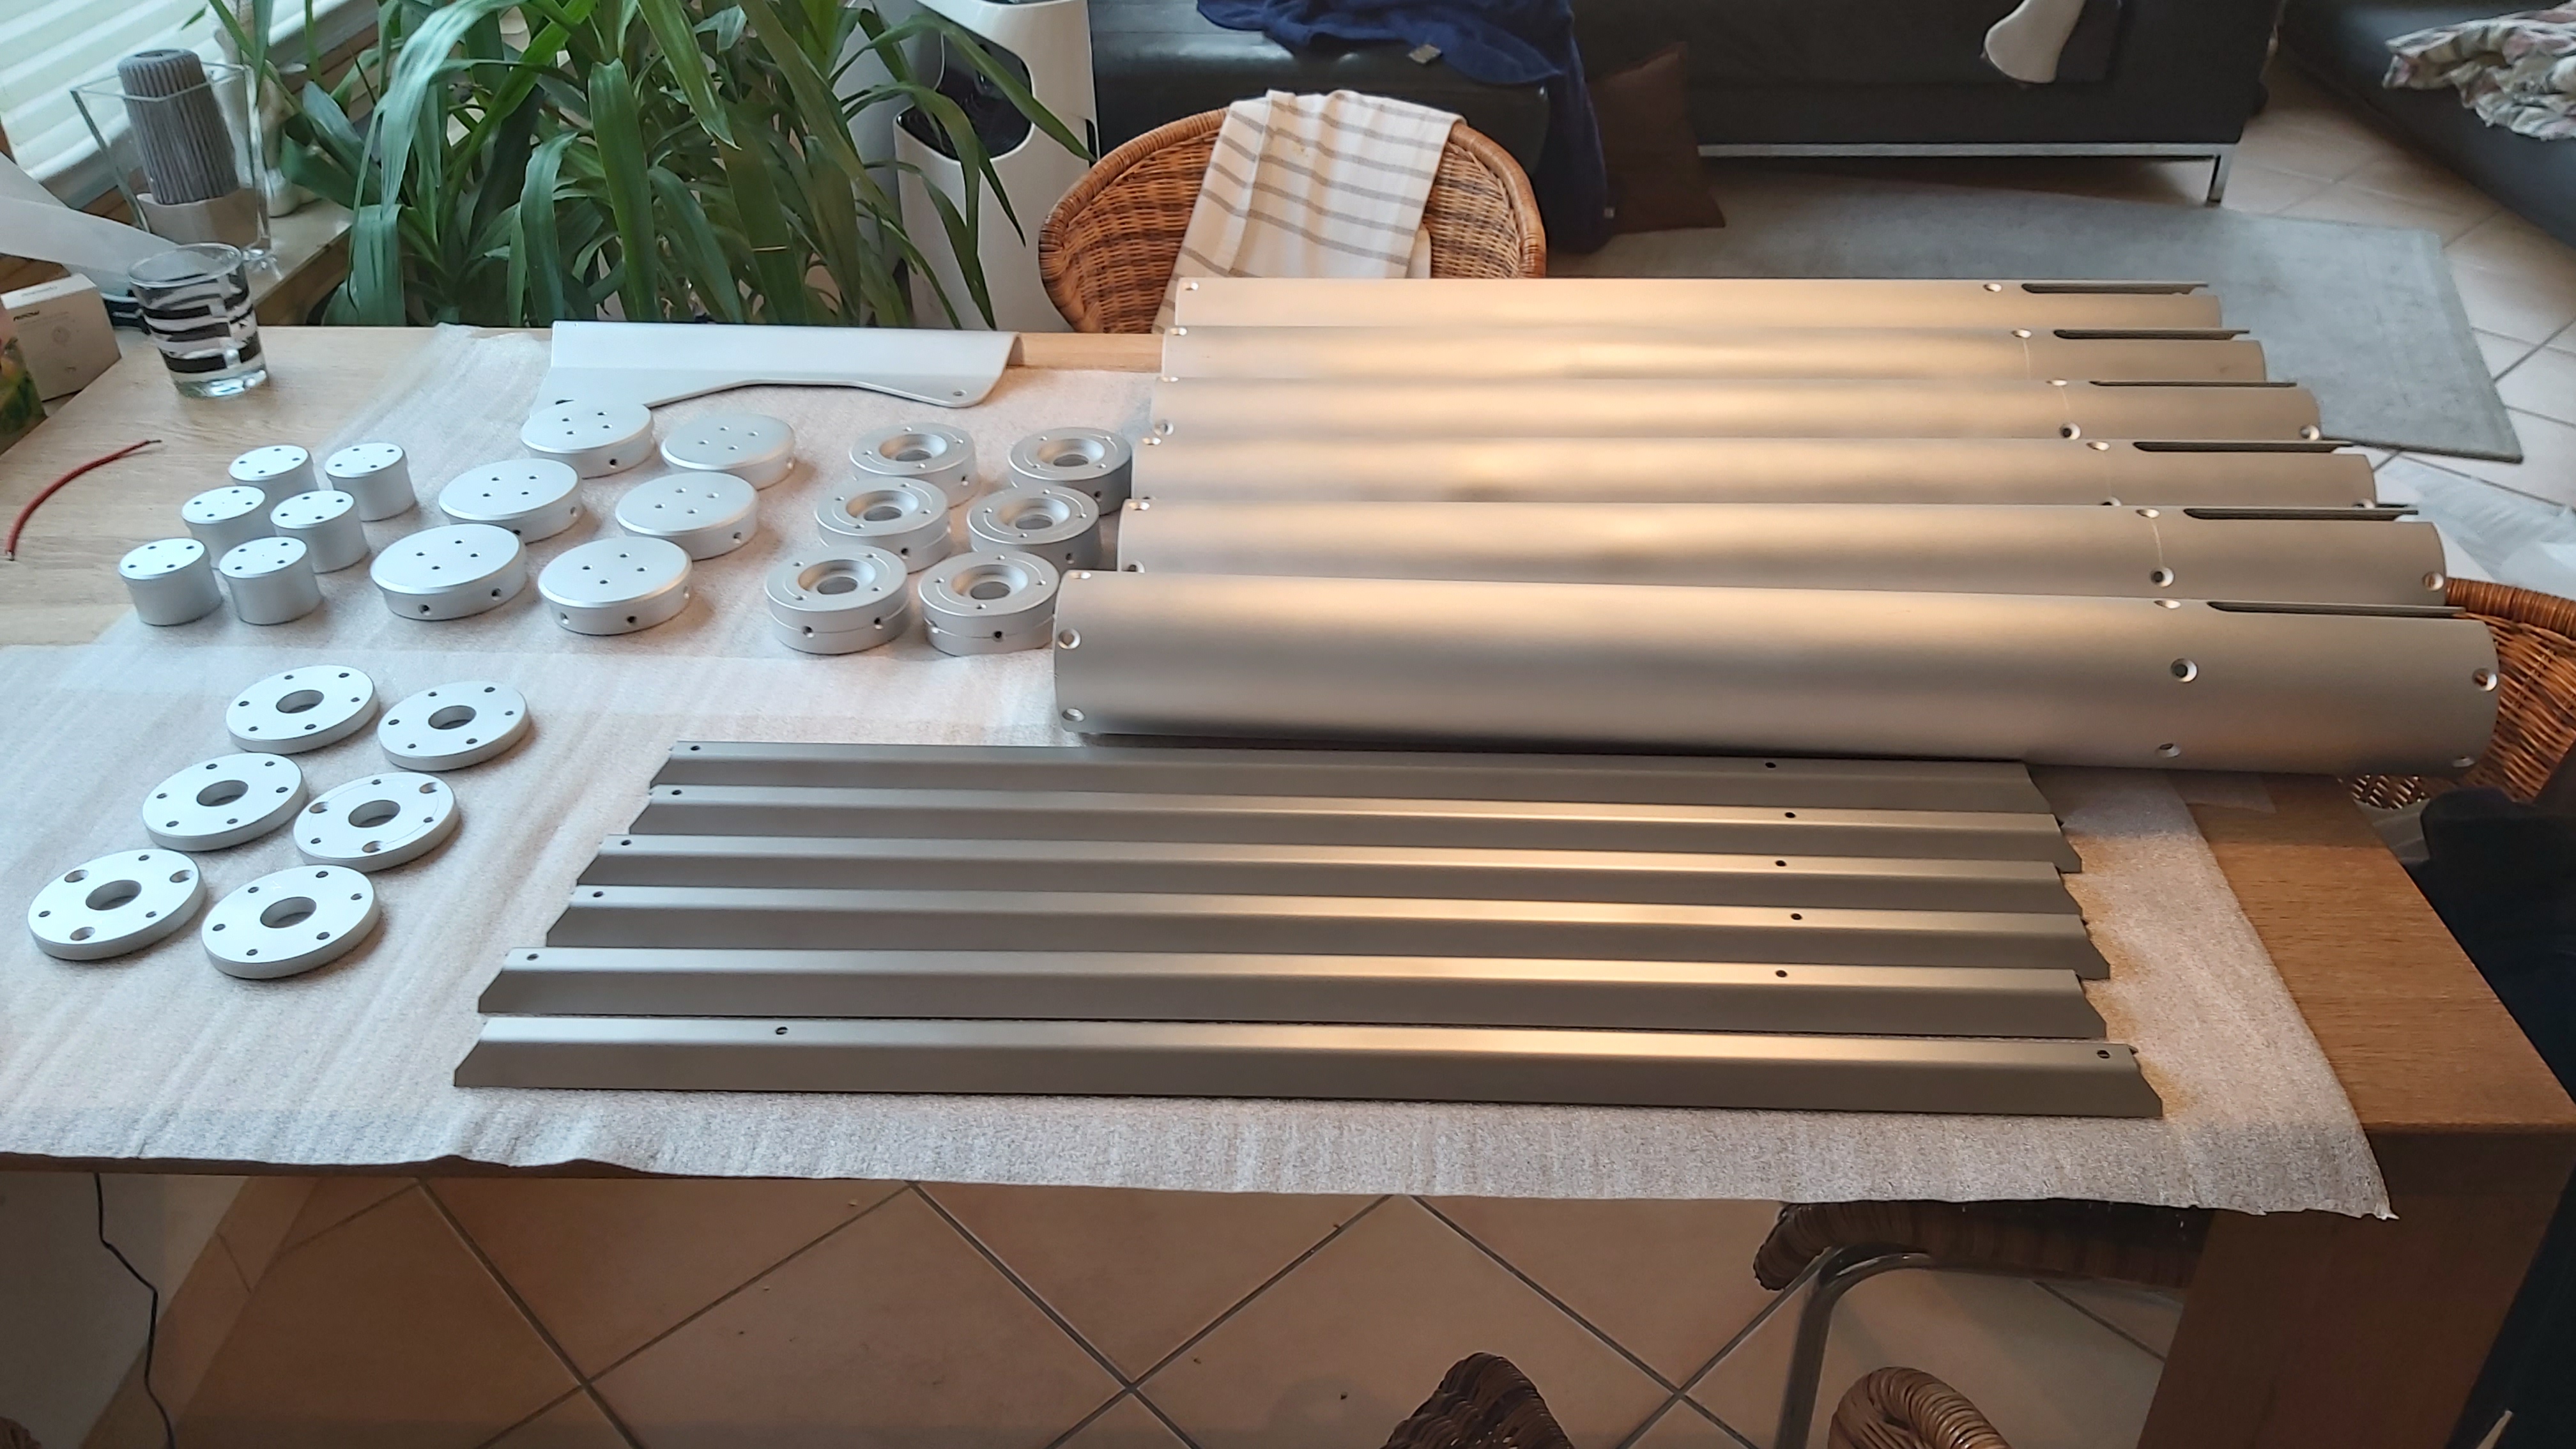
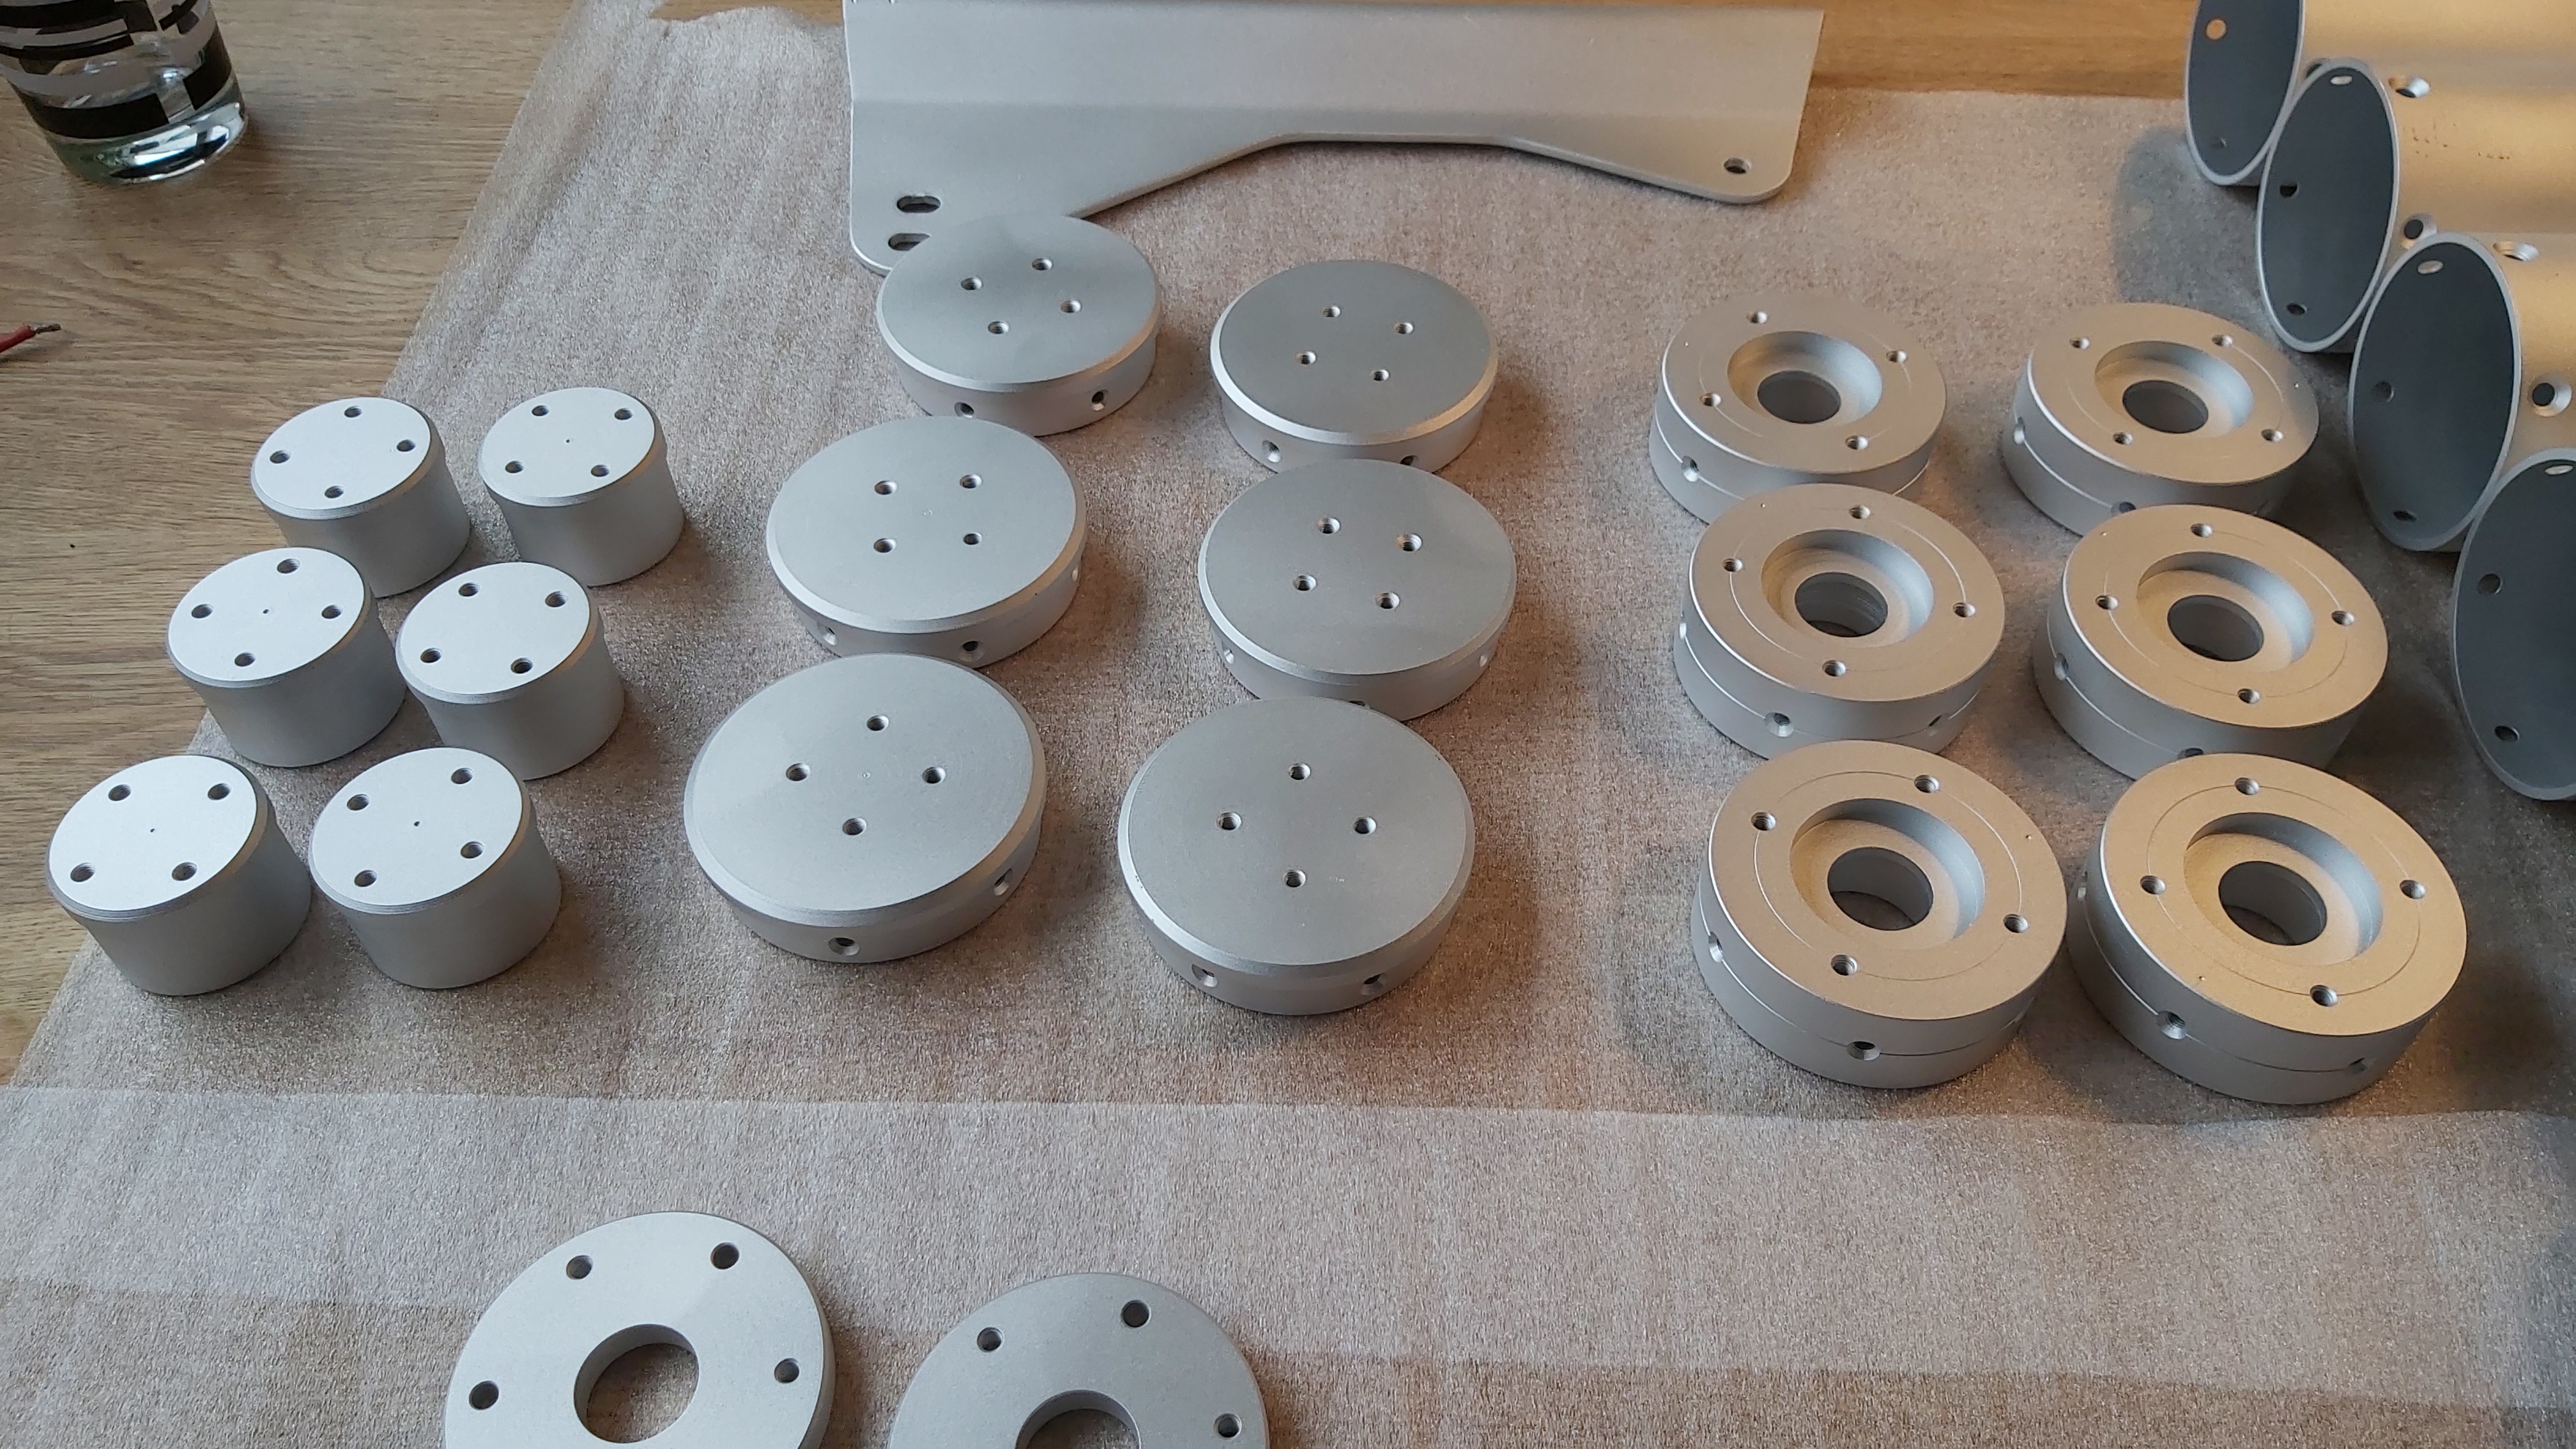
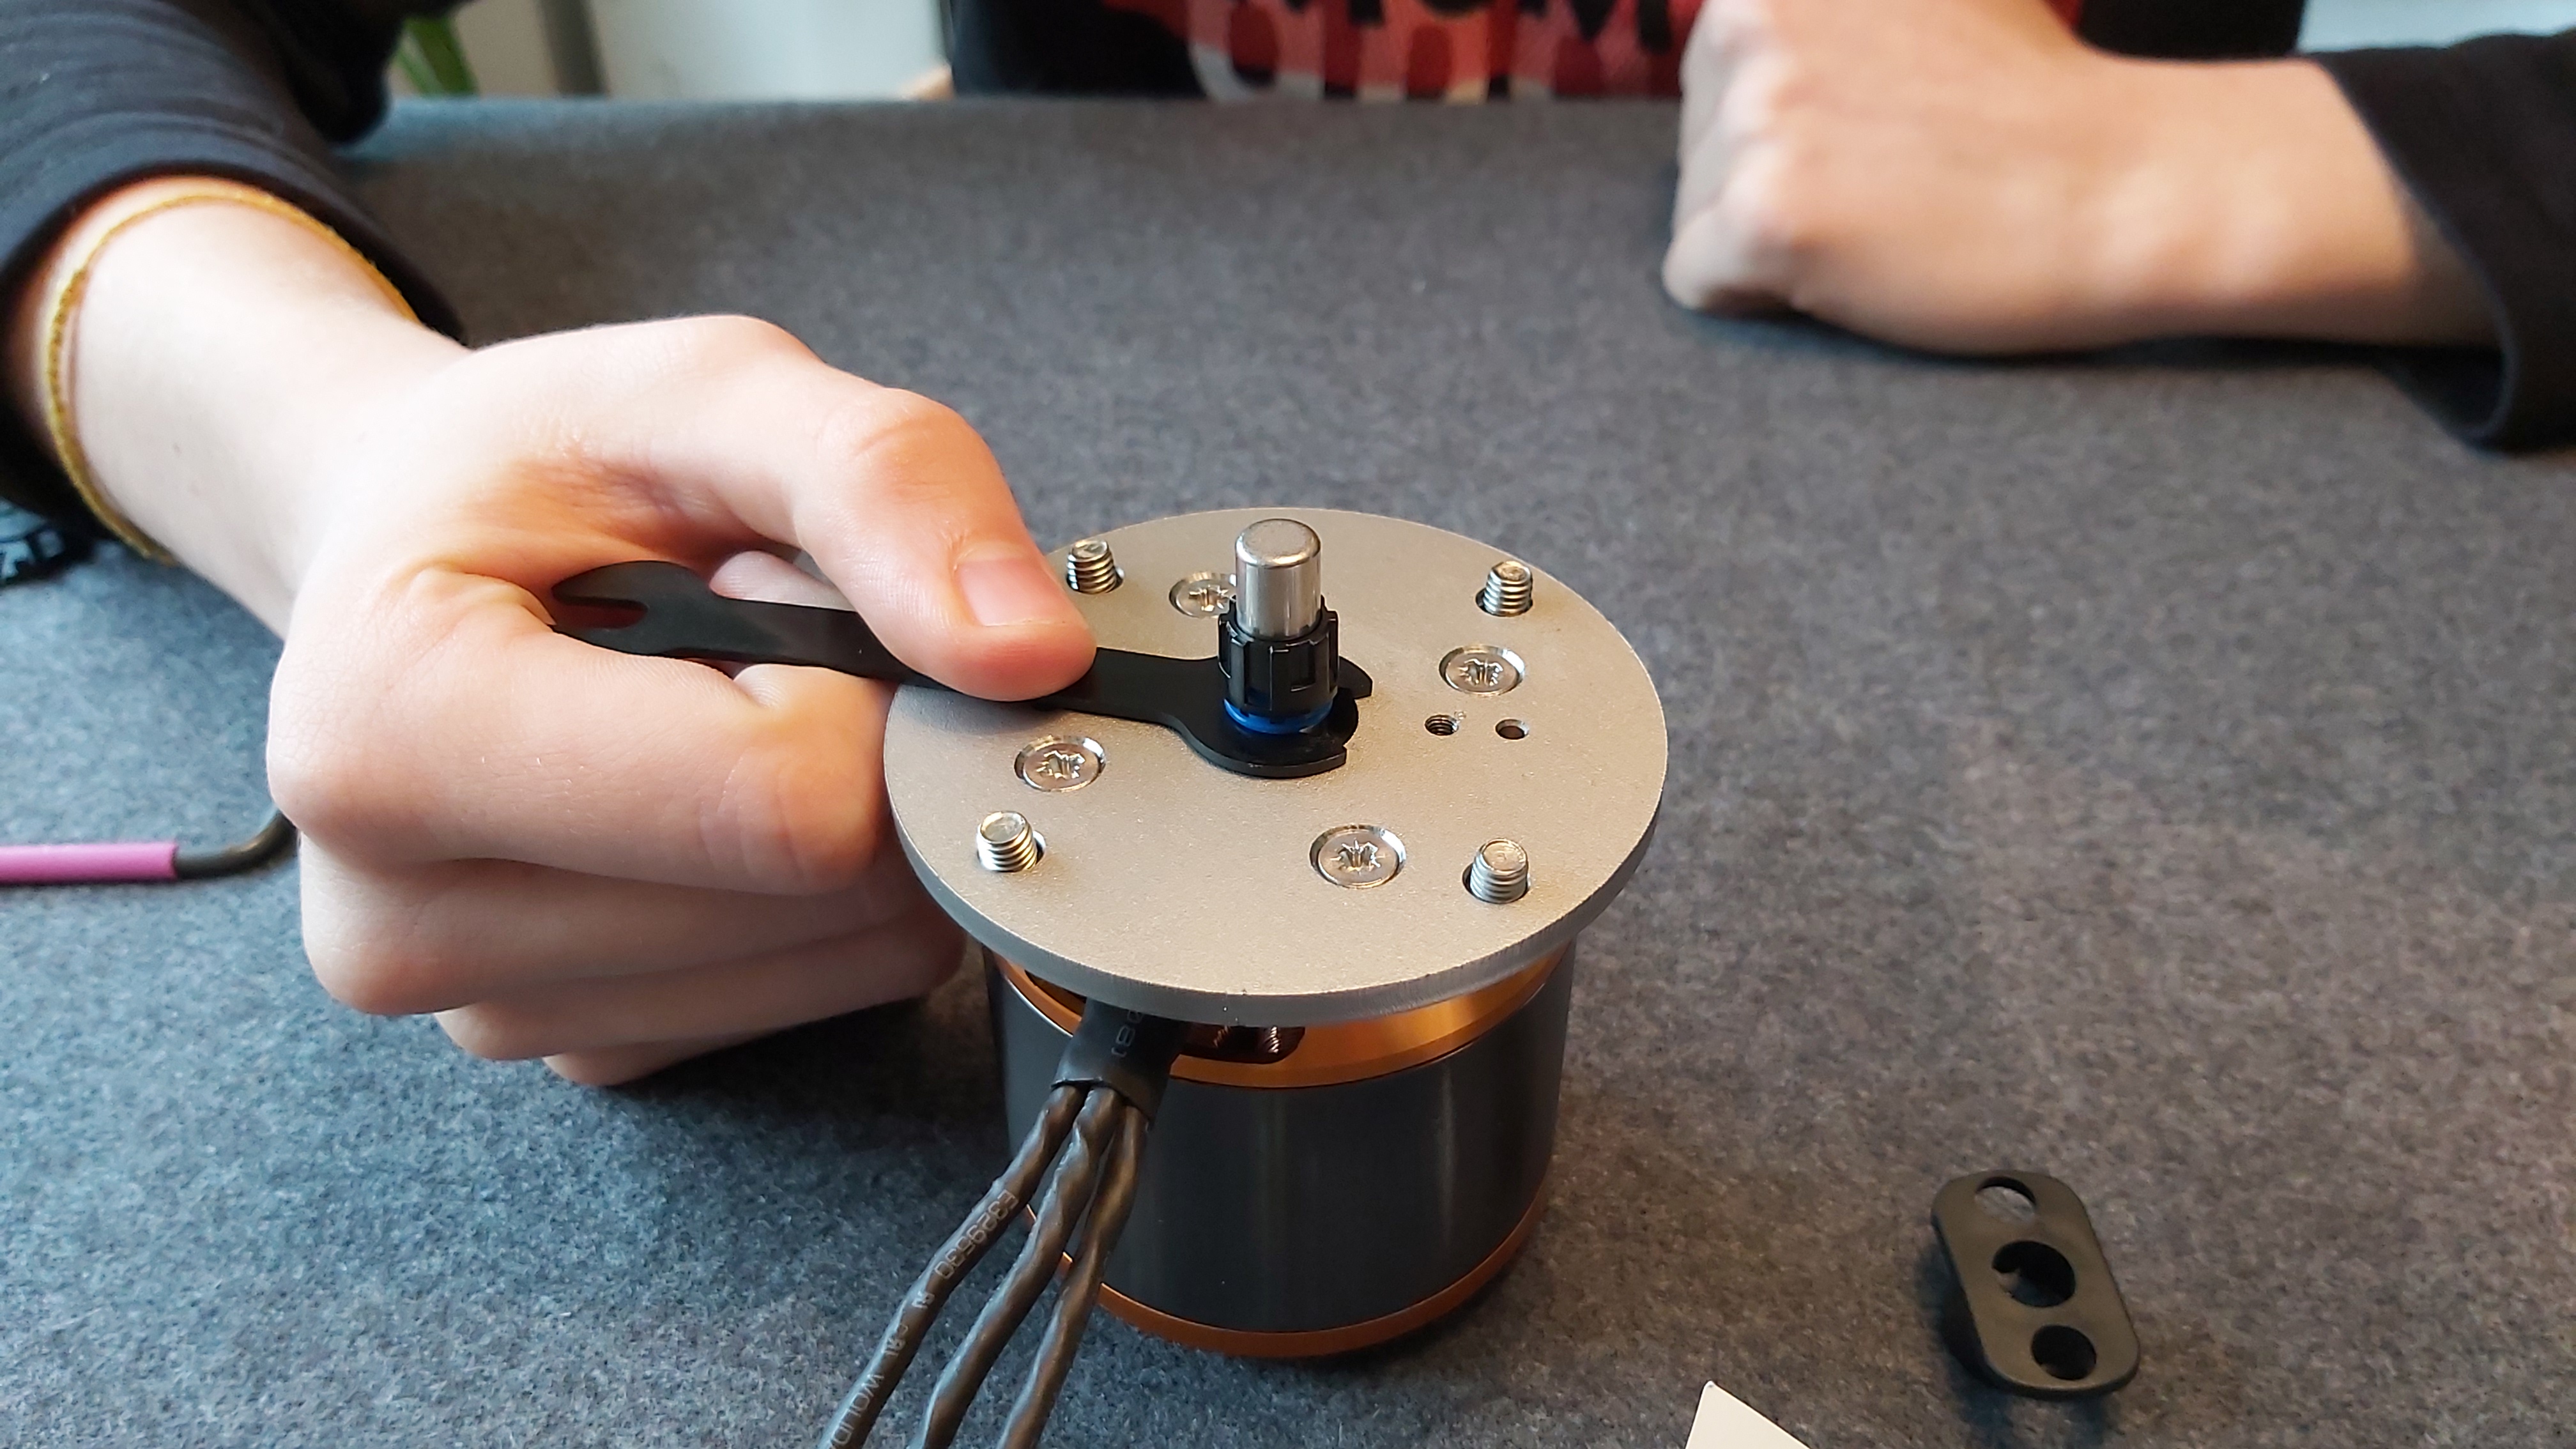
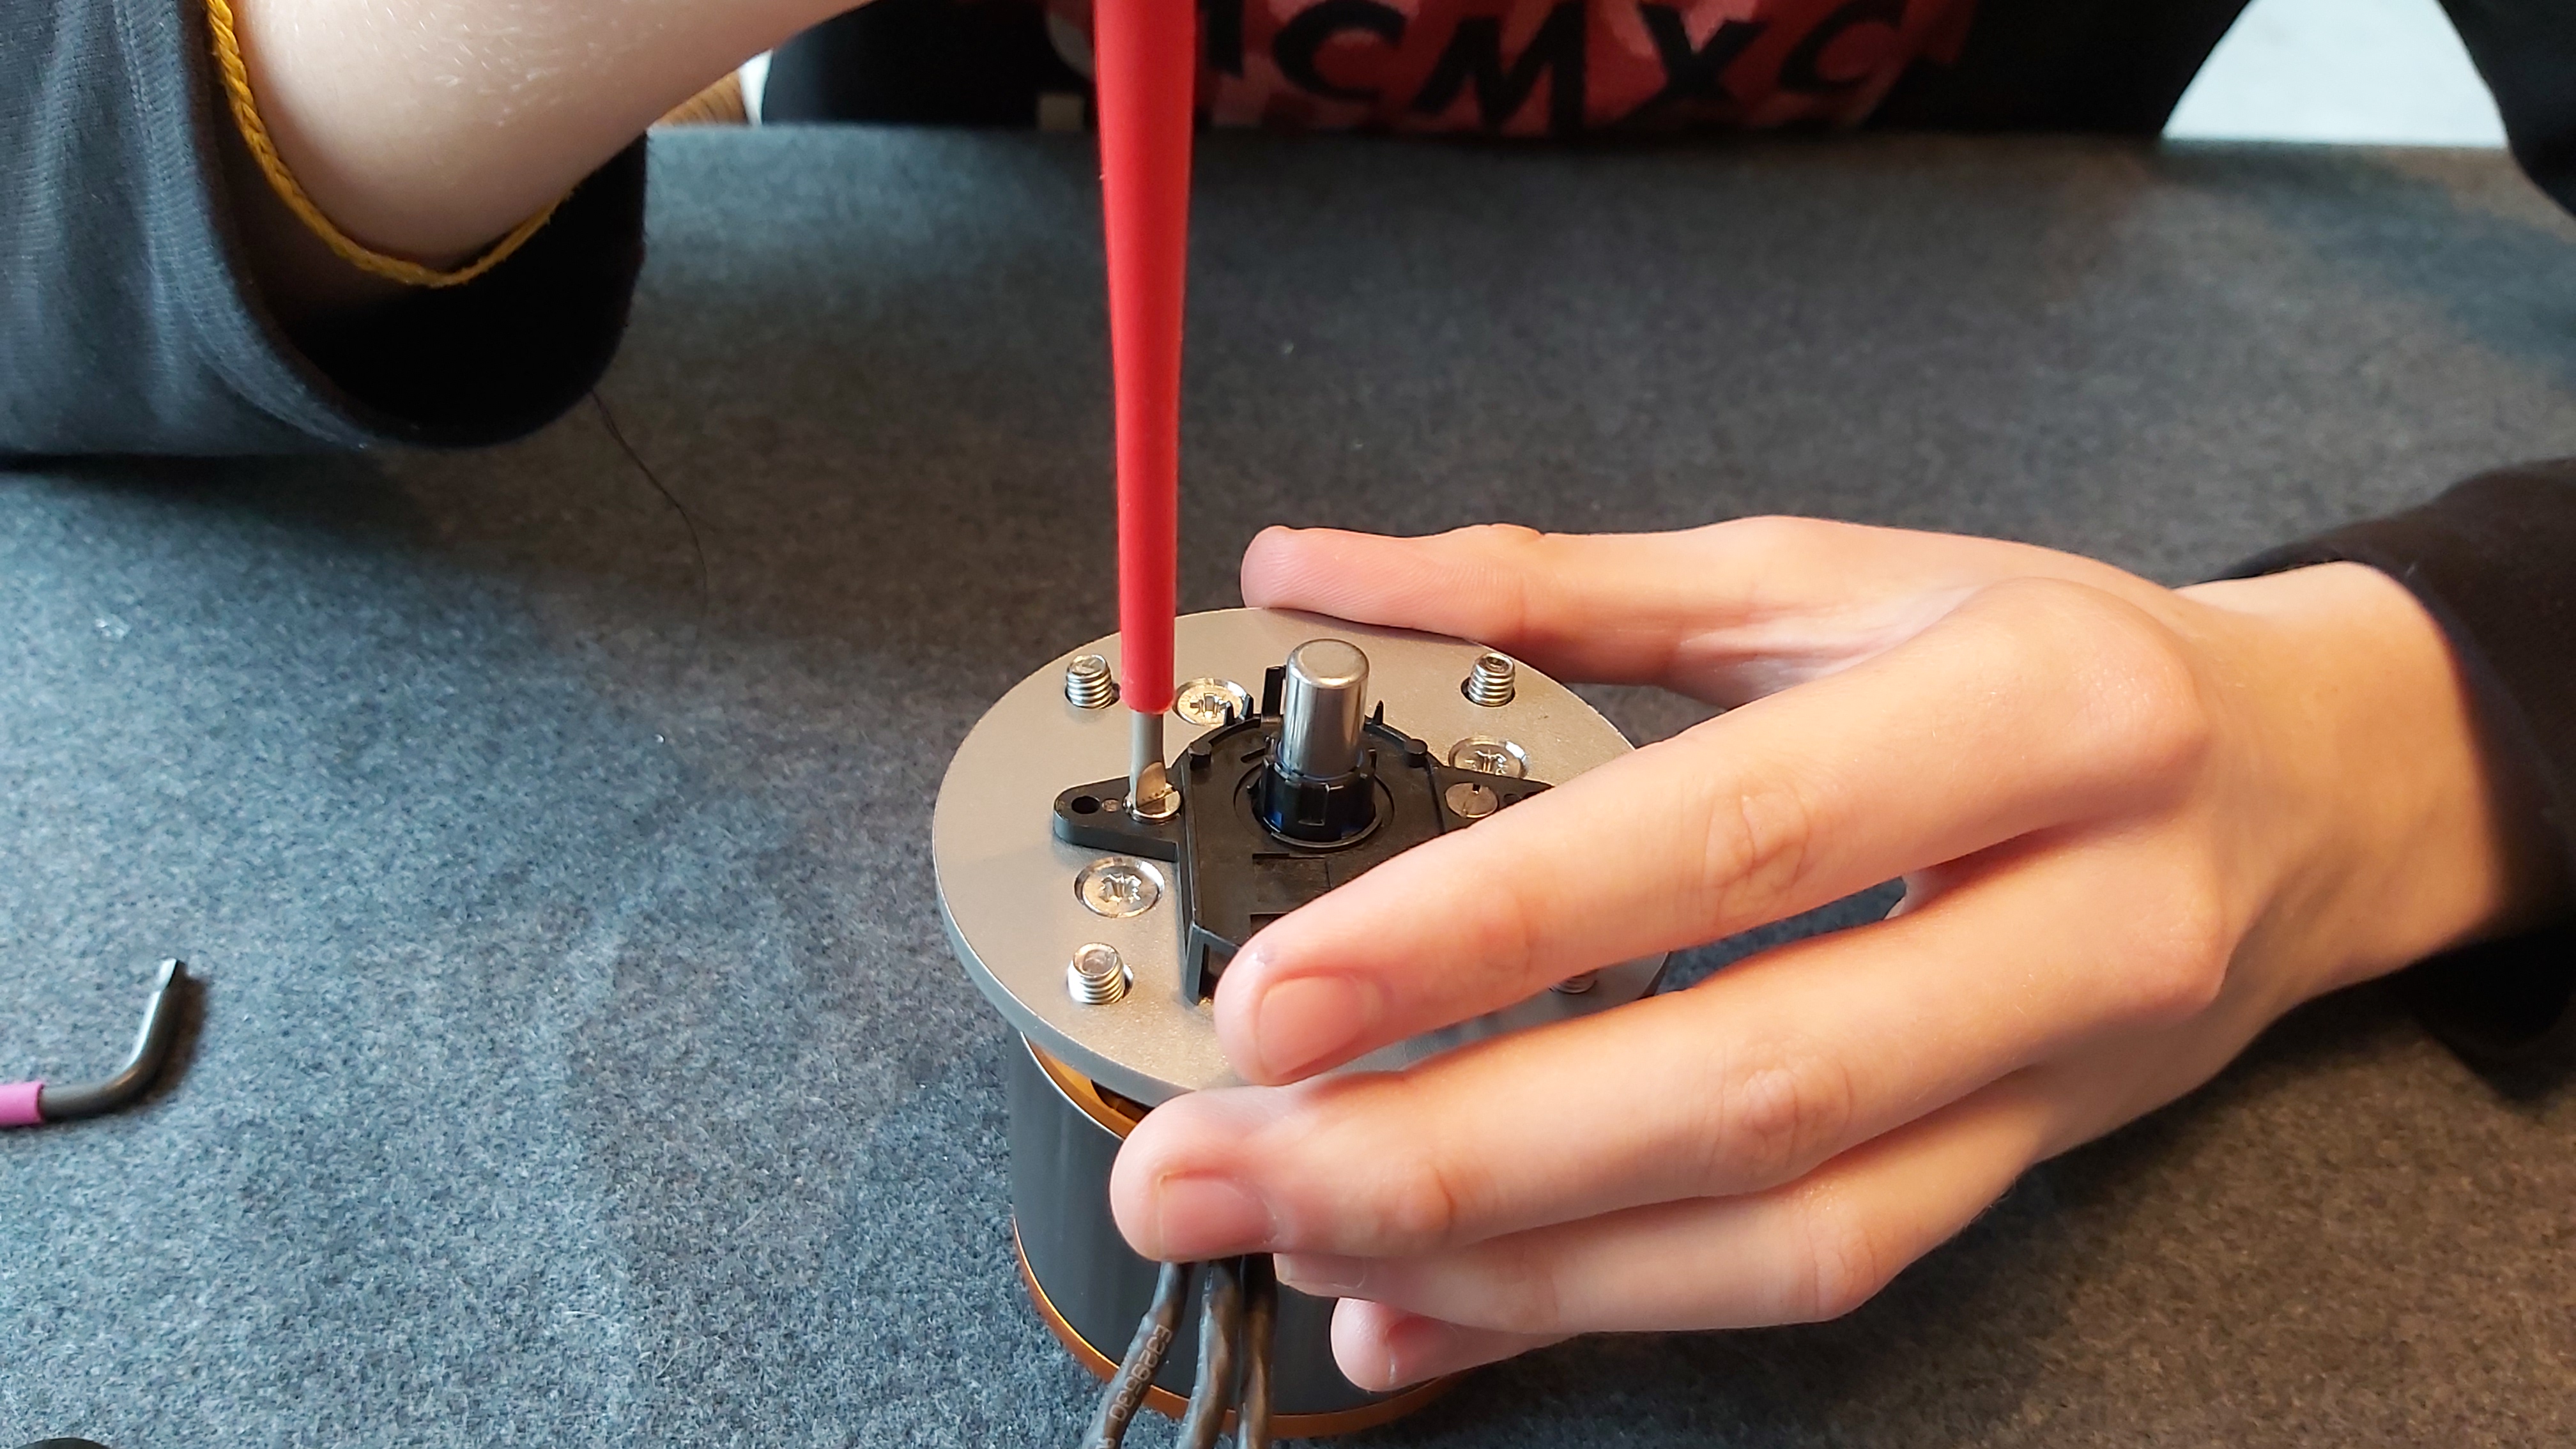
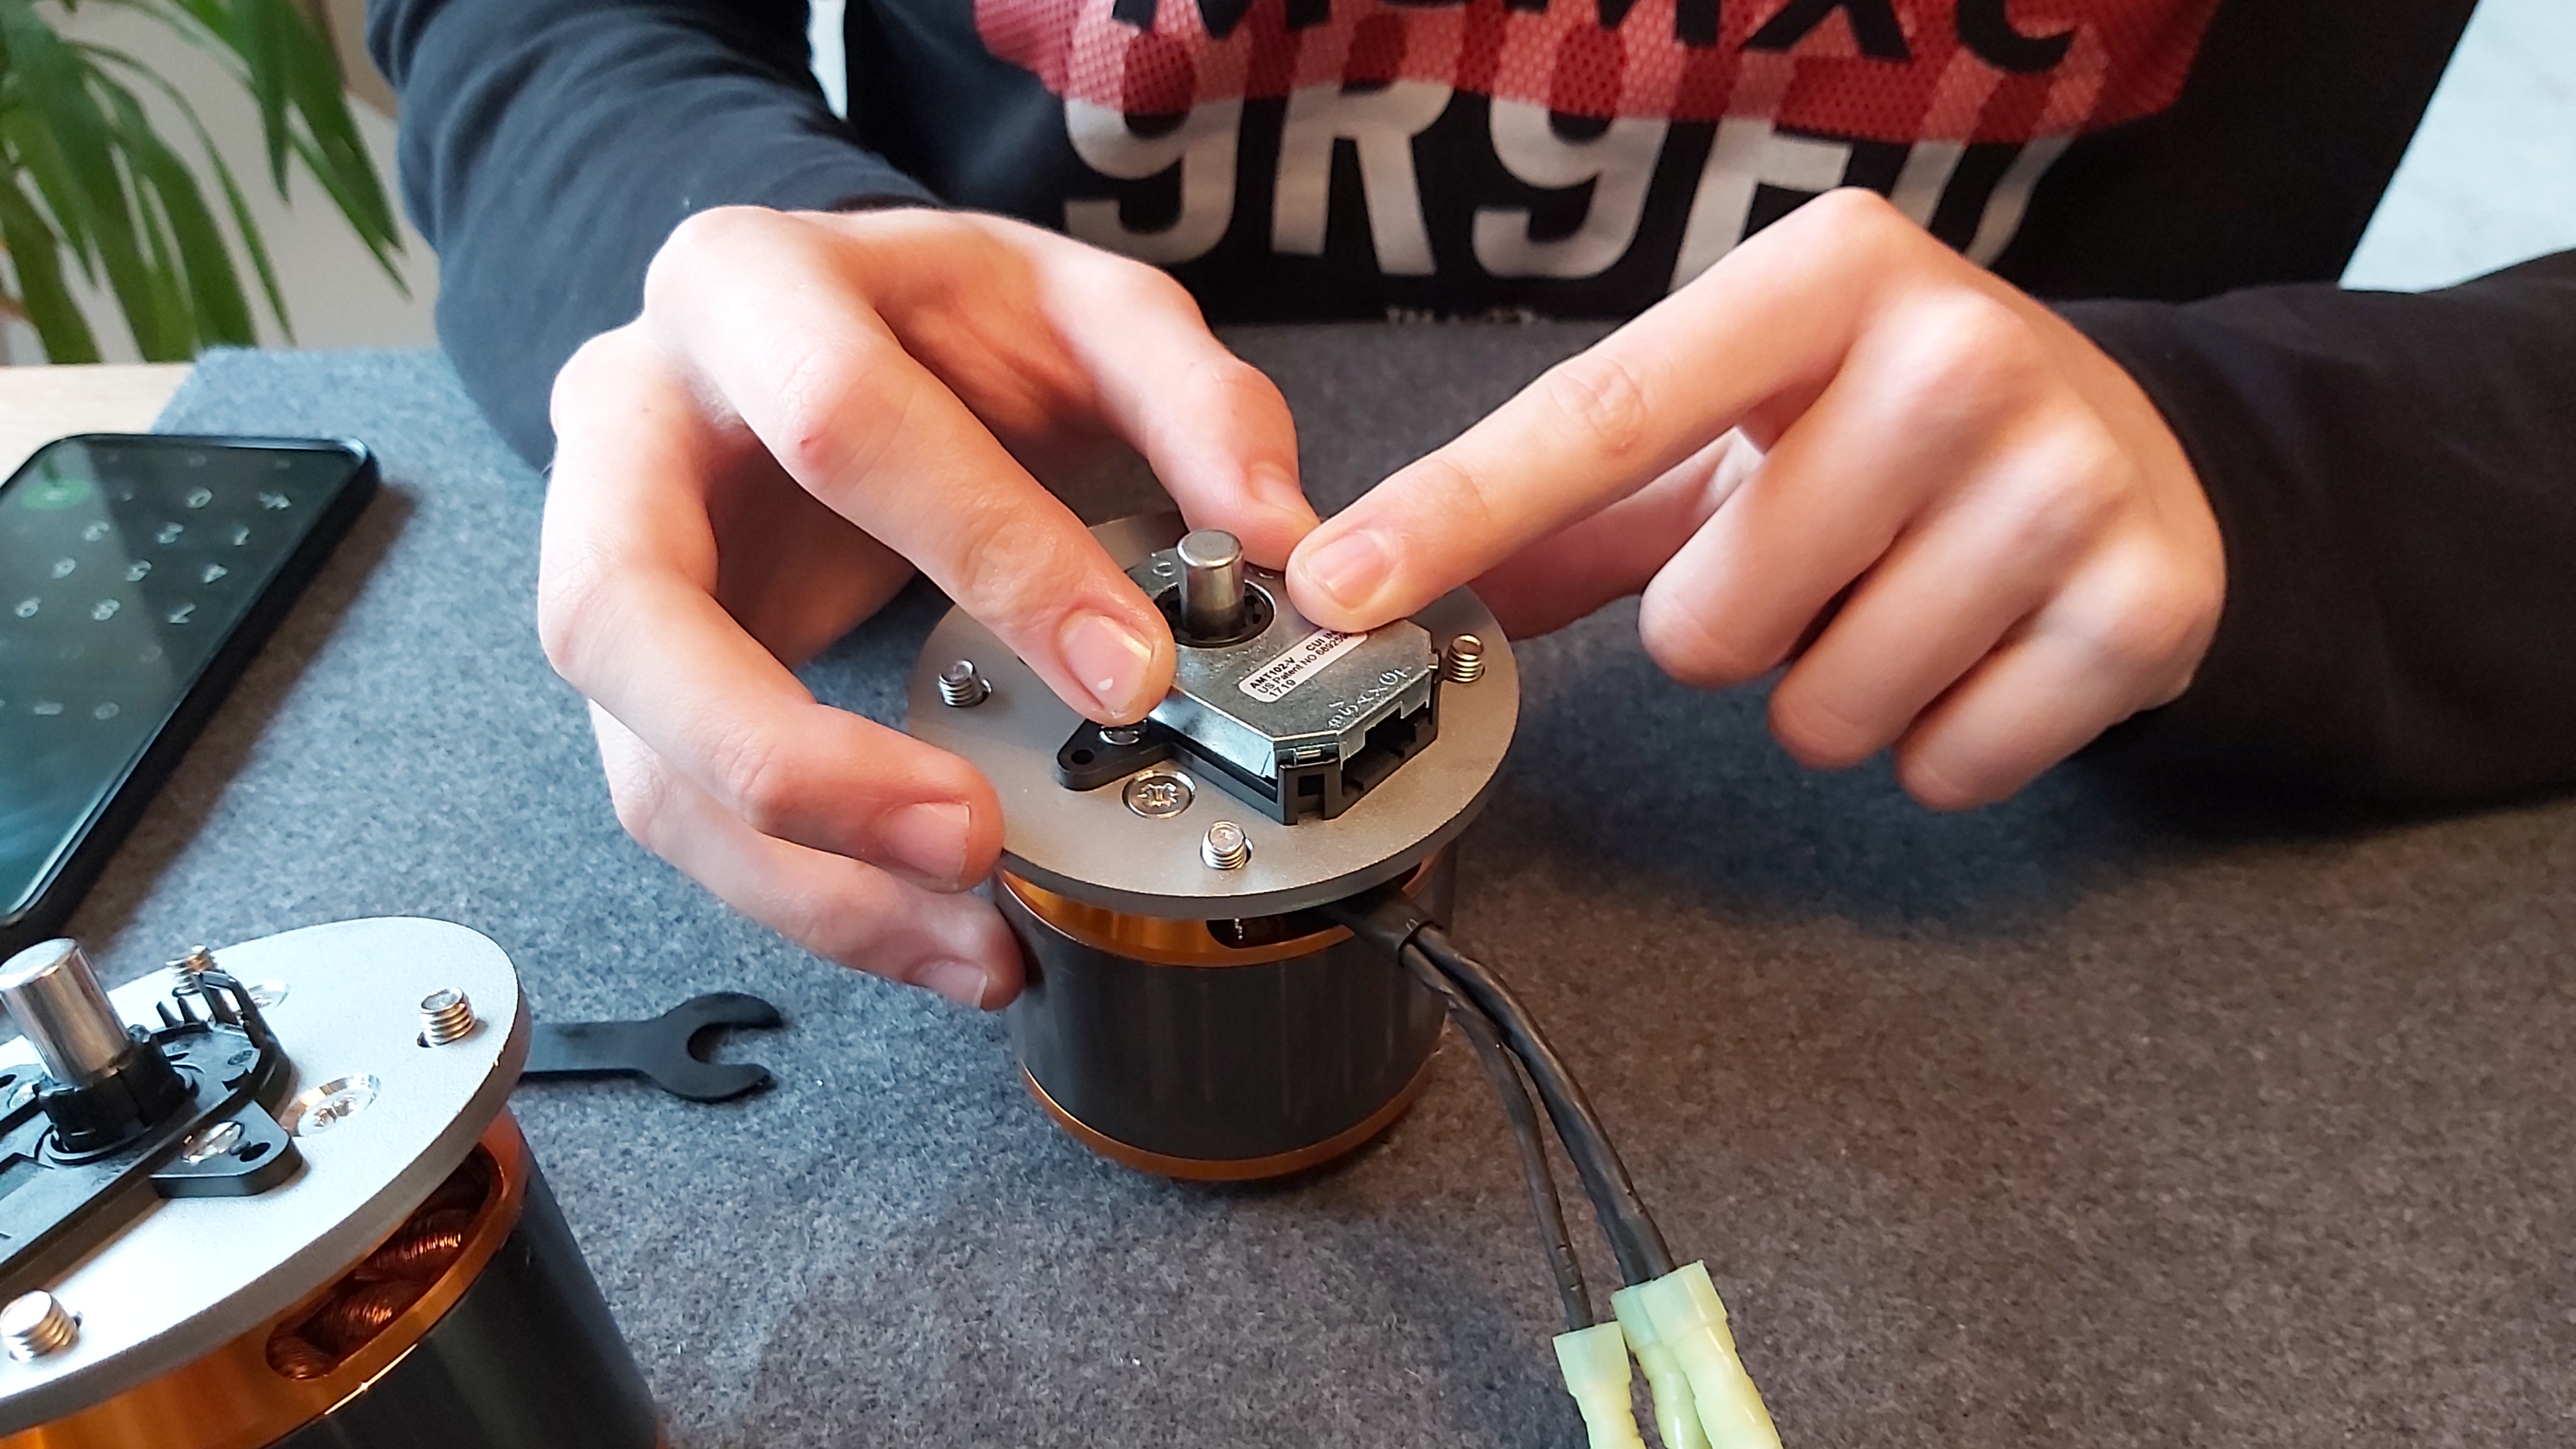
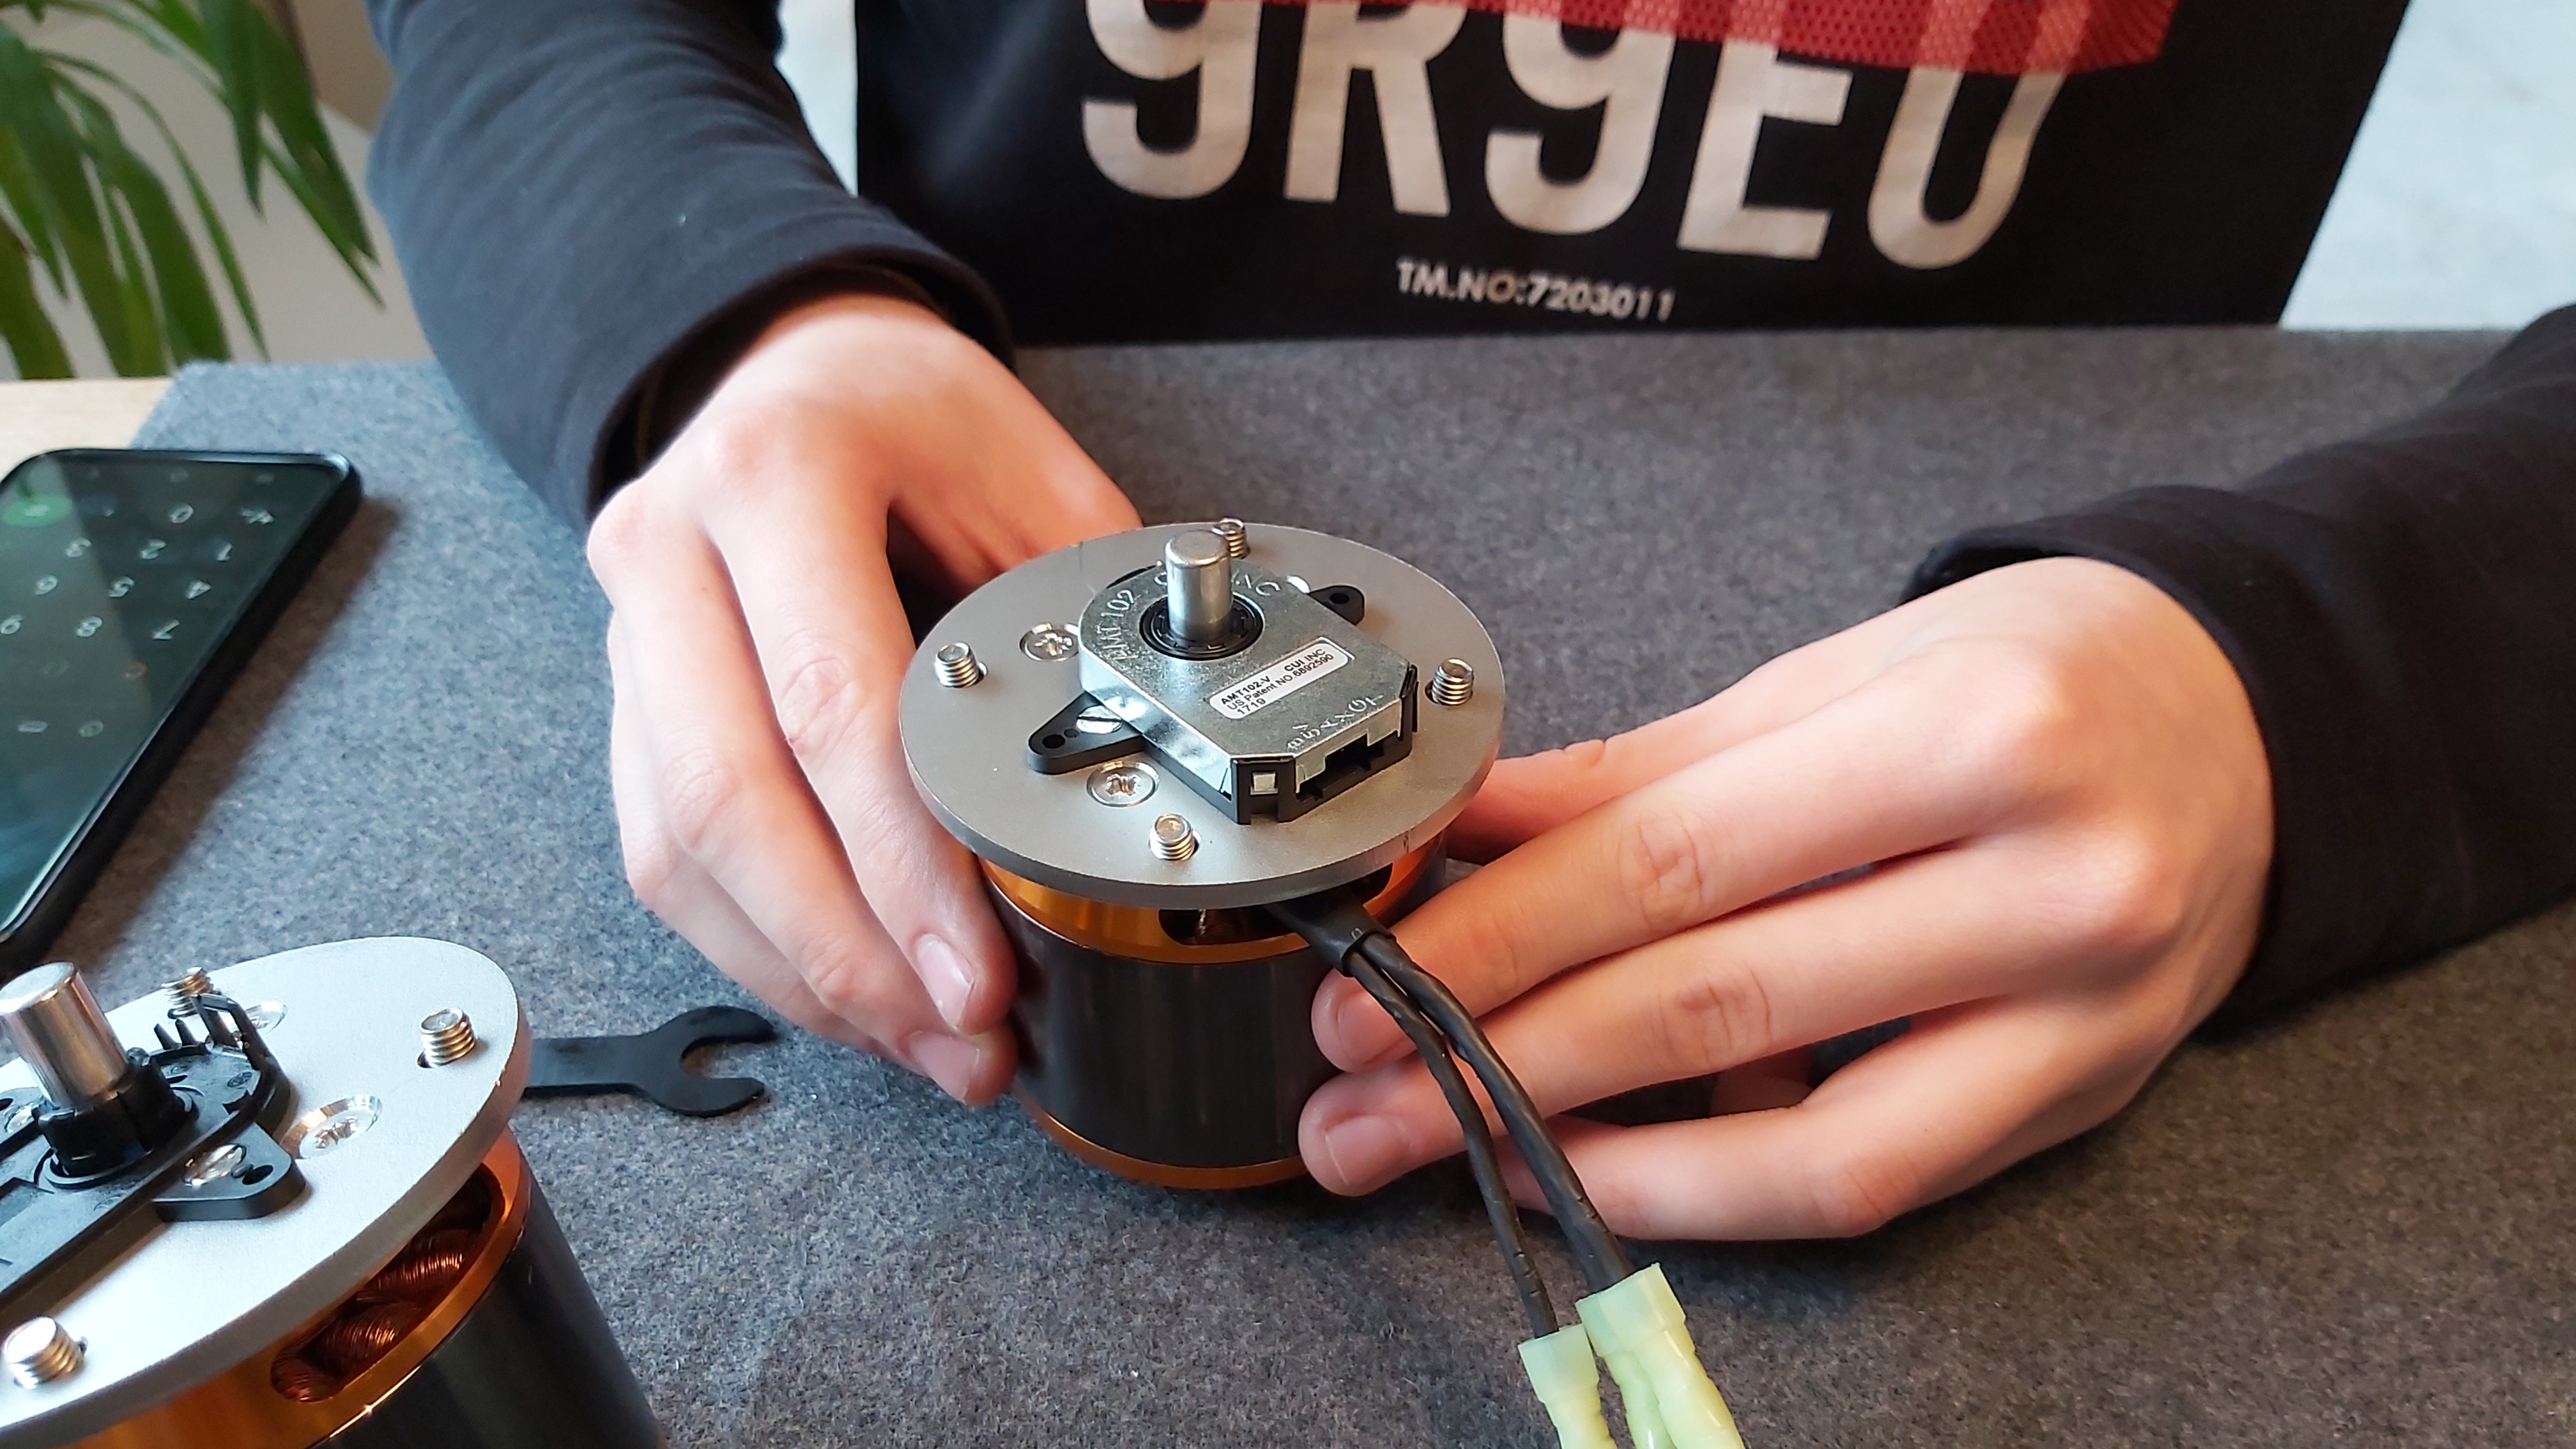
some little update on my project. Yesterday I finished the last parts of all my 6 actuators - really all! - I can tell you guys - it was a lot, lot of work! - I think it have been alone more than 200 threads to cut!
Today I gave the Zylinders some paint (same color than the later rubber-cover - RAL 7039).
Wickie
Hello Roiki1,
nice that you like my work!
Regarding the ethernet-serial bridges I have to admit, that I am a total rookie in software and electronic things. My focus was allways on the mechanical side.
But nevertheless thank you very much for the hint! I have looked a Youtube video about the ethernet and tried to understand. Maybe it will work.
When my motion-platform is running I will go back to the software topics and I would highly appreciate it when you could help me in case I will have problems wit the usb communication!
warm regards
Wickie
Hi all,
some update to my project:
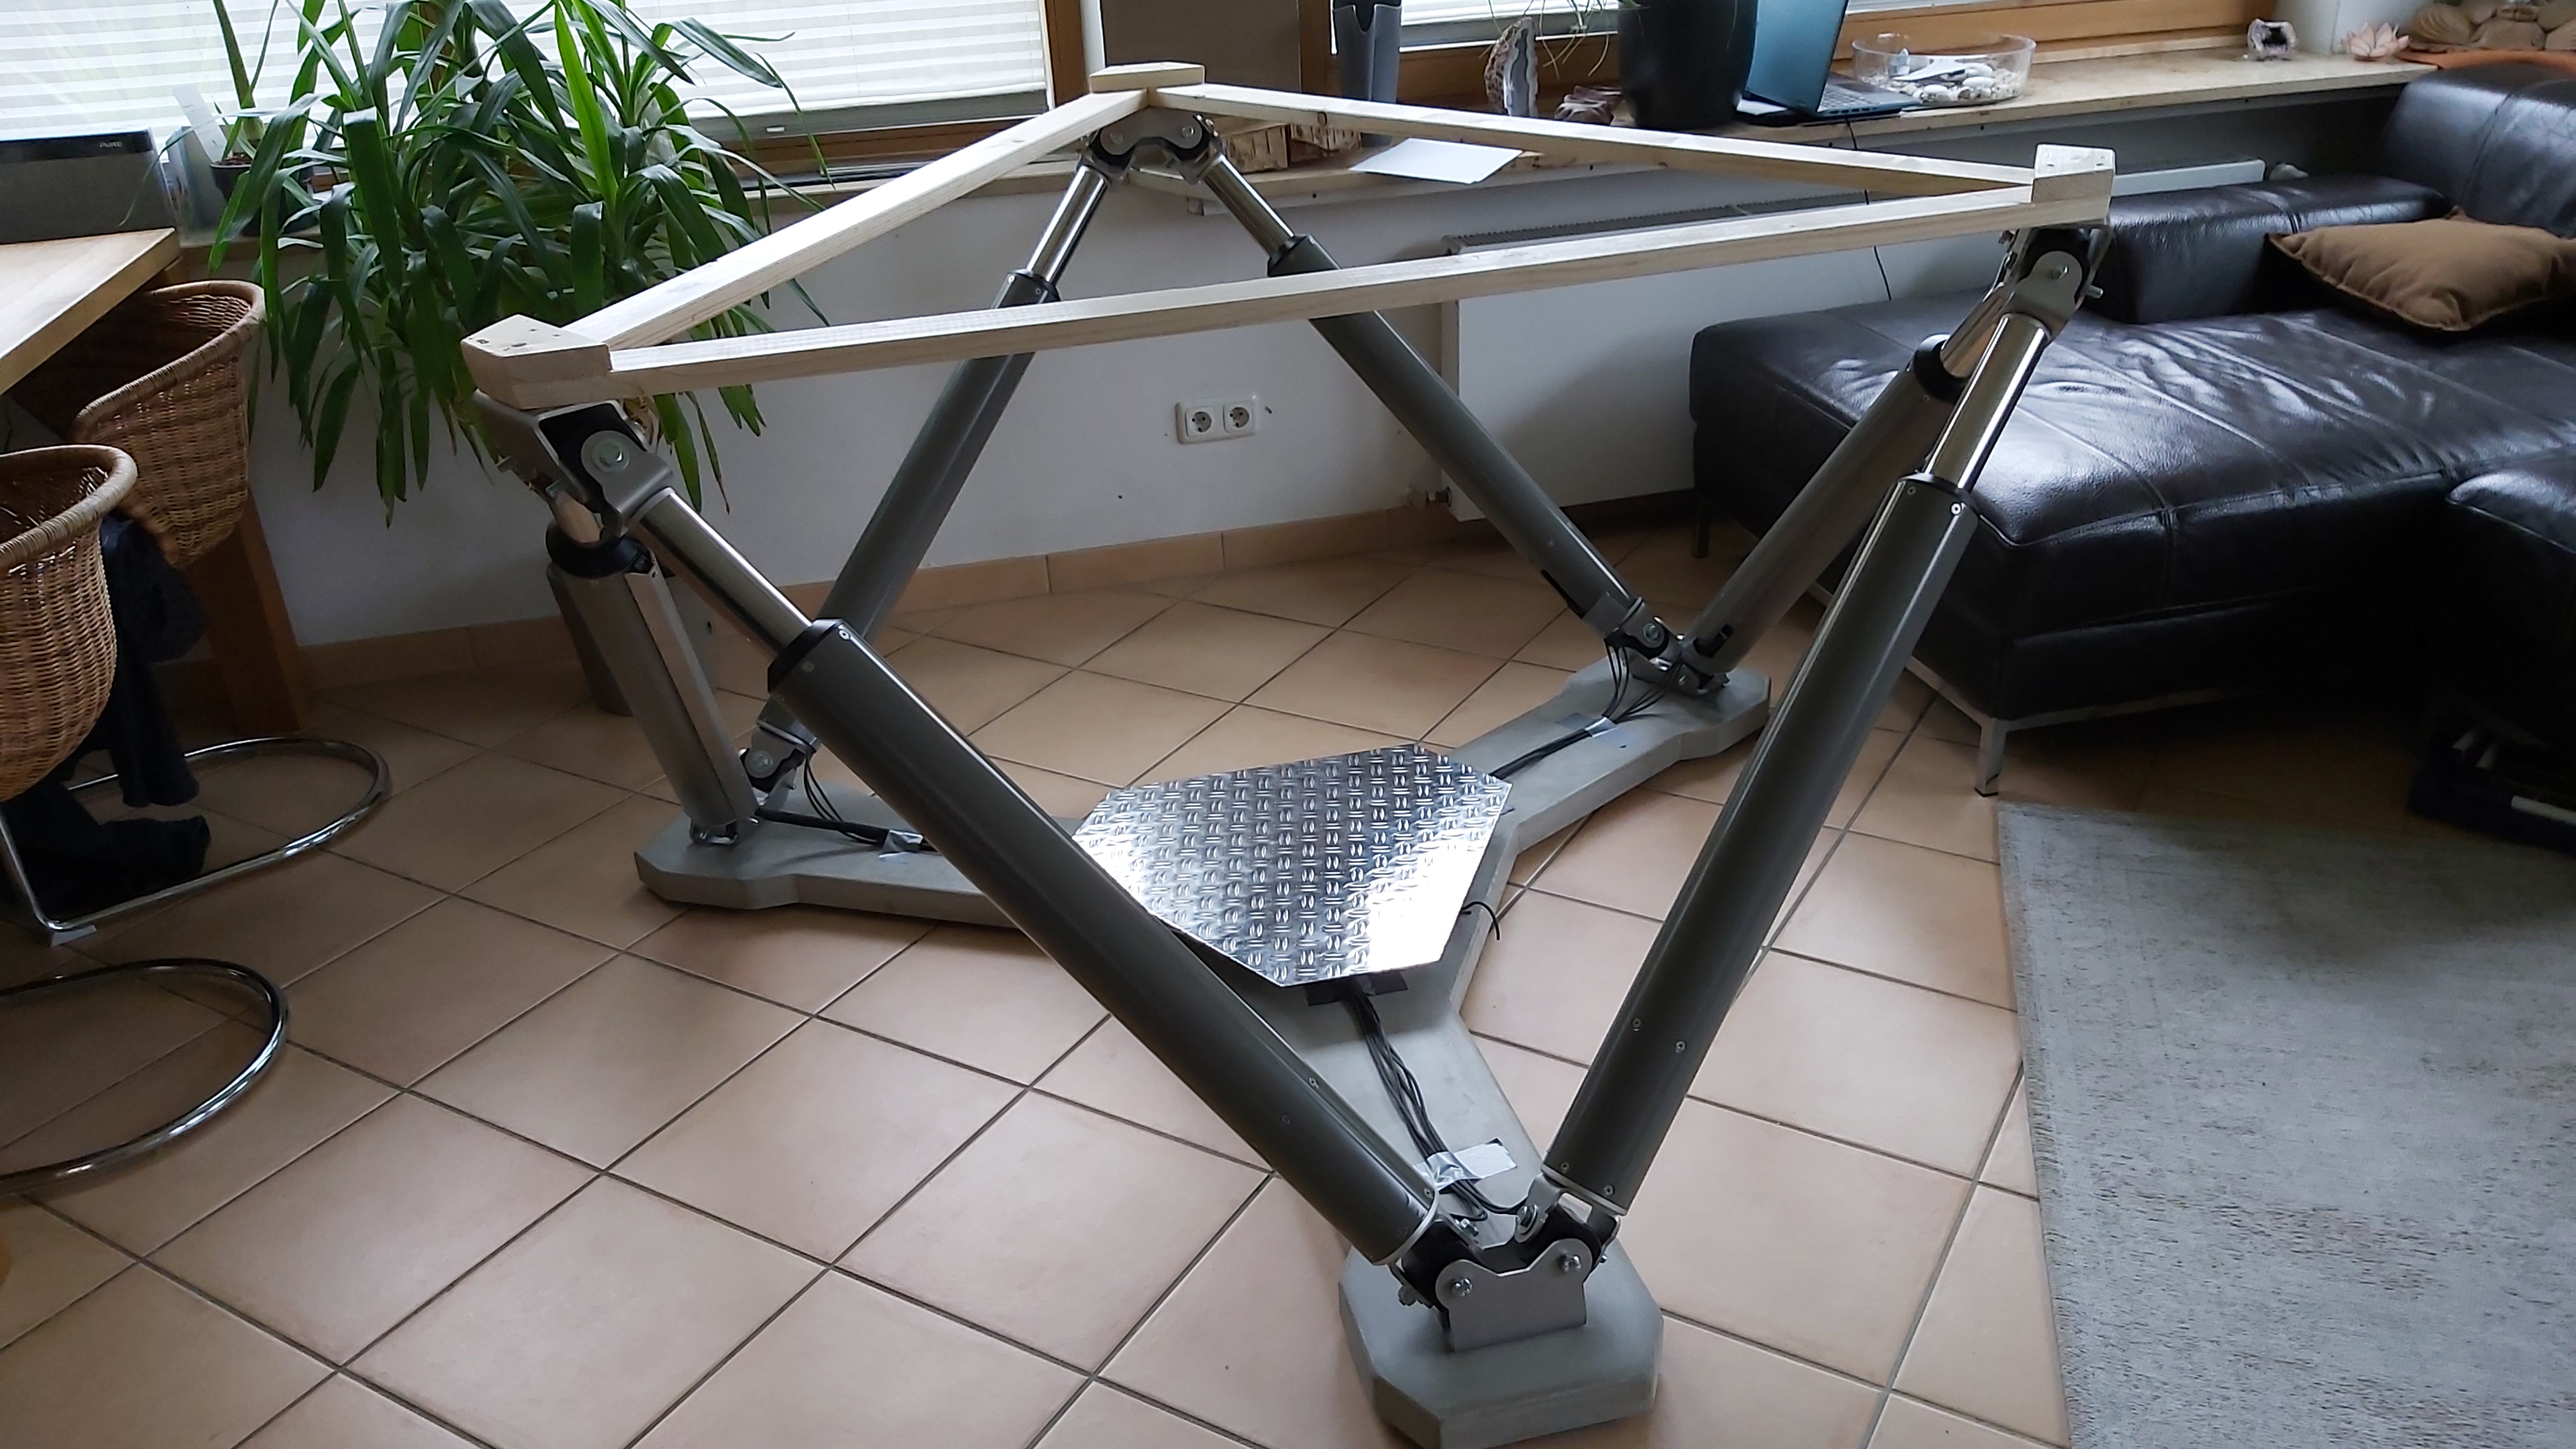
This week, my son an me started the final assembly of the actuators. And I can tell you its such a good feeling to see the work growing and to see an end of the long tunnel
Today we also built a simple wooden upper frame, just to be able to fix the 6 actuators provisional on the base and see the first time the overall dimensons- I can tell you guys, the simulator is really really huge and looks somehow dominant in my living-room - (luckily I am already divorced - otherwise I would probably still have that in front of me now ).
Wickie
Hi Jerry!
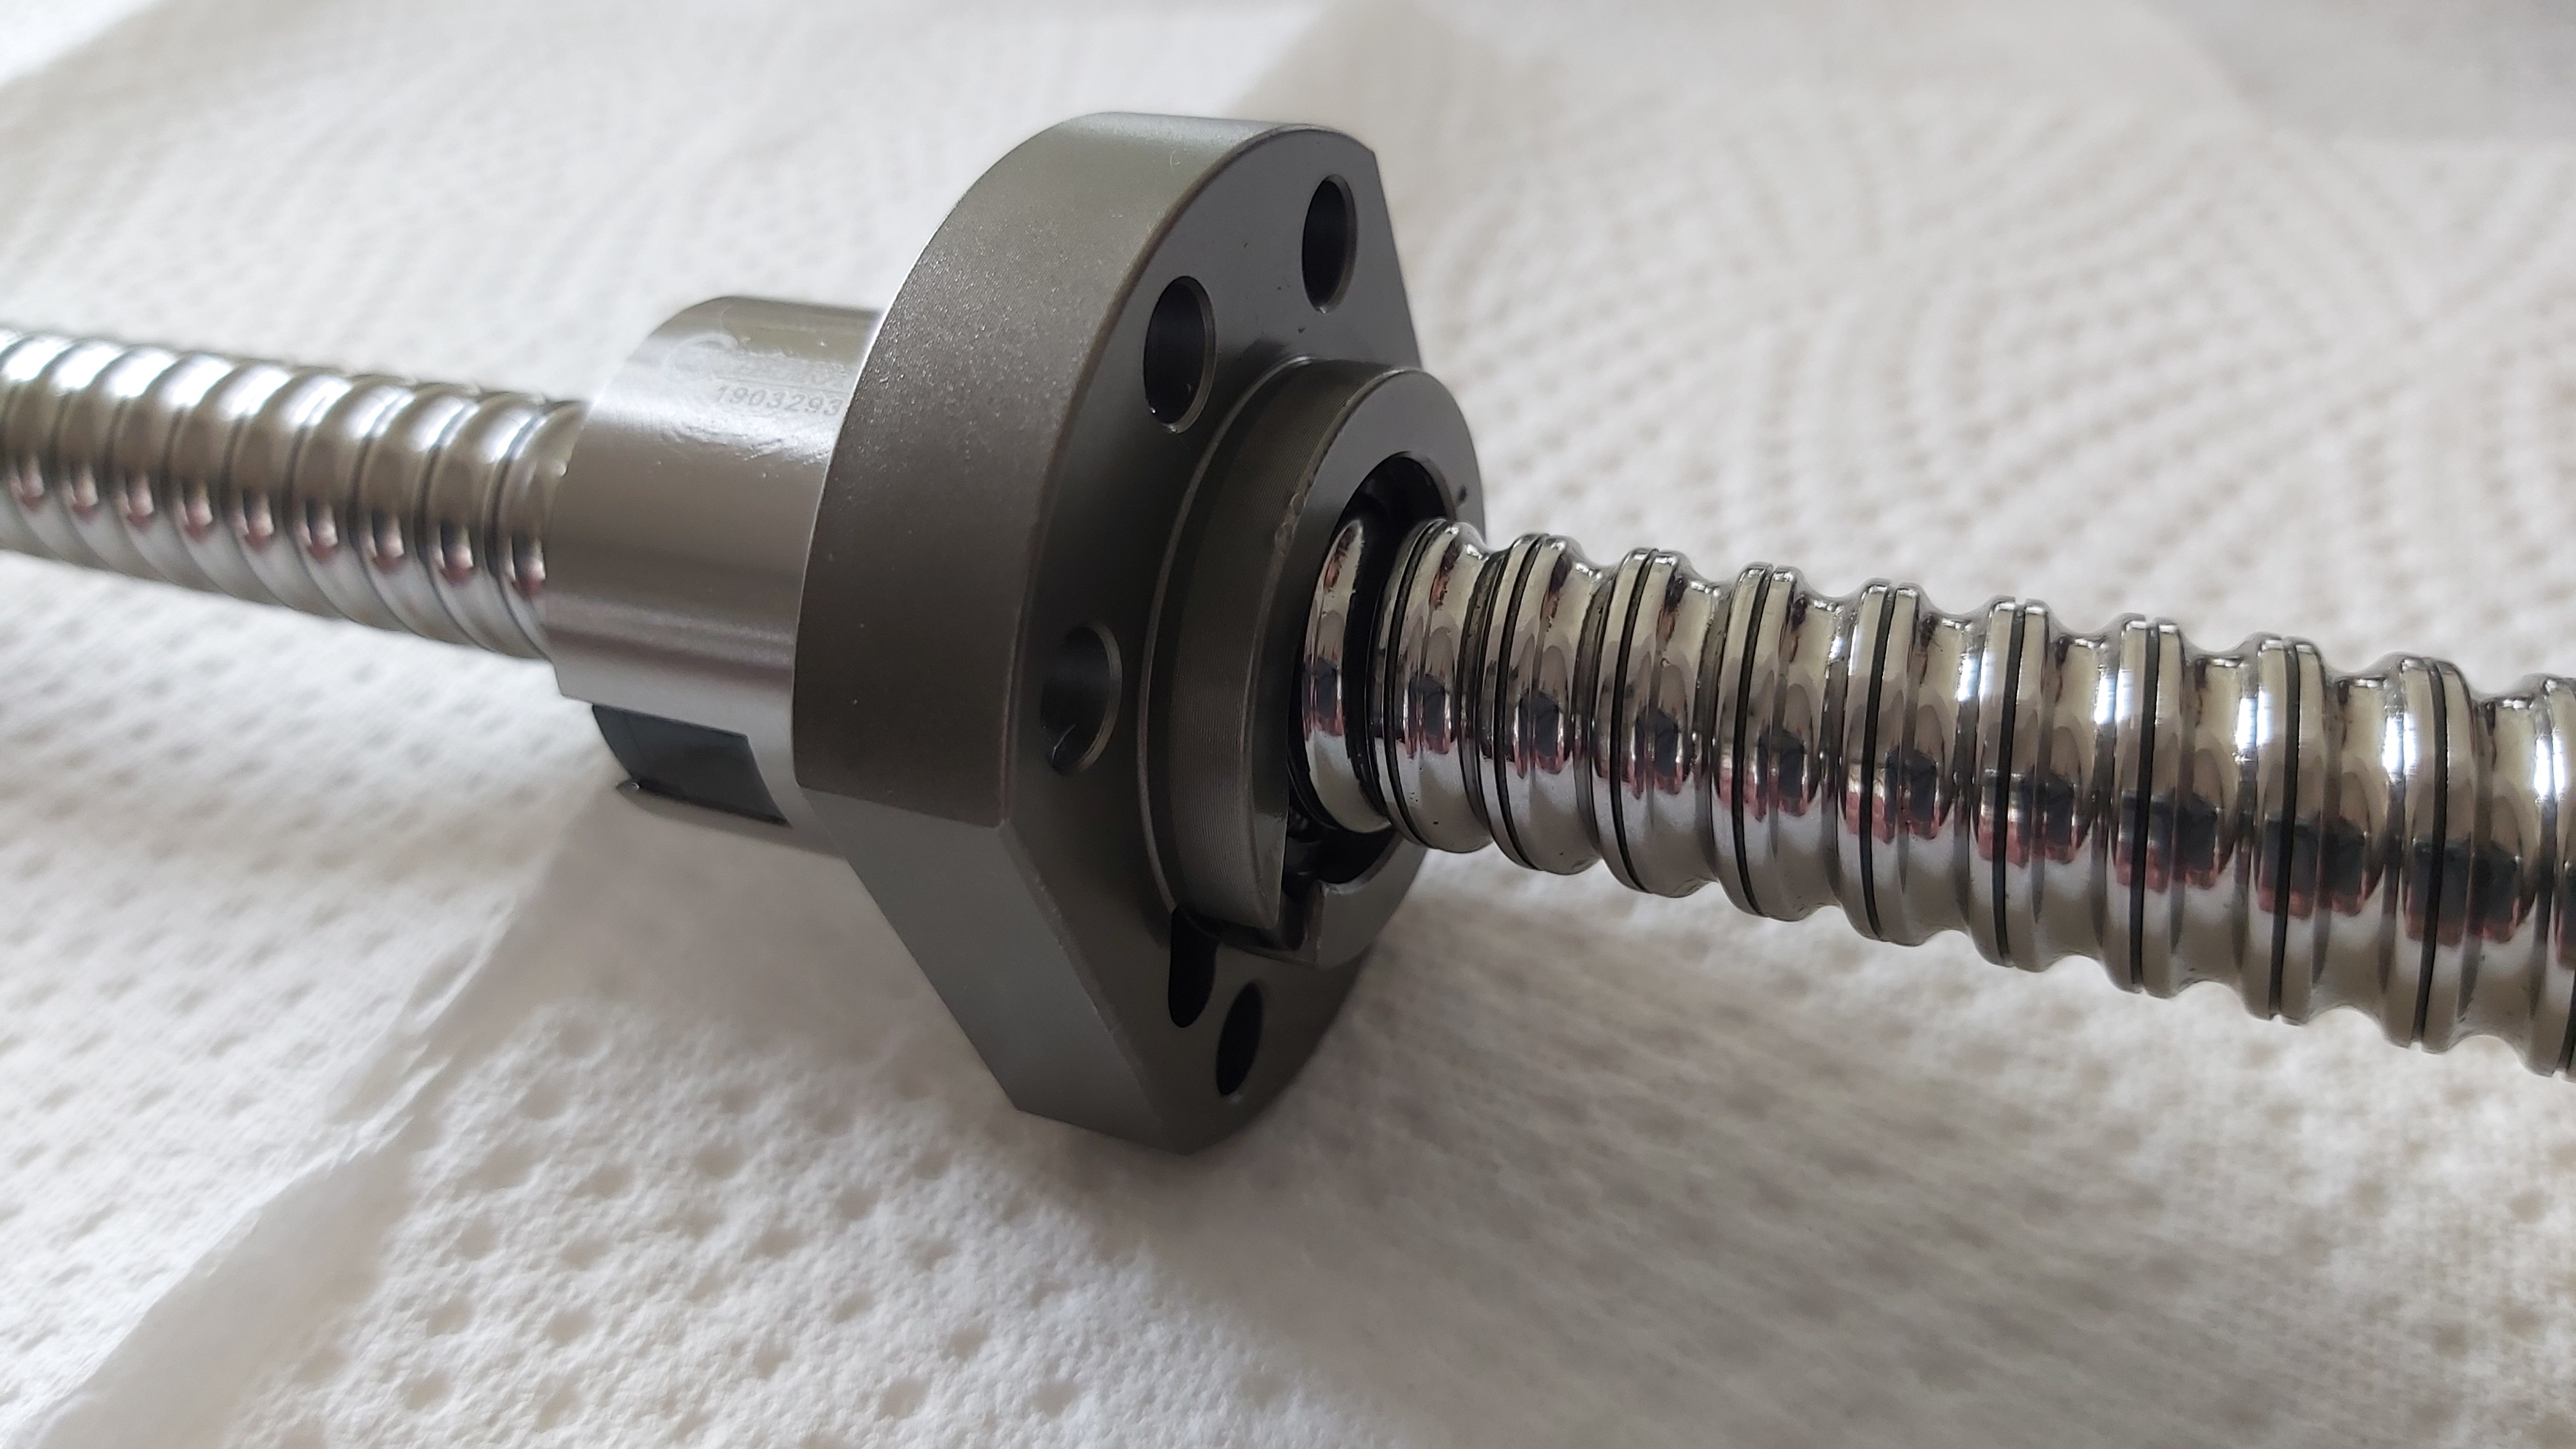
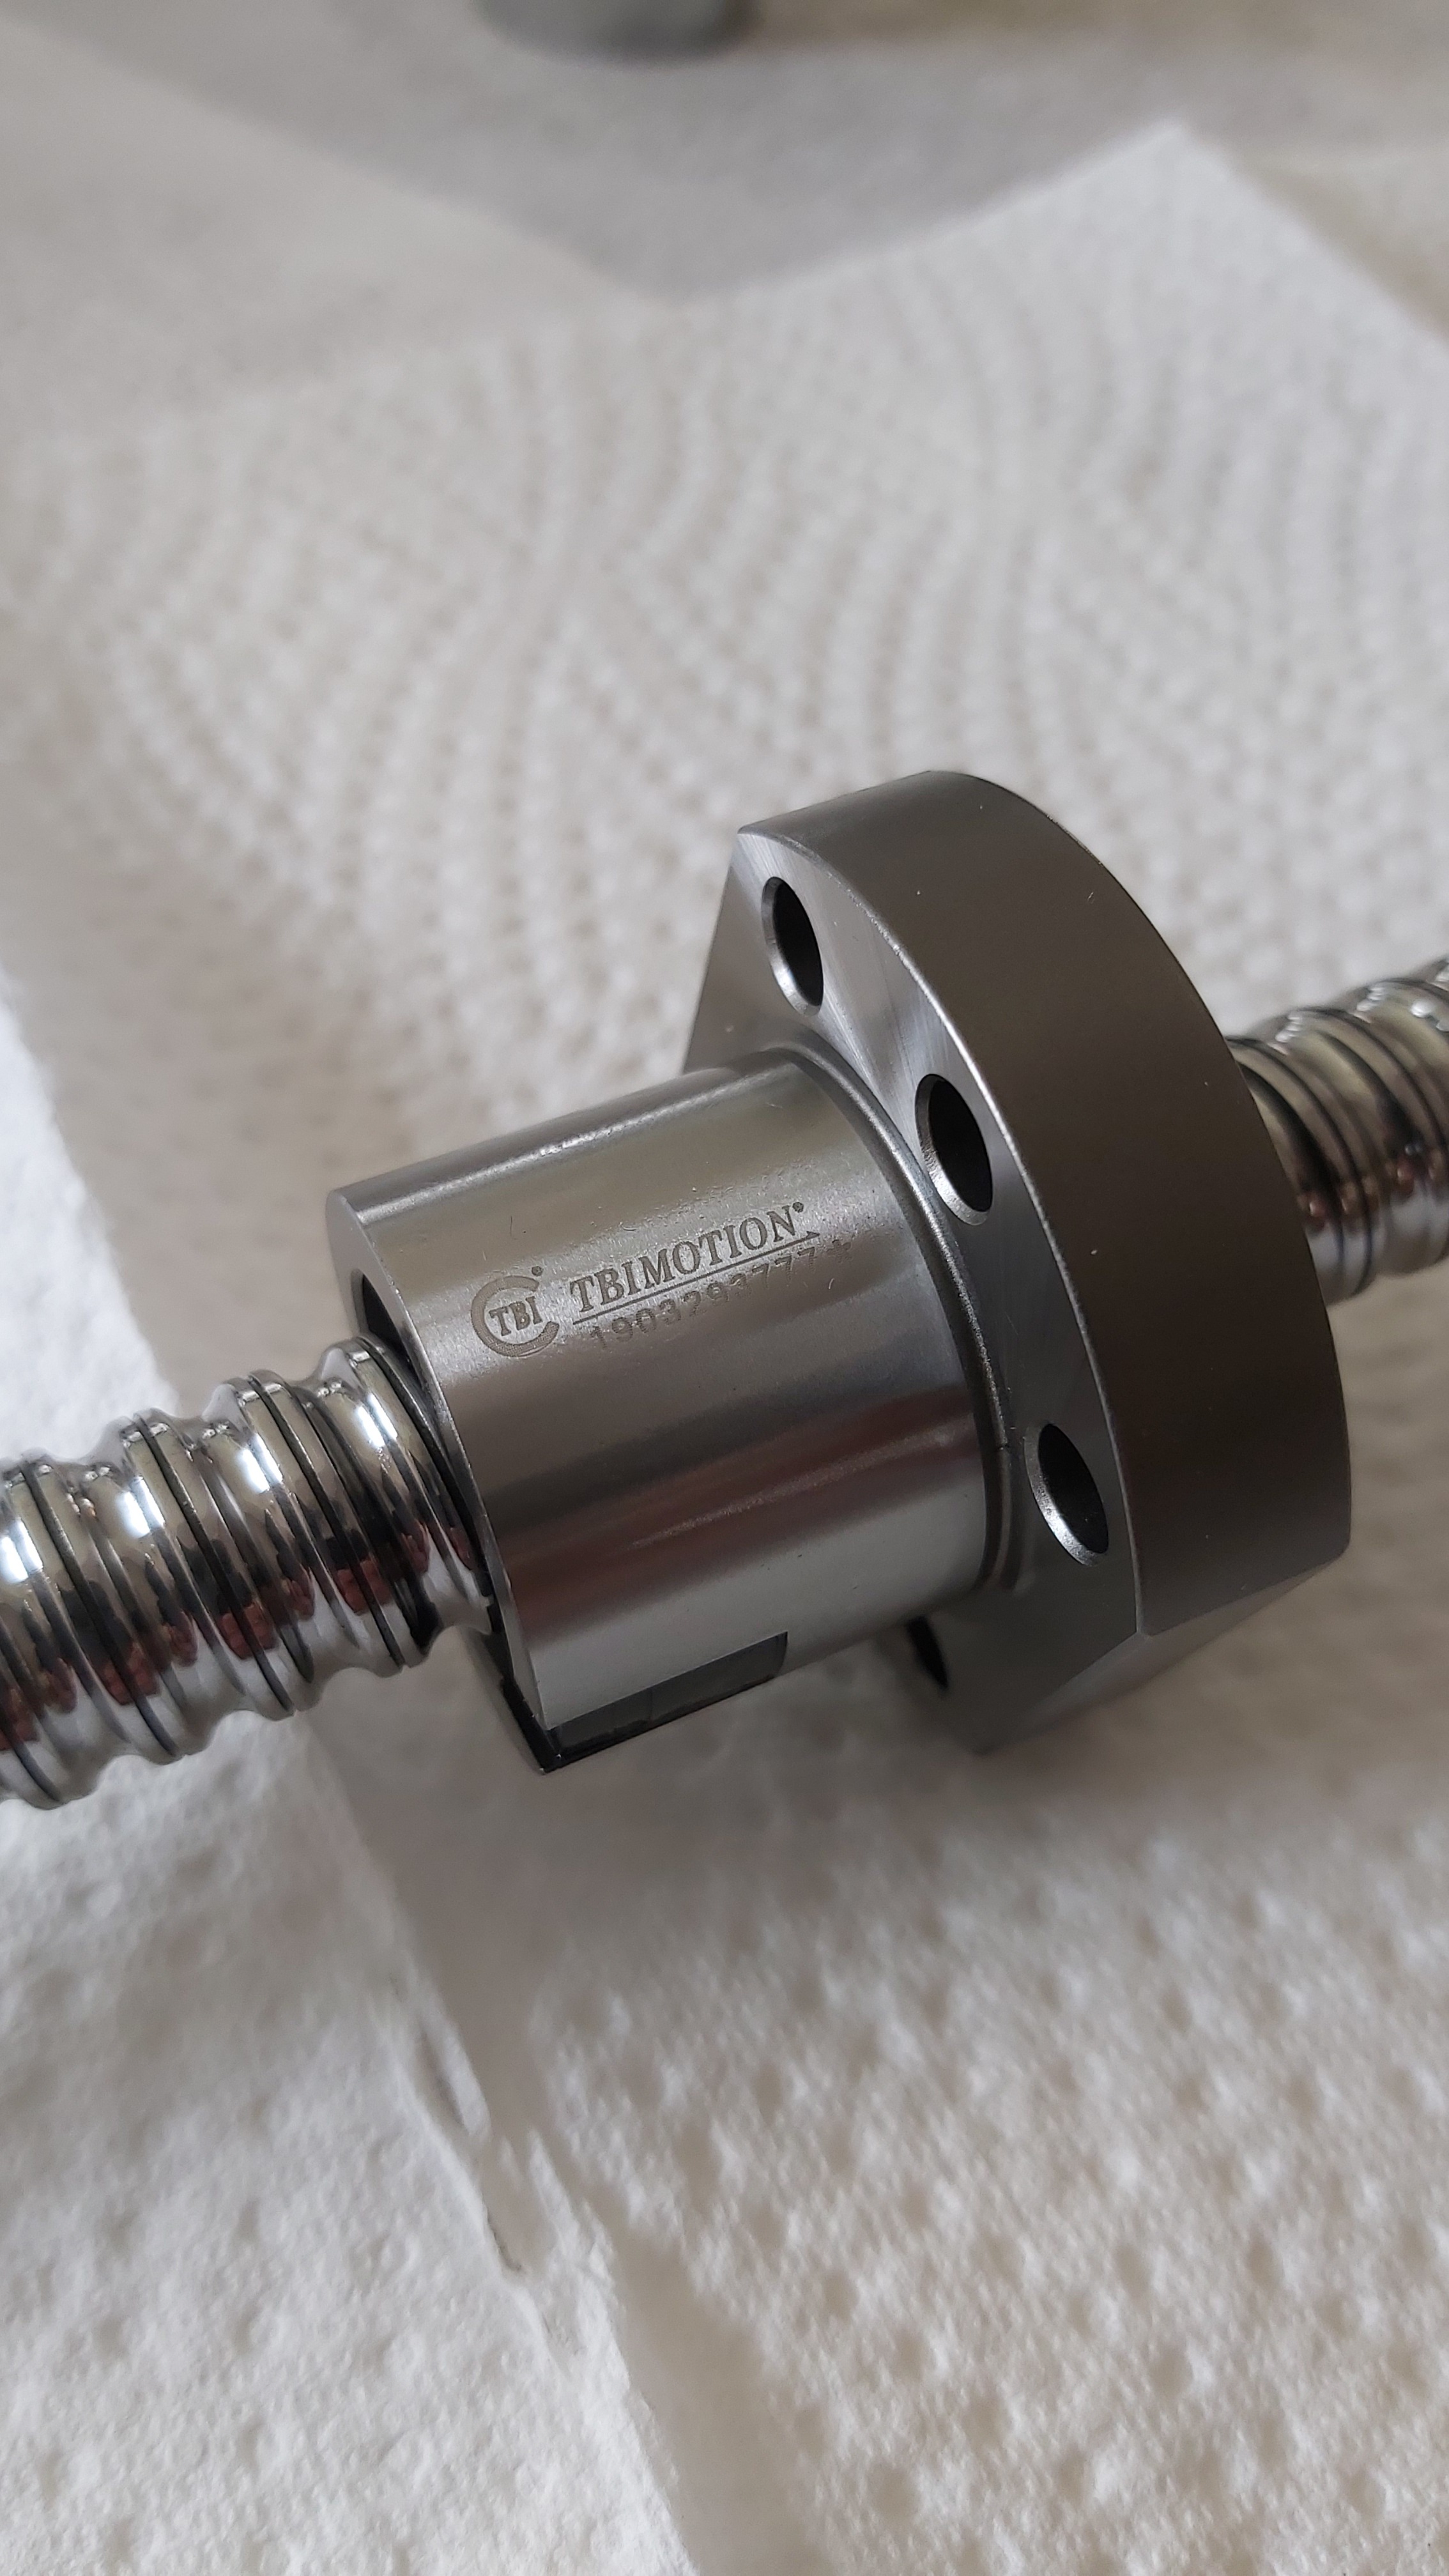
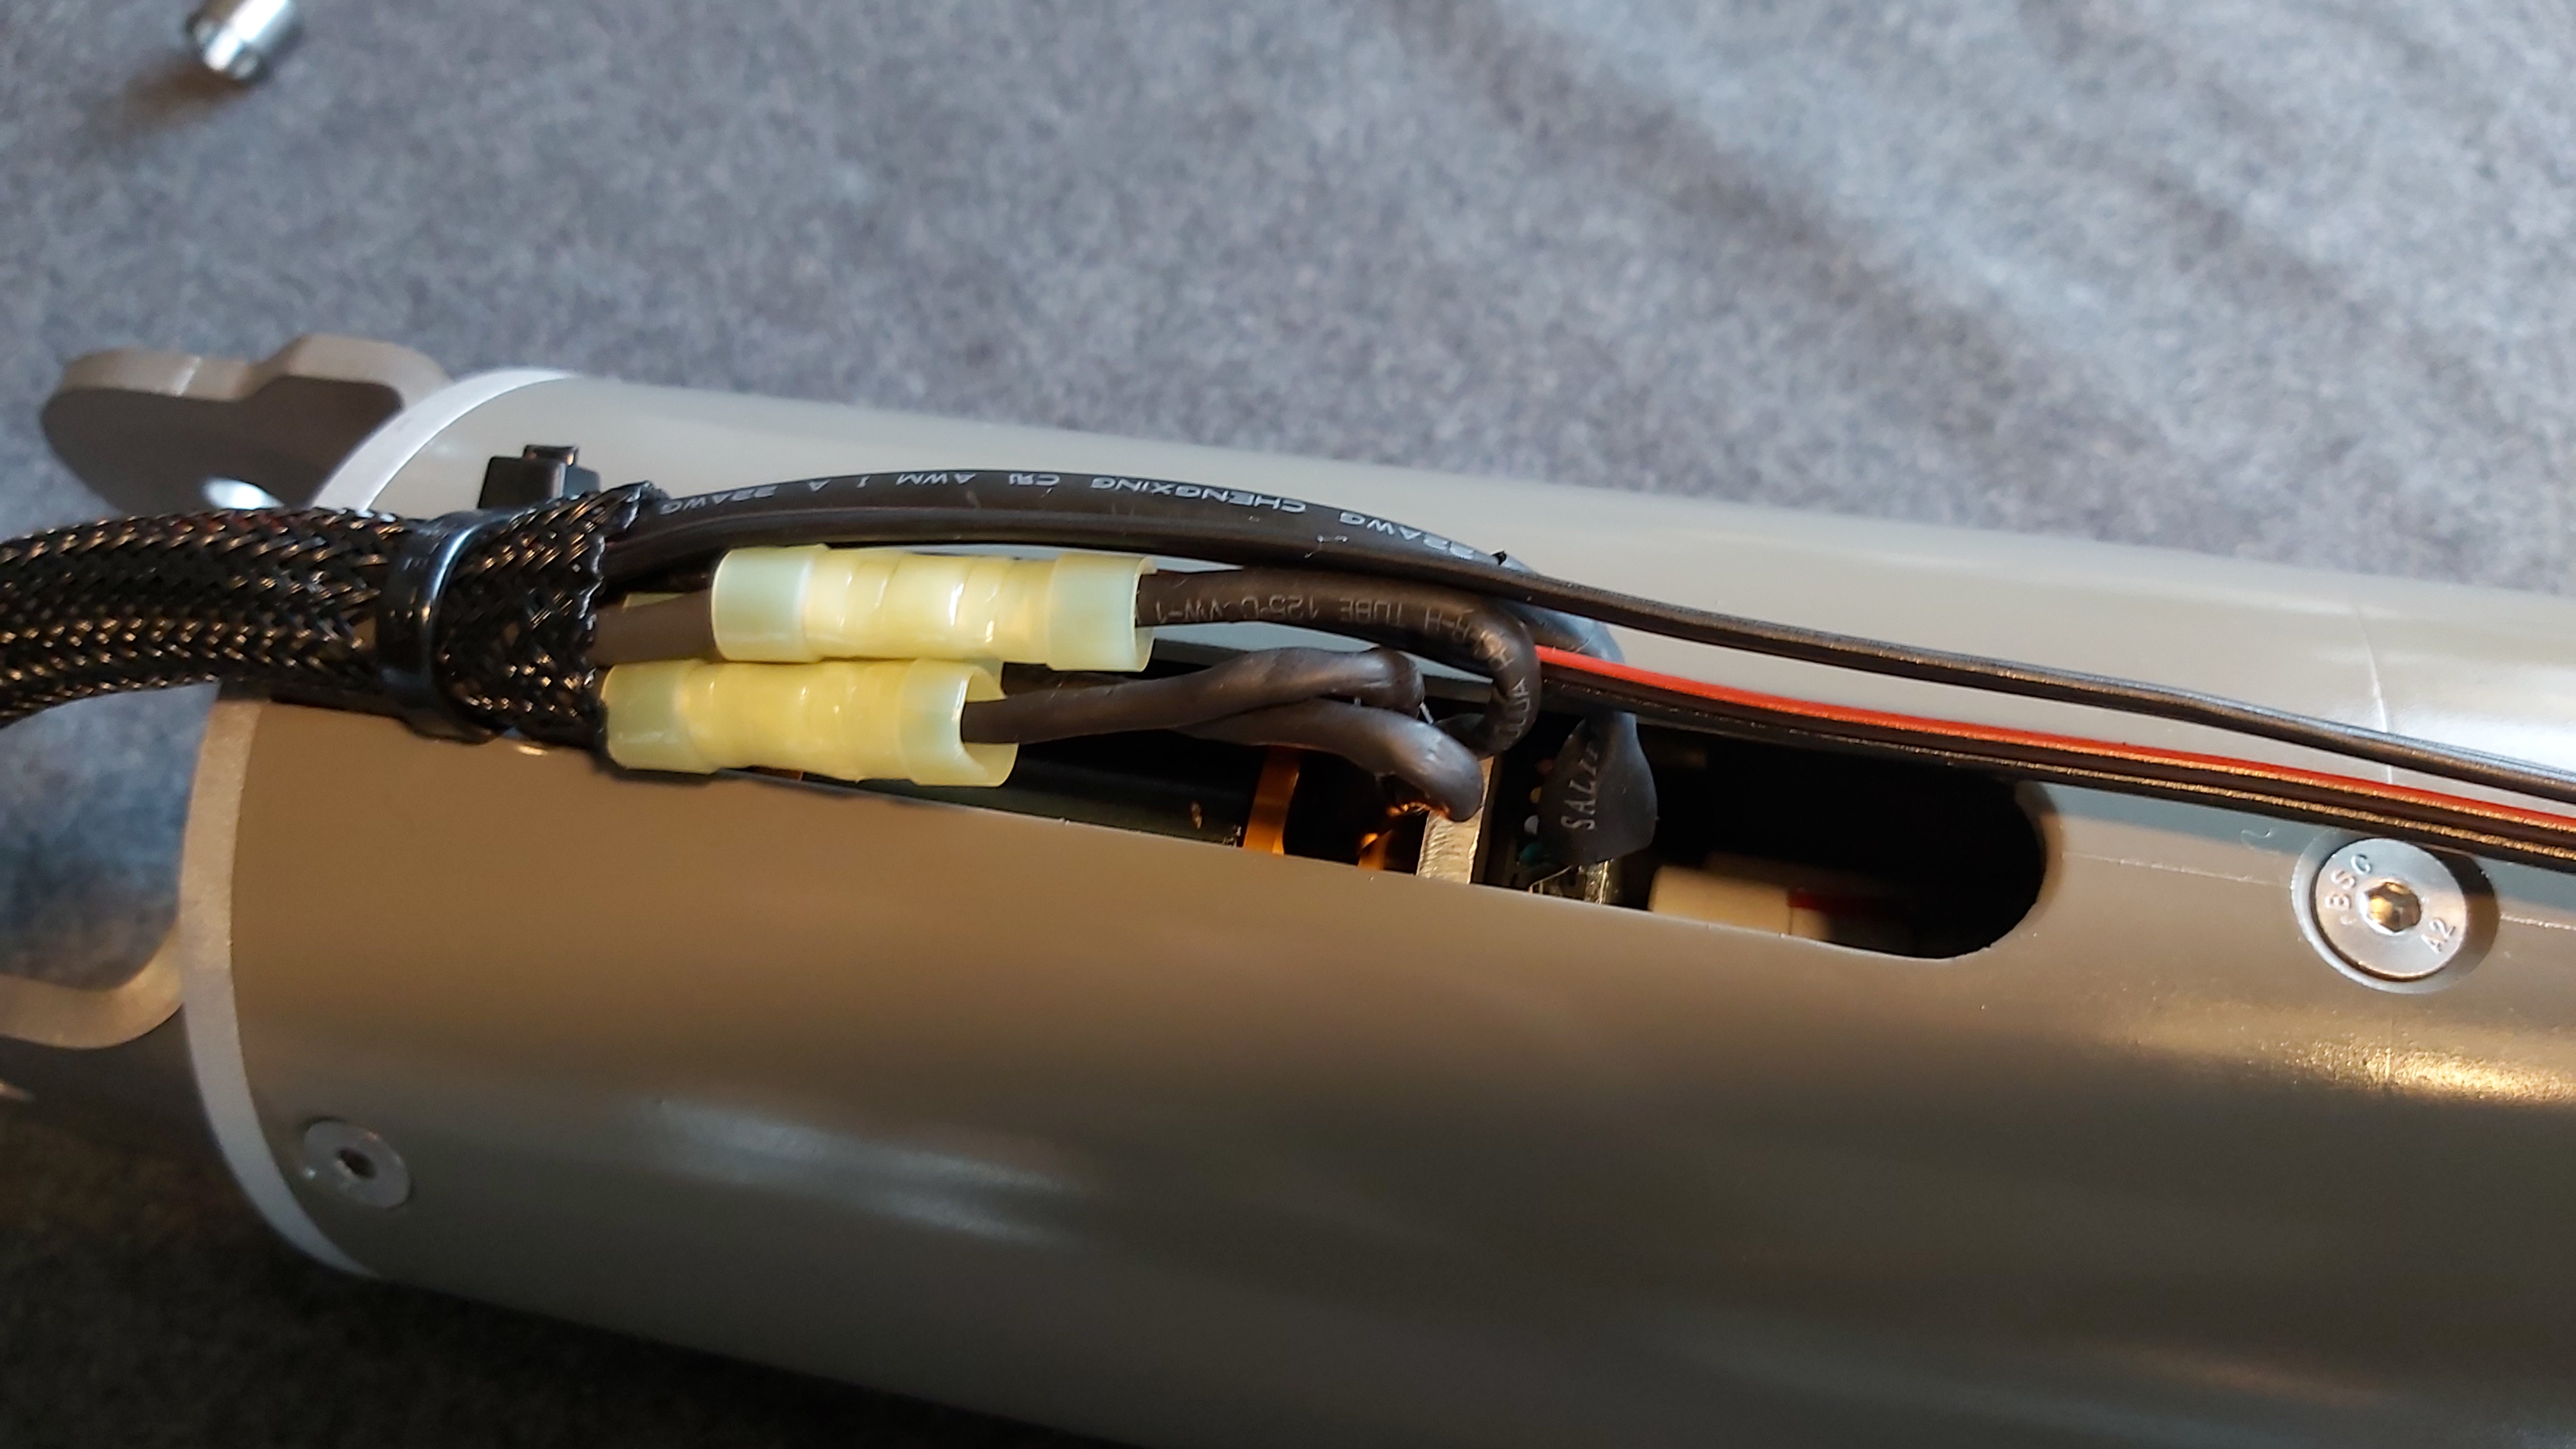
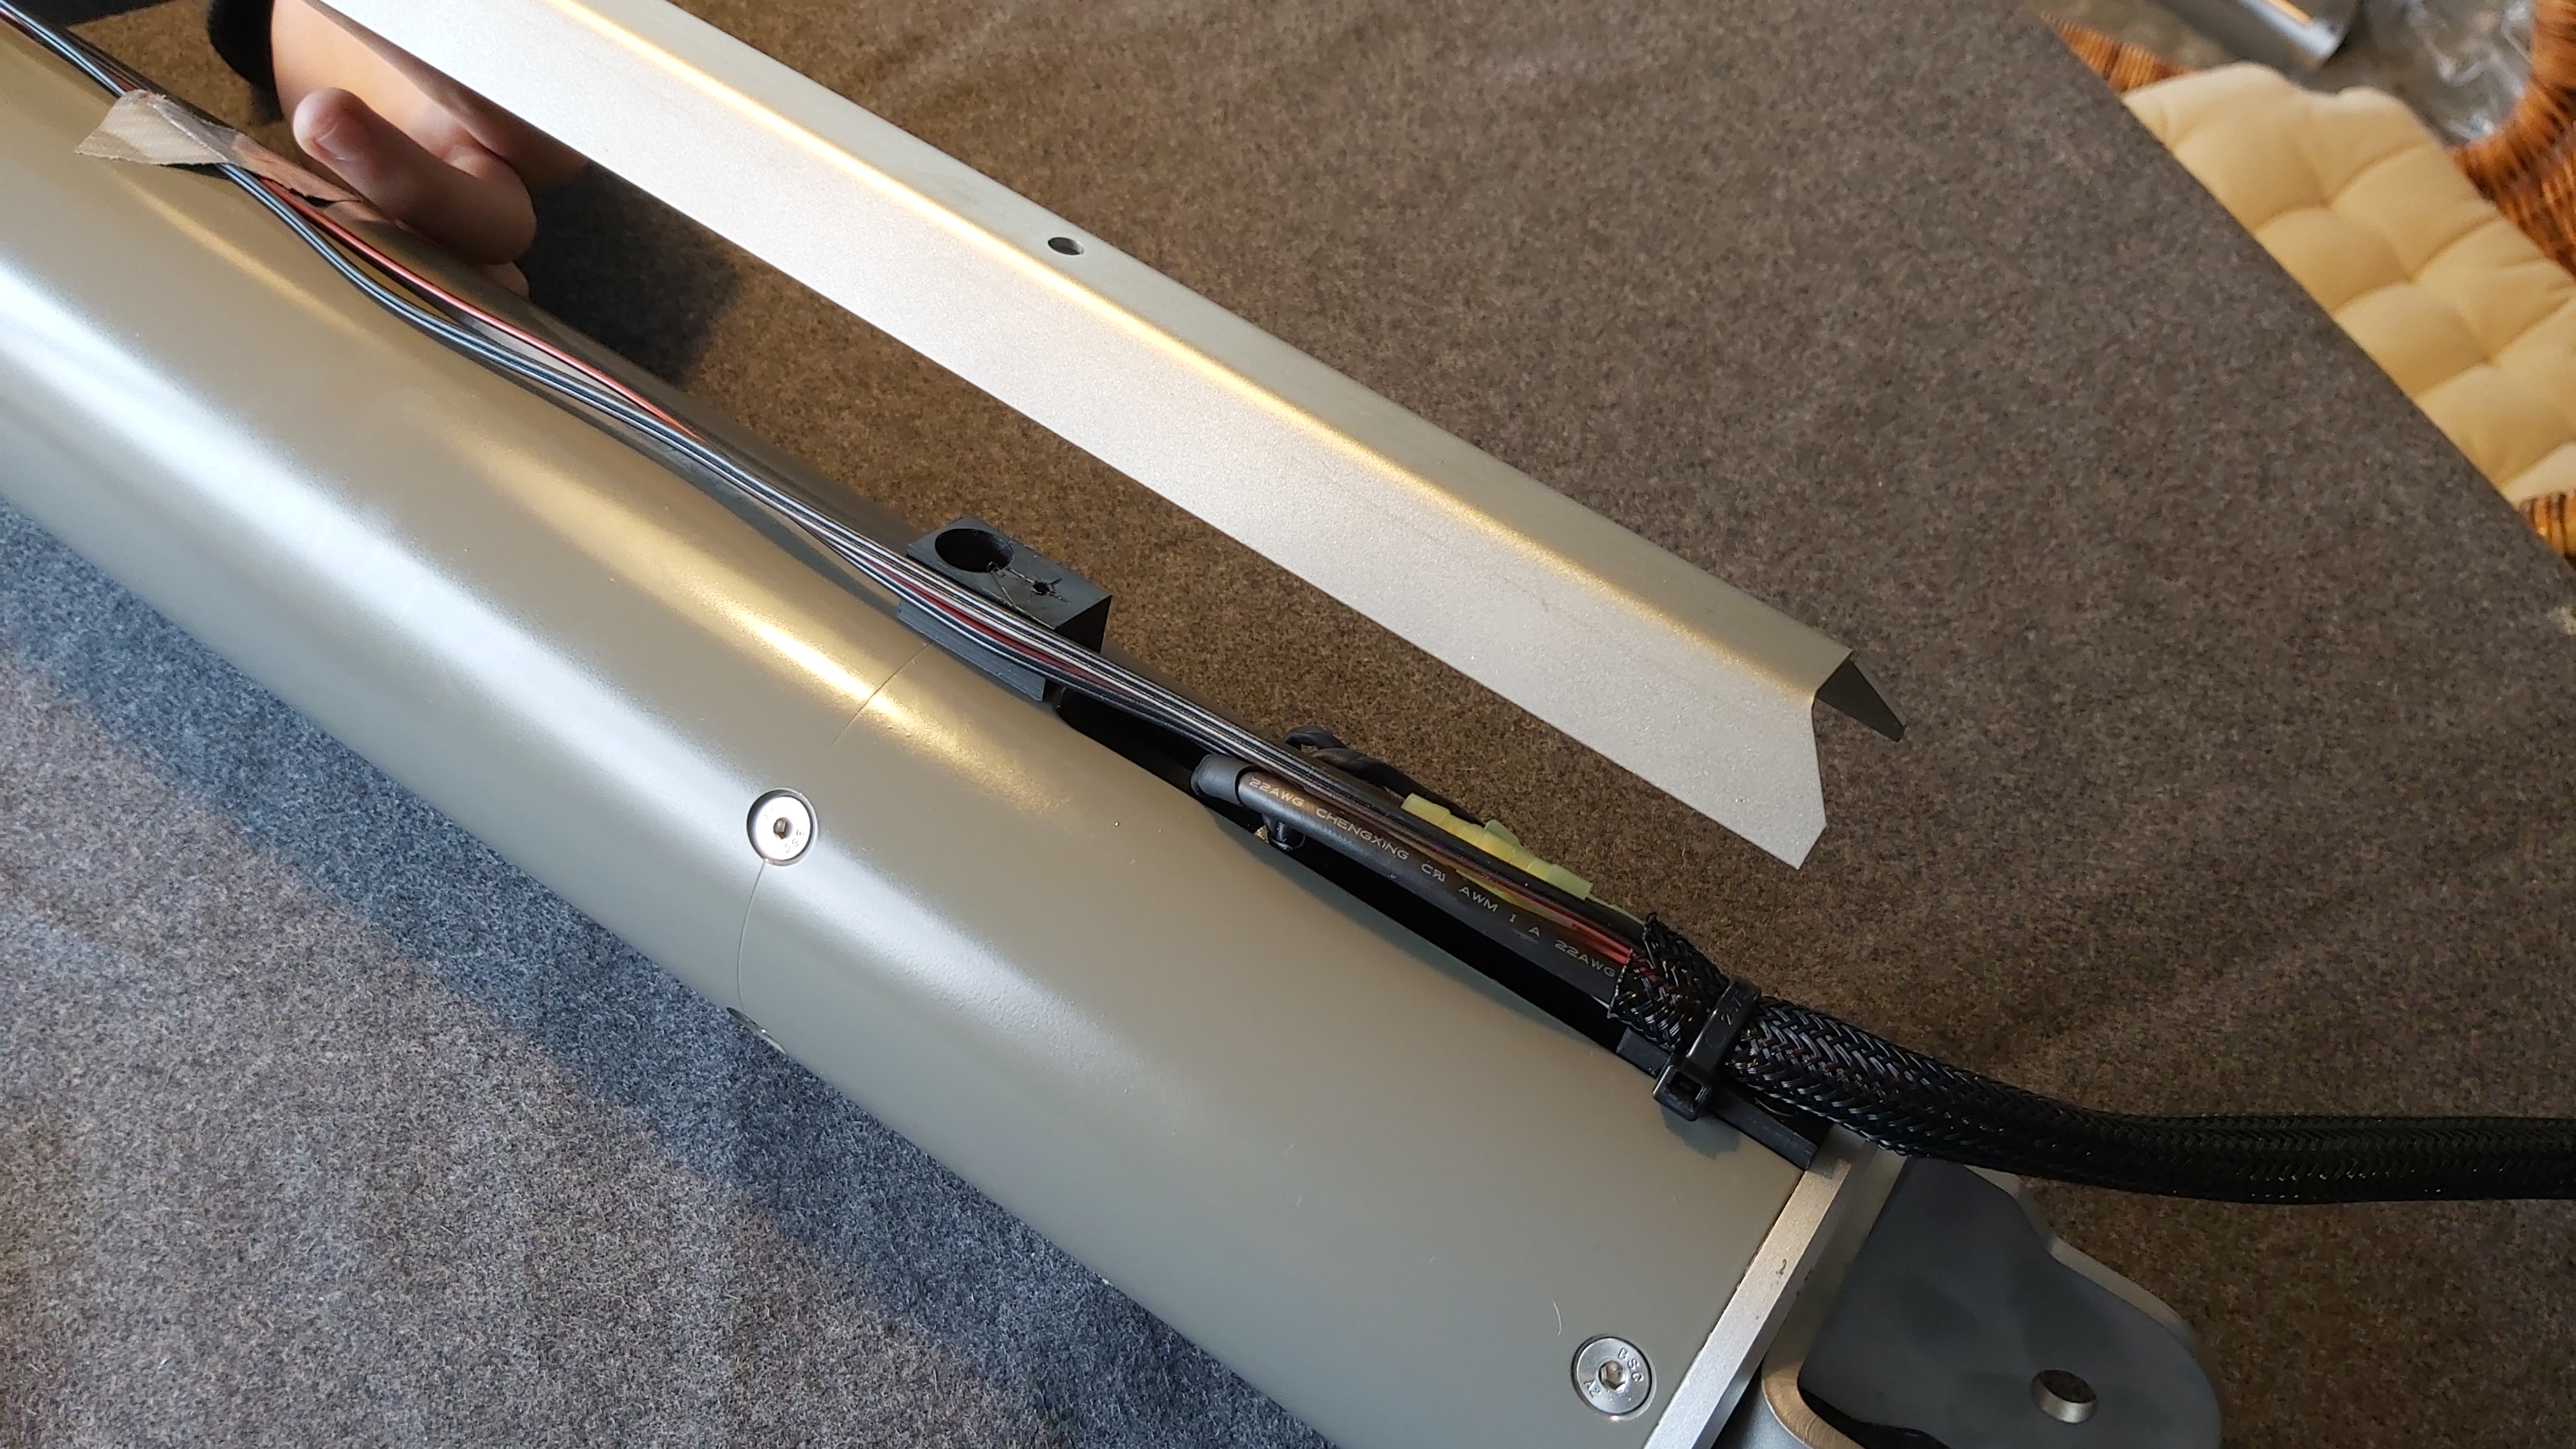
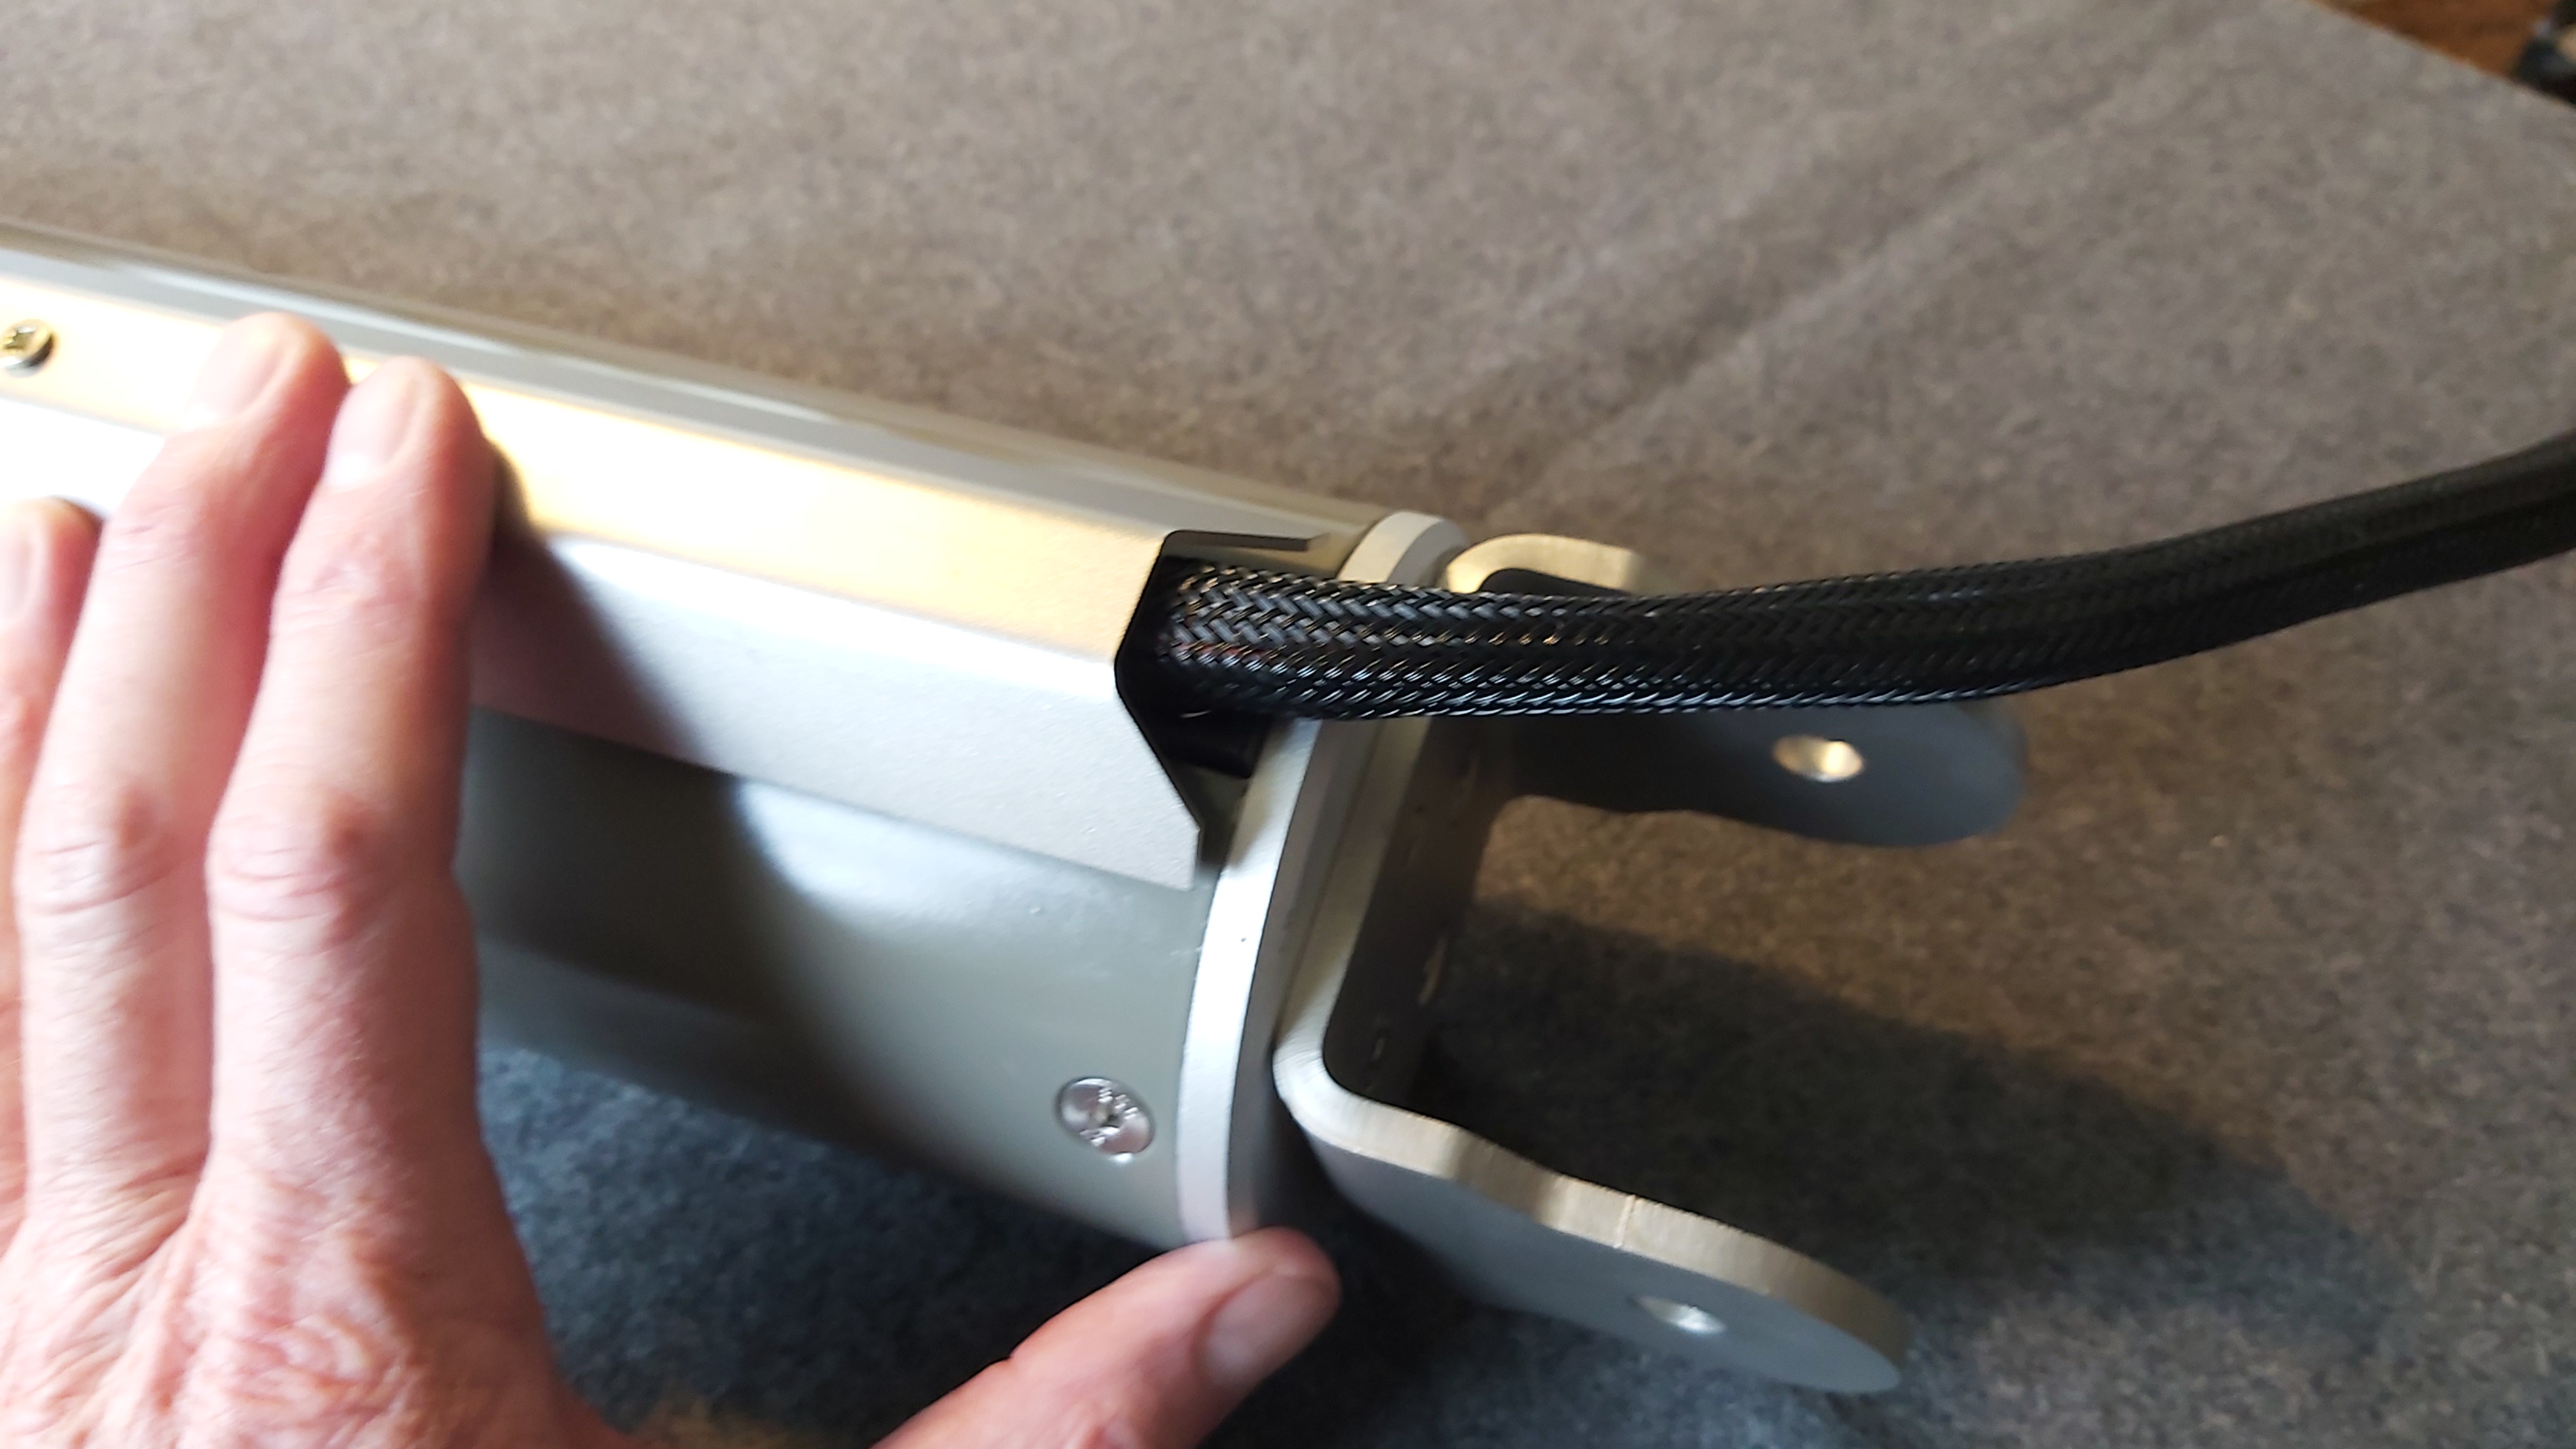
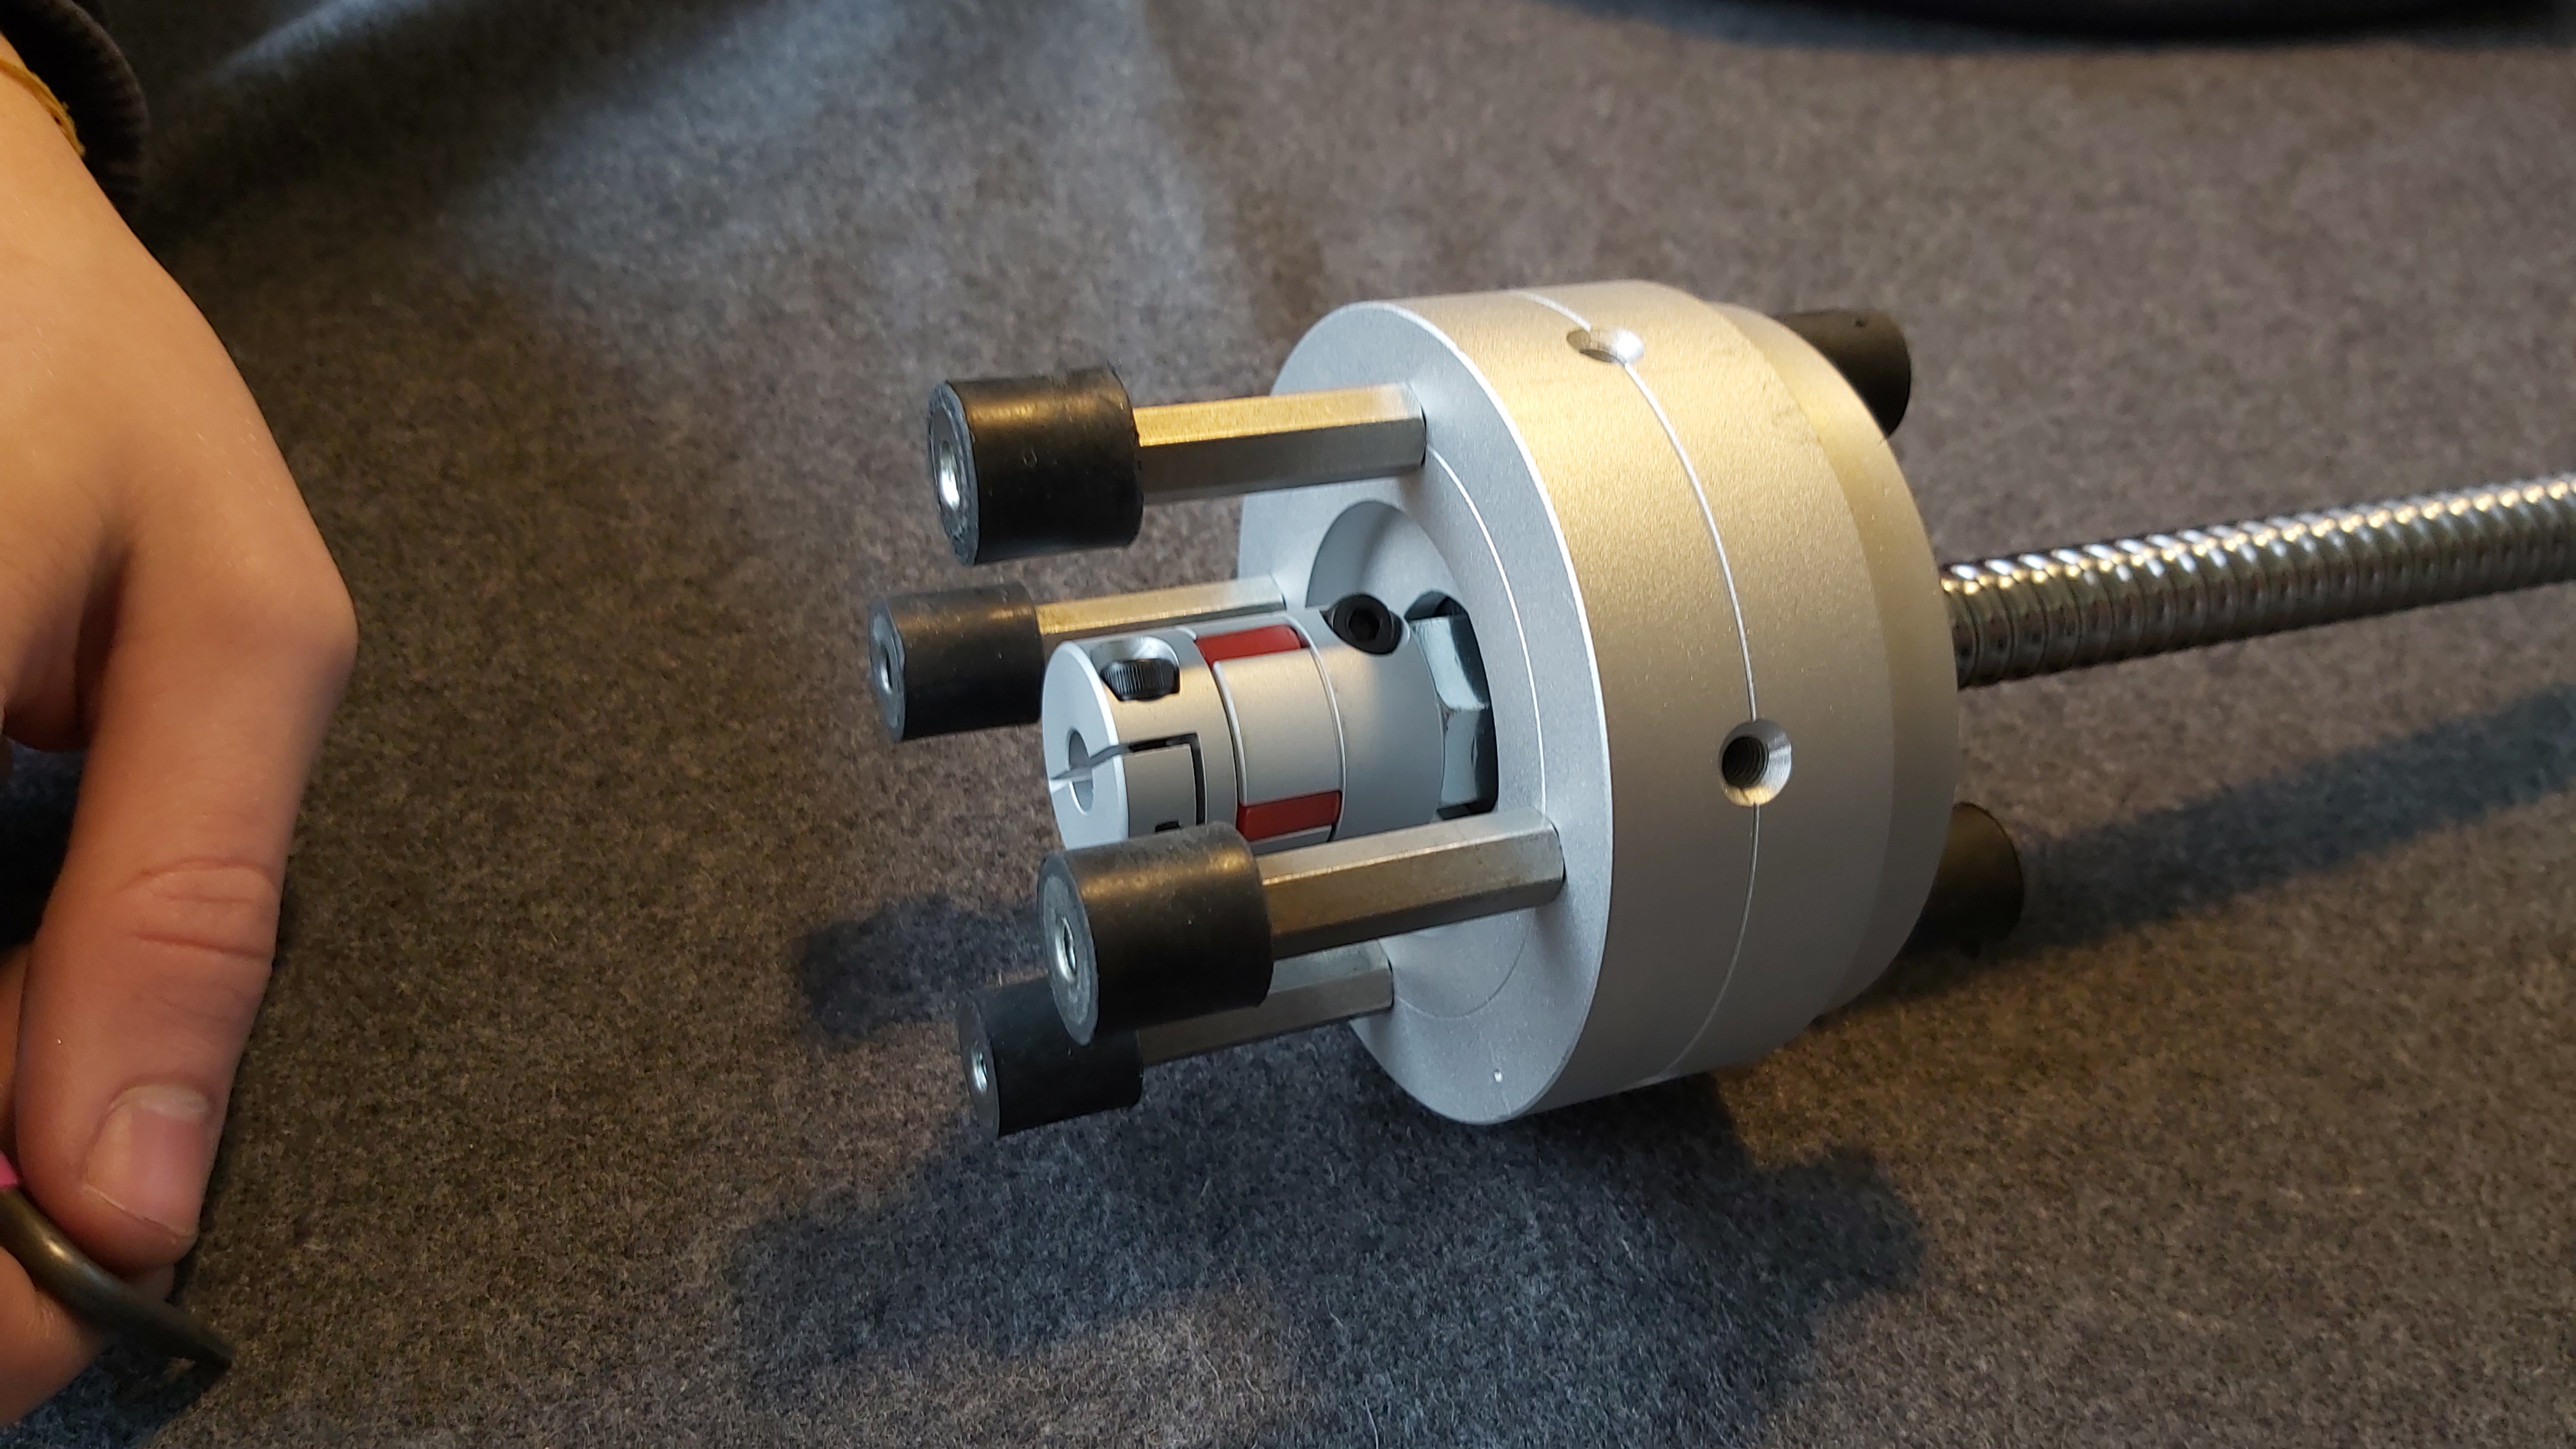
Regarding the ball screws: When looking to the surface of the screw rod with help of a magnifier I can see it has a very smooth surface compared to the chinese -ball screws I had. Also they run smother when turning by hand.
But to rate the noise under real racing/ sim conditions I still have to finish the electronic-box and install the hall-sensors (edit: sorry - meant Reed endstops)
I will report the results
warm regards Wickie
I’m seriously considering going down this rabbit hole.
The only motor-control project I’ve ever done was using a floppy-drive stepper to dip/etch electrodes in a physiology lab. This is a totally different level of complexity, but it seems like there’s a ton of support in the community and by the time I get to that stage you’ll have one more working example I hope!
My metalworking/machining abilities are probably my weak point. Were any parts of the physical build especially difficult? How hard is it to cut threads, make the custom pieces for your U joints etc? I don’t even own a lathe yet so I’m basically starting from scratch. I’m not in a rush to complete and the journey is kind of the point but I wonder if I’m biting off more than I can chew.
I finished my 6 dof racesimulator using a manual lathe and milling machine, most of the parts I bought came from AliExpress. If you need links to any of the parts let me know.
Hi Gambledog!
Welcome to my thread!!
Building a motion simulator is a great experience but also a mega challenge with (sometimes) an unsure result. If you love tinkering, solving one problem after another and pushing your possibilities to the limit you should build a simulator.
But if you are not skilled or have good mechanical support around where you are living it would be better to reduce the amount of DIY parts and maybe buy a ready actuator. You can find a lot of successful simulator builds on the www.xsimulator.net forum. Let you being inspired and rate your possibilities realistically.
My motion platform in the current design is difficult to build without a lathe, but when I am finished and everything is running perfect I maybe will make a design that is doable with 3D-printed-parts and some parts made by a workshop.
I think my universal joints are easy to make with help of a 3D-printer for the black center parts. The metal work can be done relative cheap by an web online workshop - I think I wrote something about this in my thread.
For me, the most difficult part was to make all the threads on the cylindric parts as precise as necessary. Also all cylinder-pipes have to be absolutely flat - difficult to make this without a lathe.
There are some DIY-sims on the web that are easier to make- maybe that one from Zennix - have you seen his thread?
I hope I could help you and didnt destroy your dreams too much.
warm regards
Wickie
Thanks for getting back to me! I just found out we have a local makerspace with access to a lathe, a manual mill, PLA 3d printing and some CNC gear, plus a few people doing similar projects so there’s a lot of support. I’m also near an auto wrecker and a decent source for scrap profile/angle. I think the 2DOF on a U joint setup will be my starting point. Cheap wipers first but then progressing to something Odrive compatible to learn the system since I want to possibly use it for wheels/yokes/rudders/bigger actuators later on.
You definitely haven’t killed my dreams. It’s the learning/building process I’m excited about.
Looks like you have been on a year-long adventure with this project Wonderful and ambitious project indeed.
I am working on a project to motorize a wheelchair - aiming to provide a low cost solution. Can you please provide a link to your magnetic reed switches? I am thinking of using traditional limit switches but dont think they will be easy to configure within the space.
The distance from the magnet to the Reed switch is aprox. 8 to 10mm in my application.
The orientation of the magnet (cylinder) must be parallel to the cylinder of the reed switch - otherwise the reed switches will not switch as planned.
The reed switches are mechanically extremely sensitive, so it is always better to solder them into a small circuit board.


 ).
).


 . Yours is coming along nice too. Good luck

 Wonderful and ambitious project indeed.